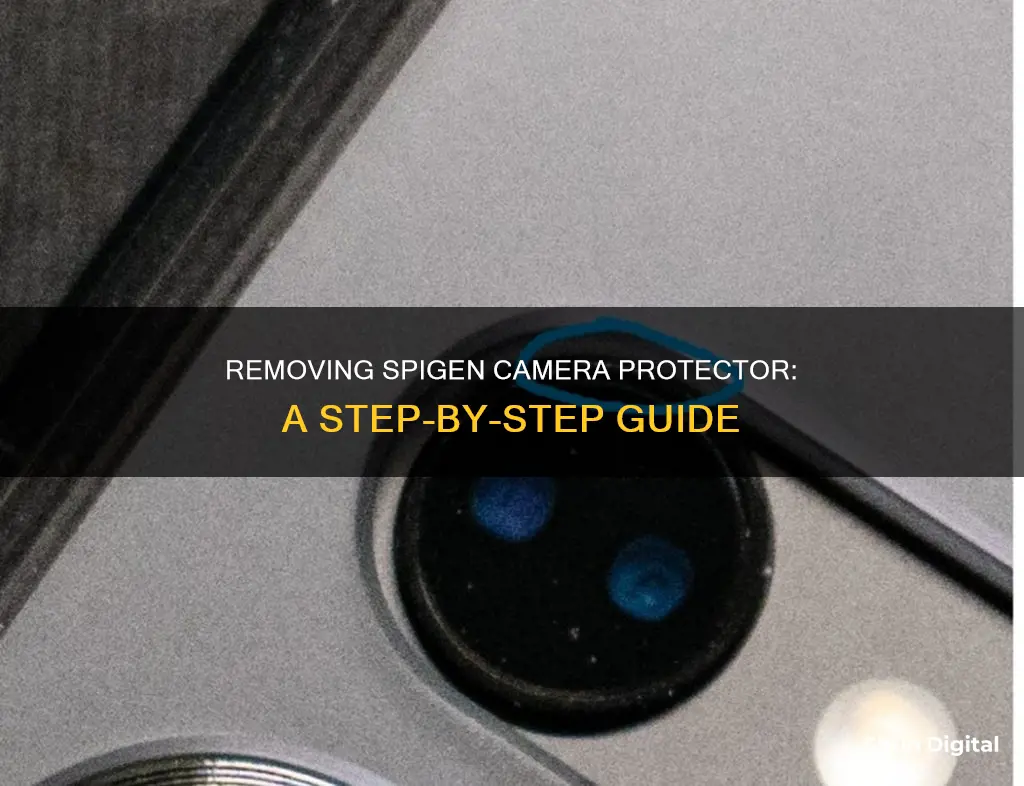
Removing a camera lens protector from your phone can be a tricky task, especially if you want to avoid damaging the lens or leaving residue. There are various methods that people have used to remove Spigen camera lens protectors, including using a knife, guitar pick, laminated card, needle, or dental floss. Some people have also suggested warming the lens with a hairdryer to make removal easier.
Characteristics and Values Table for Removing Spigen Camera Protector
| Characteristics | Values |
|---|---|
| Tools | Pocket knife, laminated card, plastic guitar pick, needle, tweezers, hair dryer, floss |
| Techniques | Stab and lift at an angle, peel off, poke and lift, warm and screw off, slide floss under protector |
| Considerations | Avoid scratching the lens, heat protector with hairdryer before removal |
What You'll Learn

Using a hairdryer to heat the protector before removal
Using a hairdryer is an effective way to remove a camera lens protector safely. It is a delicate process, but with the right techniques, it can be done without damaging the lens.
Firstly, power off your iPhone to avoid any accidental touches or interactions during the removal process. Then, use a clean, soft microfiber cloth to gently wipe the surface of the lens protector, removing any dust or debris. This step is important to ensure a smooth and lint-free removal process.
Now, you can use the hairdryer to heat the protector. Set your hairdryer to a low or medium heat setting, and carefully warm up the adhesive on the lens protector. Warming the adhesive will help to loosen it, making it easier to remove the protector. Be careful not to overheat the adhesive, and avoid using a high heat setting, as this could damage the lens.
Once the adhesive is sufficiently warmed, use a plastic pry tool or a thin, non-metallic object, such as a plastic card, guitar pick, or a metal hair clip, to gently lift one corner of the lens protector. Be gentle and careful during this step to avoid applying too much pressure, which could result in scratches on the camera lens.
After lifting a corner, continue to slowly and steadily peel off the protector. Avoid making sudden movements or using excessive force, as this could damage the lens or leave behind residue.
Finally, use a microfiber cloth and a small amount of lens cleaning solution to gently wipe away any remaining adhesive or residue from the camera lens.
The Future of Photography: See-Through Cameras
You may want to see also

Removing glue residue with WD-40 on a cotton swab
To remove glue residue with WD-40 on a cotton swab, follow these steps:
- Ensure the glue is completely dry before attempting to remove it. WD-40 works best on dry glue and glue residue as it helps to loosen the adhesive.
- Obtain a can of WD-40 Multi-Use Product. This can be purchased from hardware stores or online marketplaces.
- Spray the WD-40 directly onto the glue residue. Ensure that you spray enough to saturate the glue, but avoid using too much as it may affect the material of your phone case.
- Allow the WD-40 to sit for a few minutes. This gives the product time to work on the glue and loosen its grip. The ideal time is around 5 minutes, as wiping it off too early may not provide the desired results, and waiting too long may reduce its effectiveness.
- Gently dab or wipe away the glue residue with a cotton swab. Dabbing is preferable to rubbing to avoid damaging the material of your phone case.
- If necessary, use an old toothbrush to gently scrape away any remaining residue.
- Finally, give your phone case a cool wash or rinse with water to remove any remaining residue and the WD-40 product.
By following these steps, you can effectively remove glue residue left behind by a camera protector using WD-40 on a cotton swab. This method is a quick and efficient way to deal with stubborn glue residue and will leave your phone case clean and residue-free.
Ulta's Camera Surveillance: What You Need to Know
You may want to see also

Using tweezers to remove the protector
To remove a Spigen camera lens protector using tweezers, follow these steps:
Firstly, it is important to warm up the adhesive underneath the lens protector to ensure easy removal. This can be done by using a hairdryer on a low setting and gently heating the lens protector for a few seconds.
Next, take your tweezers and gently insert one end under the edge of the lens protector. Be careful not to scratch the camera lens during this process. Once the tweezers are in place, slowly and carefully lift the lens protector away from the camera lens. Apply gentle and constant pressure to ensure the adhesive comes away from the lens without leaving any residue.
If the lens protector does not come away easily, reapply gentle heat with the hairdryer and try again. It is important to take your time and be cautious to avoid damaging the camera lens.
Once the lens protector is removed, use a soft, lint-free cloth to wipe away any remaining adhesive residue on the camera lens. Be gentle and avoid using any sharp objects or chemicals that could damage the lens.
Finally, inspect the camera lens for any signs of damage or scratches. If the lens is damaged, consider seeking professional assistance for further cleaning or repair.
Maya Camera View: Finding Your Perspective
You may want to see also

Poking a hole in the protector with a needle to lift it off
Poking a hole in the protector with a needle is an effective way to lift off a camera protector without damaging the lens. While some people opt for a pocket knife or razor blade, a needle is a safer option as it is less likely to scratch the camera lens.
To begin, locate the camera lens protector on your device. Identify the centre of the protector, ensuring that it is aligned with the centre of the lens. This step is crucial to avoid damaging the lens itself.
With a steady hand, gently poke the needle into the centre of the protector. Apply just enough force to pierce the protector and create an opening for you to lift it off. Be cautious not to press too deeply, as you could risk scratching the lens or damaging other components.
Once you have successfully punctured the protector, gently lift it off with your fingers or a tool. If needed, you can use a hairdryer on a low setting to heat up the adhesive and make the removal process easier. However, exercise caution when applying heat near sensitive electronic components.
Finally, slowly peel off the camera lens protector, ensuring that you remove all remnants of adhesive. It is recommended to use a soft, microfiber cloth to clean the lens and remove any remaining residue.
Ghostly Camera Capture: What Does It Mean?
You may want to see also

Sliding dental floss under the protector to remove it
If you're looking to remove a Spigen camera protector from your phone, one effective method is to use dental floss. This approach is ideal if you're worried about scratching your lens. Start by taking a length of dental floss and sliding it under the protector at one edge. You want to find a gap where you can get the floss between the protector and the phone's surface.
Once you've inserted the floss, gently work it under the protector, moving it along the adhesive until you reach the other side. Take care not to apply too much force, as you don't want to snap the floss or accidentally damage your phone. It's a delicate process, so go slowly and carefully.
As you slide the floss along, you may find that the protector starts to lift or peel away from the phone. If this happens, gently lift it further with your fingernail or a thin, soft tool, like a laminated card. Avoid using anything sharp or metallic, as this could damage your phone.
When you've worked the floss all the way under the protector, you should be able to carefully pull the protector away from your phone, leaving the surface clean and scratch-free. This method is a safe and effective way to remove the camera protector without causing any damage to your device.
Stream Geeni Cameras on Your TV: A Quick Guide
You may want to see also
Frequently asked questions
You can use WD-40 on a cotton swab to gently rub and peel away the glue.
You can use a pocket knife, a plastic guitar pick, a laminated card, a needle, tweezers, or dental floss.
Warm the lens with a hairdryer before removal. You can also use dental floss to slide between the lens and the protector.
Warm the lens with a hairdryer, then use a plastic tool such as a guitar pick or a laminated card to gently lift and peel the protector away.
You can use tweezers, duct tape, or dental floss to remove a camera protector.


