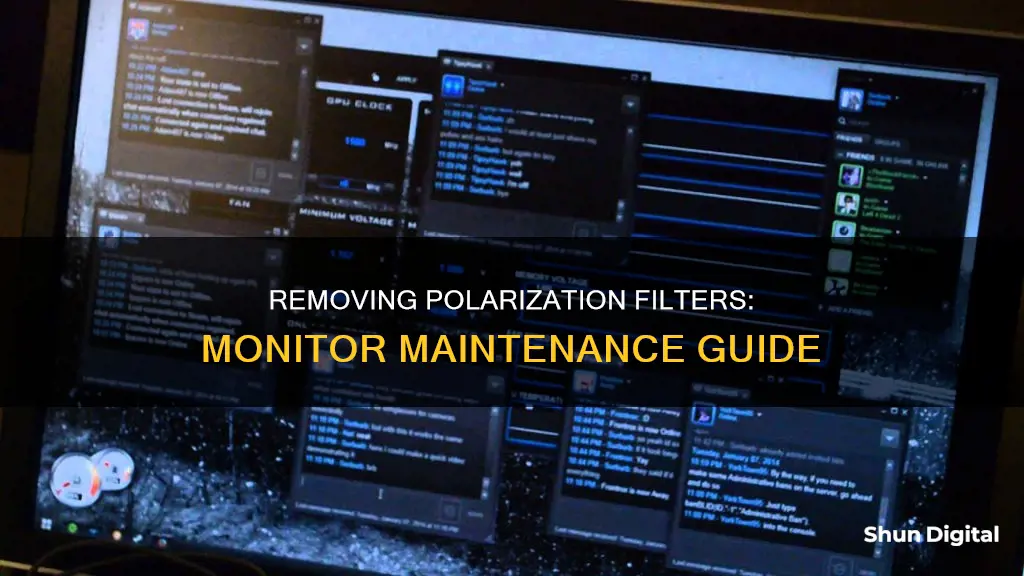
Removing the polarizing filter from a computer monitor can be a tricky task, and it is not recommended for those who are not confident in their DIY abilities. The process involves opening up the screen and potentially dealing with strong adhesives, sharp components, and delicate electronics. It is easy to damage the monitor during this process, and incorrect reassembly can lead to electric shocks or a broken display. However, for those who are confident and careful, it is possible to remove the polarization layer with tools such as a razor blade or an X-acto knife, being mindful of the potential dangers.
| Characteristics | Values |
|---|---|
| Ease of removal | Difficult |
| Potential issues | Breaking the monitor casing, electrocution, or cracking the LCD |
| Tools required | Razor blade, acetone |
| Time required | A few hours |
| Film characteristics | Has a "grain" to it, very sharp |
| Post-removal appearance | Blurry |
| Online resources | Videos, online vendors for sheets of linear polarization film |
What You'll Learn

Opening up the screen
Before you start, be aware that opening up your screen could result in you breaking your monitor casing, electrocuting yourself, or cracking the delicate LCD. You will also need a sharp blade and acetone to dissolve the adhesive.
The first step is to open up the screen. This will likely involve prying the bezel away from the screen and removing any screws holding the monitor together. Be careful not to damage the LCD in this process.
Once you have opened up the screen, you will need to locate the polarization layer. This is usually found directly behind the front bezel of the monitor. It will look like a thin film or sheet of plastic.
Now, you can start to remove the polarization layer. This may be adhered to the bezel with adhesive. If so, use a sharp blade to carefully pry it up and away from the bezel. Be extremely careful not to apply too much force, as the film is delicate and can tear easily. Work slowly and gently to avoid damaging the LCD or cutting yourself on the sharp film.
If the film is adhered with strong adhesive, you may need to use a solvent such as acetone to dissolve it. Apply the acetone to a cotton ball or soft cloth and gently rub it onto the adhesive until it dissolves. Again, be careful not to damage the LCD or surrounding components with the acetone.
Once you have removed the polarization layer, you can discard it or keep it for future use. Be careful handling the sharp film, and consider wearing gloves to protect your hands.
Finding the Hz of Your LCD Monitor
You may want to see also

Removing the polarization layer
Removing the polarisation layer from your monitor is a delicate process that requires patience and precision. Here is a step-by-step guide on how to do it:
Prepare Your Workspace:
Before beginning, ensure you have a sharp blade, such as an X-acto knife, and a razor blade. These tools will be essential for the removal process. It is also recommended to wear protective gear, such as gloves, to avoid any injuries from the sharp film.
Open the Monitor:
To access the polarisation layer, you will need to open the monitor's casing. This step can vary depending on the monitor model, so be sure to refer to a guide specific to your monitor if possible. Take your time and be cautious, as you can easily damage the internal components if you apply too much force.
Locate the Polarisation Layer:
Once you have accessed the inside of the monitor, locate the polarisation layer. It is usually adhered to the screen and may be combined with a diffusion layer to improve viewing angles. Take note of how it is attached, as this will impact the removal process.
Start the Removal Process:
Begin by gently trying to peel off the polarisation layer from a corner. If it comes off easily, slowly and carefully continue peeling, ensuring you don't tear the layer. However, if it is adhered with strong adhesive, you will need to use your tools. Gently slide the blade under the layer to loosen it, working your way around the edges. Be extremely cautious not to apply too much force, as you can easily crack the delicate LCD screen.
Dissolve Adhesive:
If the polarisation layer is firmly adhered, you may need to use a solvent to dissolve the adhesive. Acetone is a common choice for this. Carefully apply it to the adhesive areas and give it some time to work. Then, use your blade to gently lift and scrape away the layer. Remember to work slowly to avoid damaging the screen.
Handle the Film Carefully:
The polarisation film is very sharp, so be cautious when handling it. It can easily cause paper-cut-like injuries. Once removed, dispose of the film safely, keeping it out of the reach of children and pets.
Source New Film:
If you intend to replace the polarisation layer, source a new sheet of linear polarisation film from online vendors. Ensure you purchase a film without diffusion, as the combined polarisation and diffusion layers can be challenging to work with if not placed directly on the screen.
Remember, this process is intricate and can easily damage your monitor if not performed correctly. If you feel uncomfortable at any point, consider seeking professional assistance or advice.
Unlocking LCD Monitor Cases: A Step-by-Step Guide
You may want to see also

Dealing with strong adhesive
-
If the adhesive is very strong and difficult to remove, you may need to spend a few hours working on it with a razor blade. Be extremely careful not to cut yourself. You can also try using acetone to dissolve the adhesive. However, be aware that this process can be time-consuming and delicate, as the polarizer film tends to have a "grain" to it. If you start peeling from one corner and it snaps off, try the opposite corner, pulling very slowly and carefully. One wrong move and you risk cracking the glass that holds the liquid crystal in place.
Additionally, the polarizer film is very sharp, so there is a risk of getting a paper cut-style injury. Therefore, it is crucial to exercise patience throughout the process. If you are having trouble finding a corner to start peeling, try using a sharp blade, such as an X-acto knife, to gently scrape away at the adhesive. This method should not damage the glass and is a common approach when dealing with strong adhesives.
If you are concerned about damaging your monitor, it may be best to seek professional help or consider purchasing a new screen.
Troubleshooting the ASUS VP28UQG Monitor's Black Screen Issue
You may want to see also

Avoiding damage to the LCD
To avoid damaging the LCD when removing the polarisation filter from your monitor, you must proceed with caution.
Firstly, you will need to open up the screen, which may involve breaking the monitor casing. Be careful not to electrocute yourself when opening the screen. Next, you will need to remove the polarisation layer. This may simply peel off, or it may be applied with adhesive. If it is applied with adhesive, you will need to use a razor blade and acetone to carefully dissolve the adhesive. Pull very slowly and carefully, as one wrong move could crack the glass holding the liquid crystal in place.
The polarisation film is very sharp, so be careful not to cut yourself. If you are not confident in your ability to remove the polarisation film, there are vendors who can remove polarisation film from large displays.
If you are removing the polarisation film from a 3D printer, an X-Acto knife may be required to scrape away the film.
Monitor Size: Piliapp's Guide to Finding the Perfect Fit
You may want to see also

Buying a new screen
If you're looking to remove the polarizing filter from your monitor, it may be simpler to buy a new screen. This is because removing the polarizing filter from your current monitor will likely void your warranty, and there is a high risk of damaging your screen in the process.
When buying a new screen, there are a few things to consider to ensure you get the best possible experience.
Screen Type
Firstly, you should determine what type of screen you want. The two most common types are LCD (Liquid Crystal Display) and LED (Light Emitting Diode) screens. LCD screens use a liquid crystal that reacts to an electric current to display images, while LED screens use light-emitting diodes to produce light. Both technologies have their own advantages and disadvantages, so it's important to research which one would suit your needs better.
Size
The size of the screen is an important consideration, especially if you have limited space. Screen sizes are measured diagonally and range from as small as 19 inches to over 40 inches for some gaming and professional monitors. Think about how you will be using the screen and how much space you have available to determine the ideal size.
Resolution
The resolution of a screen refers to the number of pixels it can display. A higher resolution generally means a sharper image and more detailed display. The most common resolutions are 1080p (1920 x 1080 pixels) and 4K (3840 x 2160 pixels). If you're looking for a screen for gaming or professional design work, you may want to consider a 4K screen to take advantage of the higher resolution.
Refresh Rate
The refresh rate is the number of times the image on the screen is refreshed per second. This is particularly important for gaming or watching fast-paced content, as a higher refresh rate can provide a smoother viewing experience. Look for a screen with a refresh rate of at least 60Hz, but ideally, 120Hz or higher if you plan on using it for gaming.
Ports and Connectivity
Ensure that the screen you choose has the correct ports and connectivity options for your device. Common connections include HDMI, DisplayPort, DVI, and VGA. Some screens also offer USB ports for added convenience. Check your device's output options and make sure they match the input options on the screen.
Price
Finally, consider your budget and how much you are willing to spend. Screens can vary significantly in price depending on the features and specifications. By considering the above factors and comparing prices from different manufacturers, you can find the best screen that suits your needs and budget.
Remember, if you're primarily looking to remove the polarizing filter, it may be more cost-effective and safer to simply purchase a new screen rather than risk damaging your current one.
USB Microphone Setup: Hooking Up Monitors for Optimal Audio
You may want to see also
Frequently asked questions
If you have cured resin on your LCD screen that you want to remove, you may need to remove the polarizing filter.
Removing the polarizing filter from your monitor requires opening up the screen and removing the polarization layer. This process can be tricky and may damage your monitor, so proceed with caution.
You will need a sharp blade, such as an X-acto knife, and a lot of patience.
The film tends to have a "grain" to it. If one corner snaps off, try starting from the opposite corner and pull very slowly.
Manufacturers combine the polarization layer with a diffusion layer to improve viewing angles. You can purchase sheets of linear polarization film without diffusion from online vendors.


