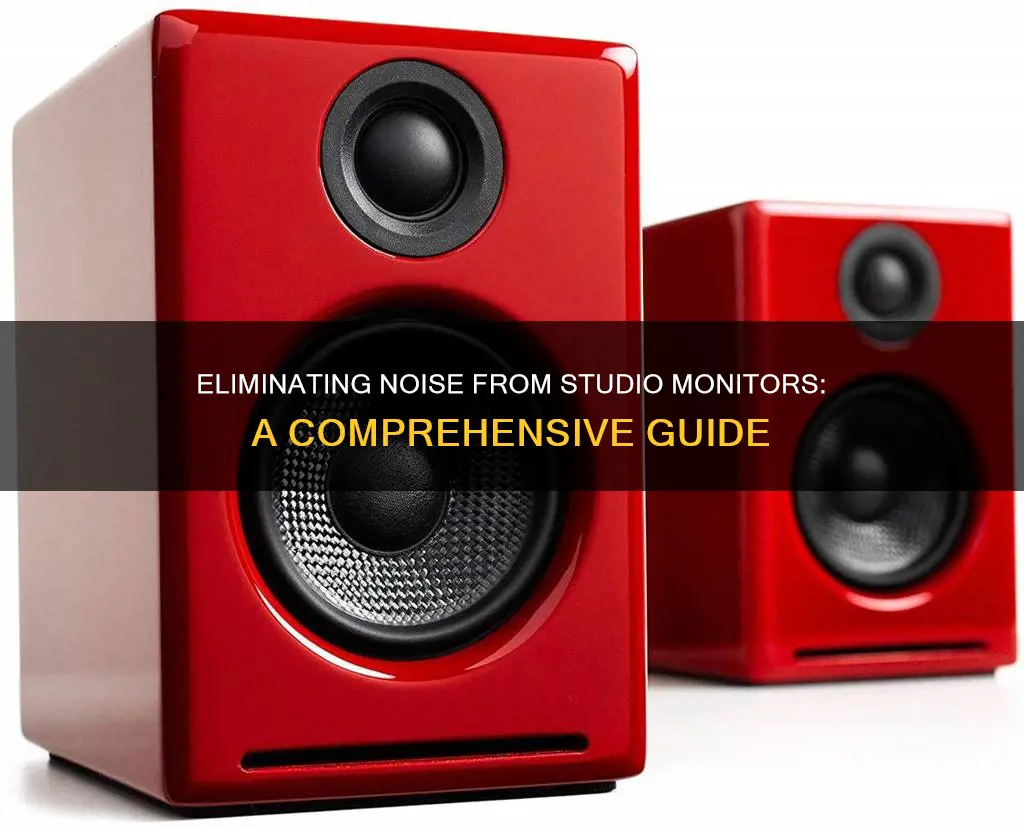
Studio monitors are an essential part of any recording setup, but they can sometimes introduce unwanted noise into your recordings. This noise can come in many forms, from high-pitched feedback and buzzing to low-frequency humming and hissing. The first step in removing noise from studio monitors is identifying the type of noise and its source. Once you know what type of noise you're dealing with, you can take specific steps to mitigate it. This may involve adjusting your equipment setup, using balanced cables, improving power conditioning, or treating your recording room acoustically. In some cases, you may need to use noise reduction techniques in post-production to remove unwanted noise from your recordings.
What You'll Learn

Identify the type of noise
The first step in removing noise from studio monitors is to identify the type of noise. There are several types of noise that can interfere with audio recordings, and each has distinct characteristics and causes. Here is a detailed guide to help you identify the type of noise you are dealing with:
Feedback
Feedback is a high-pitched squealing or whining sound that occurs when a microphone is placed too close to a speaker. This proximity allows the microphone to pick up the audio from the speaker, creating a feedback loop. Feedback is generally easy to identify and does not indicate any equipment malfunction. The solution is simply to move the microphone further away from the speaker or use headphones during recording.
Distortion
Distortion is characterised by an unnatural grinding or buzzing noise. It is usually caused by playback or recording equipment. This issue often arises when your computer, digital hardware, monitors, or speakers share the same power source. To resolve distortion, ensure that your equipment is connected to a separate power outlet and is properly grounded. Additionally, check your cables and connections, and verify that your drivers and programs are up to date.
White Noise
White noise is a constant, high-frequency "hiss" that resembles rushing air or static. It is typically caused by excessive amplification or gain at any point in the audio chain, including the monitor, software, or audio interface. To address white noise, check the levels on your interface, software, and speakers to ensure that nothing is over-amplified. Additionally, consider using balanced cables to reduce environmental interference.
Crackle and Pops
Crackle and pops are random, irregular explosive sounds. They can be fine (high-pitched and less intense) or coarse (low-pitched and longer-lasting). These noises are usually related to settings that need adjustment or, if they occur rhythmically, a damaged interface or improper driver installation. To troubleshoot, disconnect the speakers and listen through headphones to isolate the source of the noise. If the issue persists, check your settings and ensure that all software is properly installed.
Rumble
Rumble is a common low-frequency noise that results from random sound waves between specific limitation points. It is most noticeable in turntables due to ball bearings. To minimise rumble, use high-quality turntables with slide bearings, or employ rumble filters to remove the noise.
Hum
Hum is a continuous low-frequency sound, similar to a low-pitched motor whirring, typically falling in the 40-80 Hz range. It is generally caused by electrical interferences or improper grounding of recording equipment. Cheap audio interfaces and microphones can also introduce hum into recordings. To address hum, ensure proper grounding and consider upgrading your equipment if necessary.
By identifying the specific type of noise, you can better isolate the cause and implement effective solutions to improve the quality of your recordings.
Finding Your Sceptre Monitor's P/N: A Step-by-Step Guide
You may want to see also

Use balanced cables
If your studio monitors have a balanced input (usually XLR or TRS jack), you should use balanced cables to connect your audio source. Balanced cables are designed to reduce unwanted noise and interference, giving you a sound with less interference, which is important when monitoring. They are also generally better quality and are therefore more expensive than unbalanced cables.
Balanced cables use a clever trick to overcome the problem of unwanted noise. They have a second signal wire. In this scenario, signal wire 1 is referred to as the 'hot' wire and signal wire 2 is referred to as the 'cold' wire. Within the cable, these two wires are wrapped tightly together so that any noise interference is received equally by them both. The hot wire produces one audio waveform and the cold wire produces the same waveform but inverted (i.e. a mirror image). This means that when the two signals are combined, they effectively cancel each other out due to a phenomenon known as 'phase cancellation'.
The important part of this technique is that although the two audio signals are inverted, the unwanted noise interference is identical on both wires. When the signal reaches the end of the cable, something known as a 'differential amplifier' flips just the cold signal and overlays it back over the hot signal. The cold and hot signals should now be identical because only one has been inverted, and because the noise interference was the same on both cables, once one is flipped, they now cancel one another out.
This means that any unwanted noise that you would get in an unbalanced cable is silenced as the sound wave emerges from your monitor speakers. This is why the cables are referred to as 'balanced'.
Balanced cables are also excellent for long cable runs. Their noise-cancelling properties enable them to maintain signal integrity over extended distances without significant signal degradation.
If your audio interface or console does not have a balanced output, using an unbalanced TS or RCA cable of a small length (less than 5 feet) can also work, but the signal will be prone to noise interference from the surroundings.
Massive Display: Cowboys Stadium Monitor Size Revealed
You may want to see also

Adjust your levels
If you're hearing a buzz, it could be due to over-amplification. This happens when something in your setup is amplified so much that any artifacts in the sound that would typically disappear are now loud enough to hear. Even the cleanest audio can have enough artifacts to create a buzz. This is especially the case with extra-sensitive equipment.
To solve this, adjust your levels. You may need to use the process of elimination to figure out which part of your setup is buzzing. It could be the monitor, the audio interface, or even a low-quality cable.
Test each piece of equipment, one by one, to find the source of the issue. Start by turning the amplification down, one channel at a time, one piece of equipment at a time. If all of your levels are in the correct zone, and changing them doesn't fix the buzzing, listen closely to your environment to check for ambient noise you may have overlooked.
If you can't control background sounds, you may need to turn your microphones down even further than you normally would. When possible, turn off anything making extra noise in the studio or soundproof it with acoustic foam panels to keep noise from bleeding in.
Additionally, make sure that your speakers, or interface output volume, are not turned up too high. The over-usage of compression effects can often make the noise floor prominent. Set your compressor's threshold to a higher value and ratio to a lower value to minimize this negative effect; this will also give your mix much more dynamic range.
Remember, every electronic audio device with variable gain can be "turned up" to a level where inherent noisy artifacts become audible.
Resetting Your ASUS Monitor: Back to Basics
You may want to see also

Use a power conditioner
A power conditioner is a device that can help to reduce noise in your studio setup by addressing power-related issues. It is an effective solution when you have too much gear plugged into a single power source, which can create electrical or digital noise.
How Power Conditioners Work
Power conditioners have two primary functions: regulating voltage output and filtering noise, such as electromagnetic interference (EMI) and radio frequency interference (RFI). They may also offer surge and spike protection, depending on the brand and model.
Fluctuations in voltage can cause your equipment to age faster and not perform optimally. A power conditioner helps maintain a consistent voltage supply, allowing your gear to function at its peak performance.
Additionally, a power conditioner acts as a noise reduction plugin for your power supply. It filters out electrical noise, such as EMI and RFI, that may be introduced into your audio signal, resulting in unwanted sounds like hums and crackles.
Benefits of Using a Power Conditioner
Using a power conditioner offers several advantages:
- Improved Audio Quality: By reducing electrical noise and regulating voltage, power conditioners ensure noise-free playback, which is crucial for accurate editing and mixing.
- Protection from Power Surges: Power conditioners provide surge and spike protection, safeguarding your equipment from unexpected electrical events like power line issues or faulty transformers.
- Extended Gear Lifespan: By stabilising the voltage supply, power conditioners help extend the lifespan of your equipment, protecting them from premature ageing due to voltage fluctuations.
- Energy Efficiency: Over time, using a power conditioner may even lead to energy efficiency and potential savings on your power bill.
Choosing a Power Conditioner
When purchasing a power conditioner, consider the following:
- Circuit Breaker: Decide between a manual or auto-reset circuit breaker.
- Filtering Capabilities: Look for a power conditioner that specifies the types of noise it can filter out.
- Power Capacity: Ensure the power conditioner has sufficient power capacity for your needs; typically, you wouldn't want to go below 1800 Watts.
- Protection Circuit: Opt for a unit that includes surge and spike protection to safeguard your equipment.
Example: ART PRO Audio Power Conditioner
The ART PRO Audio Power Conditioner is a popular choice, offering eight outlets and four outlets that are 1.25 inches apart, perfect for accommodating bulky power blocks. It features a sturdy steel chassis and is rack mountable. While it is reasonably priced, it is essential to note that it is designed for North American use at 120V.
A power conditioner is an effective tool to minimise noise in your studio setup by addressing power-related issues. It ensures clean and stable power for your equipment, resulting in improved audio quality and extended gear lifespan. When choosing a power conditioner, consider your specific needs in terms of power capacity, filtering capabilities, and protection features.
Monitoring CPU Usage: A Comprehensive Guide to Tracking Performance
You may want to see also

Use a frequency analyser
To remove noise from studio monitors, you can use a frequency analyser. This tool helps identify and address specific types of noise by visualising the frequency spectrum of the audio signal.
To start, open the frequency analyser software and connect your studio monitors to your computer. Play the audio you want to analyse through the monitors, and the software will display a visual representation of the frequency content.
The frequency analyser will show a graph with frequency on the x-axis and intensity or amplitude on the y-axis. Different types of noise will appear as distinct patterns or spikes on the graph. For example, electrical interference might show up as a spike at a specific frequency, while rumble or hum might appear as a broad peak in the lower frequencies.
Once you've identified the type of noise, you can use the analyser to apply filters or equalisation to reduce or eliminate it. For instance, if you see a spike at a particular frequency, you can use a notch filter to attenuate that frequency. Or, if there's a broad peak, you might use a low-pass or high-pass filter to reduce the amplitude of those frequencies.
It's important to note that while a frequency analyser can be very effective, it's a more advanced technique that requires some knowledge of audio engineering and acoustics. Additionally, this method is best suited for addressing specific, identifiable types of noise rather than general background noise.
Stuck Pixels: How to Spot Them on Your Monitor
You may want to see also
Frequently asked questions
Feedback occurs when a microphone is placed too close to a speaker, creating a feedback loop. To remove this noise, you can either move the microphone further away from the speakers or use headphones instead of speakers.
Digital distortion is caused when your monitors are connected to the same power source as your computer or other digital hardware. To fix this, ensure your monitors are connected to a separate power source and use a power conditioner to cut down on electrical interference.
White noise is caused by over-amplification. To remove this noise, ensure that the gain or amplification is not turned up too high on your monitor, software, or audio interface. Also, check that your microphone is not picking up ambient noise in the room, such as air conditioning or outside noise.
These noises are usually caused by software setup and configuration issues or an incompatible device driver. To fix this, check your device driver and ensure that your software is properly installed and configured.
These noises are often caused by grounding issues or electrical interference. To fix this, use balanced cables to connect your monitors, try a different power outlet, and use a power conditioner to reduce electrical noise.


