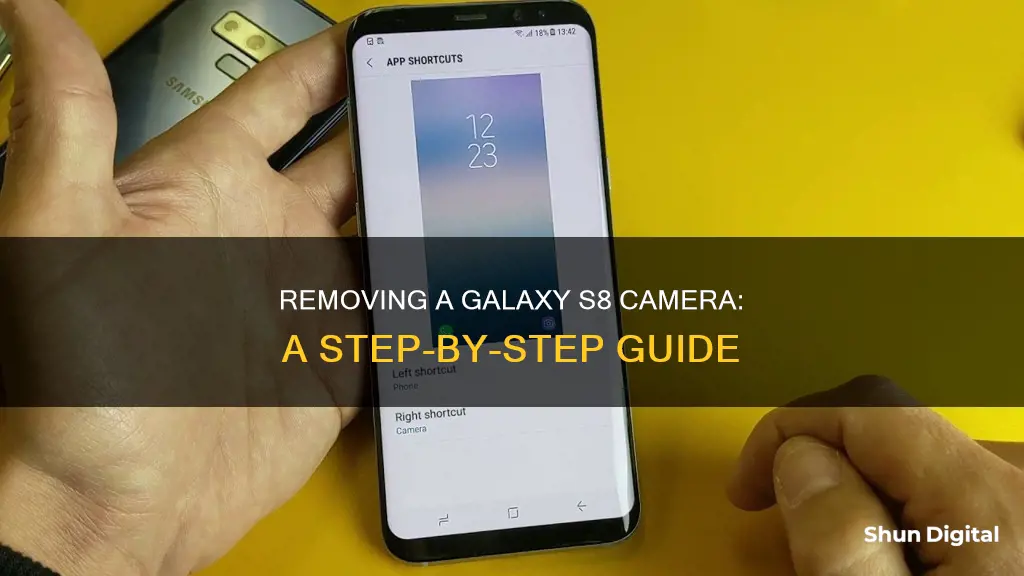
If you want to remove the camera from your Samsung Galaxy S8, you will need to follow a detailed set of steps. This process involves disassembling your phone, which can be complex and requires caution. It is important to note that opening your phone will compromise its waterproof seals, so you should have replacement adhesive ready before starting. Additionally, to ensure safety, it is recommended to discharge the battery below 25% before beginning the process, as a punctured battery can catch fire or explode. The procedure includes removing the rear glass cover, disconnecting various components, and carefully prying out the camera module. You will need specific tools and replacement parts, such as a flat plastic prying tool, a hair dryer or heat gun, tweezers, and a new rear camera.
What You'll Learn

Discharge the battery below 25%
It is important to discharge the battery of your Samsung Galaxy S8 below 25% before attempting to remove the camera. This is because there is a chance that the battery could catch fire or explode if it is accidentally punctured during the removal process. Discharging the battery reduces the risk of this happening.
Lithium-ion batteries, such as those found in the Samsung Galaxy S8, have a lower risk of thermal runaway and explosion when they are not fully charged. This is because the voltage of a lithium-ion battery varies depending on its state of charge. When a lithium-ion battery is fully charged, it has a higher voltage and can become unstable, leading to an increased risk of thermal runaway. By discharging the battery below 25%, you reduce the risk of a critical event occurring if the battery is damaged during the removal process.
In addition to safety concerns, discharging the battery can also help preserve its longevity. For lithium-ion batteries, it is generally recommended to maintain a charge level between 20% and 80% to ensure optimal performance and slow capacity degradation. Keeping the battery within this range helps to reduce stress on the battery and minimize the risk of long-term damage.
Furthermore, discharging the battery can also be beneficial for calibration purposes. Over time, batteries can become less accurate at reporting their state of charge. By fully discharging the battery and then recharging it, you can help the battery recalibrate and provide more accurate readings. This process can improve the reliability of the battery's charge level indicator and help you better manage your device's power usage.
Removable Lenses: Are They Truly Professional Cameras?
You may want to see also

Heat the iOpener
Heating the iOpener is the first step in removing the camera from a Galaxy S8. This is a crucial step, as it will help you to safely remove the rear glass cover of your phone.
Before you begin, ensure that your microwave is clean, as any residue may end up stuck to the iOpener. Place the iOpener in the centre of the microwave. If you have a carousel microwave, ensure that the plate spins freely. Heat the iOpener for 30 seconds. The time may vary depending on the wattage of your microwave. The iOpener is ready when it is barely too hot to touch.
During the repair, you will need to reheat the iOpener. Do this for an additional 30 seconds at a time. Be careful not to overheat the iOpener, as this may cause it to burst. Do not heat it above 100˚C (212˚F). If the iOpener appears swollen, do not touch it. If the iOpener is still too hot to handle, allow it to cool down before reheating. A properly heated iOpener should retain warmth for up to 10 minutes.
When handling the heated iOpener, always hold it by one of the two flat ends to avoid the hot centre. You may wish to use an oven mitt for added protection.
If you do not have access to a microwave, you can heat the iOpener using boiling water. Simply fill a pot or pan with enough water to fully submerge the iOpener. Heat the water until it boils, then turn off the heat. Place the iOpener in the water for 2-3 minutes, ensuring that it is fully submerged. Use tongs to remove the iOpener from the hot water, and dry it thoroughly with a towel. As before, only handle the iOpener by the end tabs.
Your iOpener is now ready to use!
Hidden Cameras: Watching Youngsters, Safely and Securely
You may want to see also

Prepare the back cover
Before you begin, make sure your Samsung Galaxy S8 is switched off. This is important, as you don't want the phone to be on while you're removing the back cover.
The back cover of the Galaxy S8 is glued on, so you will need to use a heat gun or a regular hairdryer to loosen the adhesive. Heat the back cover all around, paying extra attention to the edges, as this is where the glue is strongest. Be careful not to overheat the phone, as the OLED display and internal battery are susceptible to heat damage.
Once the back cover is warm, use a flat, flexible tool like an iPlastix or iFlex to gently pry between the back glass and the frame. You may need to reheat the phone several times during this process to keep the glue soft. Work your way around the entire edge, using a plectrum to keep the gap open once you've inserted your tool.
If the back cover is cracked, you may need to use strong tape or super glue a suction cup to the surface to create a seal and allow you to lift the cover.
As you lift the back cover, be very careful not to damage the fingerprint sensor cable, which is located under the camera. Lift the cover slightly to disconnect the cable, then set it aside.
Now that you have removed the back cover, you can begin the process of removing the camera.
Is Your Smart TV Watching You?
You may want to see also

Remove the rear glass
Before you begin, ensure your phone battery is discharged below 25%. This is because the battery can catch fire and/or explode if accidentally punctured, but the chances of that happening are much lower if discharged.
You will need replacement adhesive to reattach the back cover to the phone.
Heat the iOpener in the microwave for 30 seconds. If you don't have a microwave, heat the iOpener in a pot of boiling water for 2-3 minutes.
Apply the heated iOpener to a long edge of the S8 for about 2 minutes. You may need to reheat and reapply the iOpener several times to get the phone warm enough. A hairdryer, heat gun, or hot plate may also be used, but be careful not to overheat the phone—the OLED display and internal battery are both susceptible to heat damage.
As you wait for the adhesive to soften, read the next steps to get an idea of where to pry.
The adhesive on the rear case is laid out as seen in the first image below. The prying pattern as seen from the outside of the phone is as follows:
- Thick portions of adhesive
- Thin areas of adhesive
- Avoid prying here, to protect the fingerprint sensor
Once the back panel is warm to the touch, apply a suction cup as close to the heated edge of the phone as you can while avoiding the curved edge. If the phone's back cover is cracked, the suction cup may not stick. Try lifting it with strong tape, or super-glue the suction cup in place and allow it to cure so you can proceed.
Lift on the suction cup, and insert an opening pick under the rear glass. Due to the curved glass, you will be pushing up, rather than inserting parallel to the plane of the phone.
Once you have the tool firmly inserted into the glass, reheat and reapply the iOpener to soften the adhesive. Slide the opening pick down the side of the phone, separating the adhesive. Go slowly so that the tool doesn't slip out of the seam. If cutting becomes difficult, reheat and reapply the iOpener.
Repeat the previous heating and cutting procedure for the remaining three sides of the phone. Leave an opening pick on each side as you continue to the next step to prevent the adhesive from resealing.
The fingerprint sensor cable connects the phone to the rear glass near the main camera. The cable is very short and should disconnect as the rear glass is removed. As you lift the glass, peek in to be sure the orange cable with a blue connector has disconnected.
Use the opening picks to slice through any remaining adhesive and open the phone slightly. If the fingerprint sensor cable seems snagged or stays taut, do not open the phone any further. Disconnect the connector with the point of a spudger before proceeding.
Understanding the Lens of Public Perception
You may want to see also

Disconnect the fingerprint sensor
Disconnecting the fingerprint sensor is a crucial step in removing the camera from a Galaxy S8. The fingerprint sensor is located on the back of the device, right next to the main rear-facing camera lens. Here is a detailed guide on how to disconnect the fingerprint sensor:
Locate the Fingerprint Sensor
The first step is to locate the fingerprint sensor, which is usually found on the back of the device, next to the camera lens. This placement can be inconvenient and may result in a smudged lens.
Loosen the Back Cover
Before you can access the fingerprint sensor, you need to remove the back cover of the Galaxy S8. The back cover is glued on, so you will need to use a heat gun or a hairdryer to loosen the adhesive. Apply heat around the edges of the back cover, being careful not to overheat the phone as it can damage the OLED display and internal battery. Once the adhesive is softened, use a flat, flexible tool to gently pry between the back glass and the frame. You may need to reapply heat during this process.
Lift the Back Cover Slightly
Once you have loosened the back cover all around, lift it very slightly. Be cautious as the fingerprint sensor cable is connected to the phone near the main camera, and you don't want to accidentally damage it.
With the back cover slightly lifted, you can now disconnect the fingerprint sensor. Carefully detach the fingerprint sensor cable from the spudger. Make sure you don't pull too hard or use excessive force, as this could damage the cable.
Complete Back Cover Removal
After disconnecting the fingerprint sensor, you can now completely remove the back cover. Set it aside and ensure that the fingerprint sensor cable is not snagged or caught on any components.
By following these steps, you will successfully disconnect the fingerprint sensor, allowing you to proceed with removing the camera from your Galaxy S8. Remember to work carefully and slowly to avoid any damage to the internal components of your device.
Stream Wyze Camera Footage to Your TV: Easy Steps
You may want to see also
Frequently asked questions
You will need a flat plastic prying tool, a Phillips #000 screwdriver, tweezers, and replacement adhesive. You may also need a heat gun or hairdryer, and a suction cup.
First, switch off your device and remove the SIM and microSD card tray. Next, remove the back cover, being careful not to break the glass. Disconnect the fingerprint sensor, remove the plastic covers, and disconnect the battery contact. Then, remove the speaker, followed by the motherboard. Finally, you can remove the rear camera.
Before beginning, ensure that your battery is discharged below 25% to avoid the risk of fire or explosion. Throughout the process, be careful not to overheat any components, as this may cause damage. Additionally, ensure that you store your screws safely to avoid mixing up the various types and sizes.


