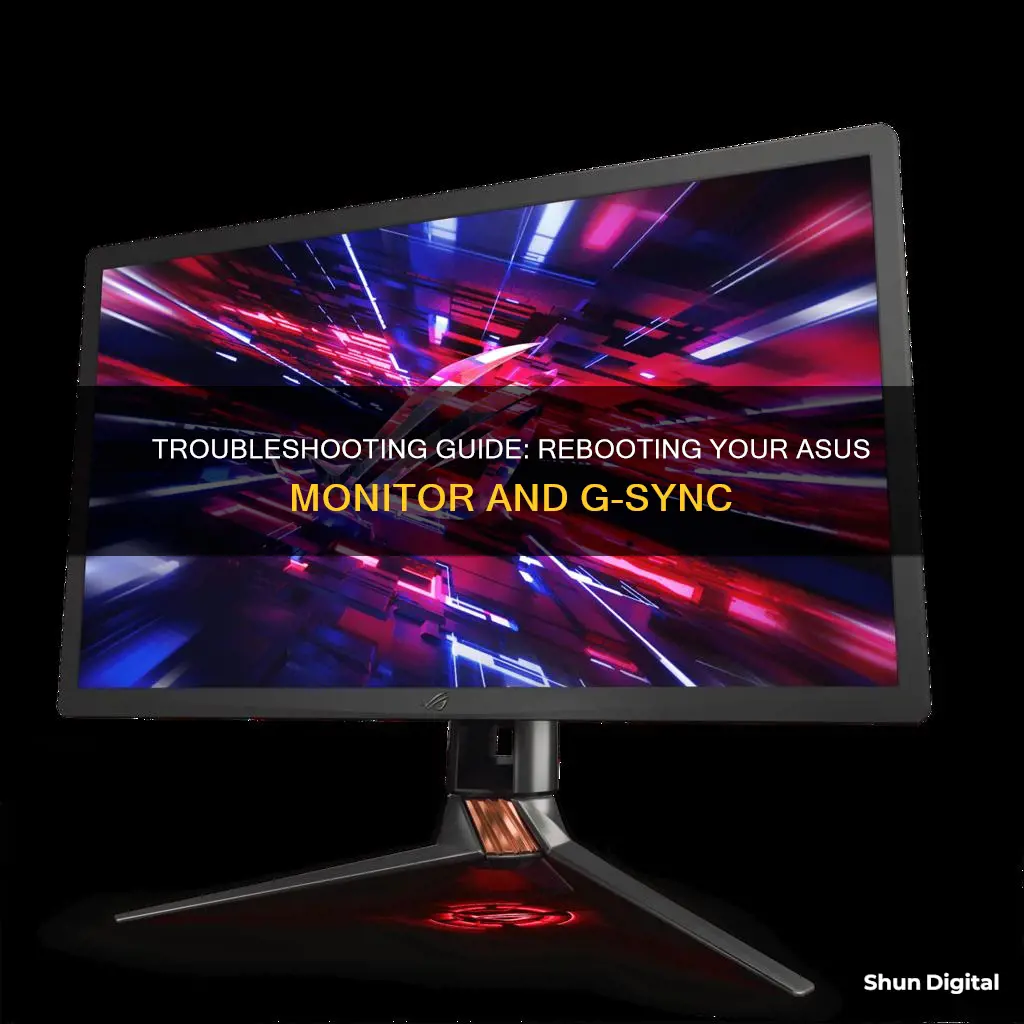
G-Sync is a technology developed by NVIDIA to eliminate screen tearing and minimize display stutter and input lag. It can be a nuisance when G-Sync is not working on your ASUS monitor. There are several ways to fix this issue, including: disabling monitor sleep in Windows settings, disabling deep sleep in the monitor's settings, restarting your PC, reconnecting the display port, or updating your NVIDIA drivers. If you're still having issues, try loading GPU-Z and using the Save BIOS option to restart the graphics driver.
| Characteristics | Values |
|---|---|
| How to check if G-Sync is running | There is a light indicator for different gaming modes. When G-Sync is on, it shows a red light. |
| How to enable G-Sync | G-Sync will be automatically enabled by the NVIDIA driver with a compatible graphics card. It can also be manually enabled via the control panel under the G-Sync menu option. |
| Troubleshooting G-Sync not turning on after PC wakes | 1. Disable putting the monitor to sleep in Windows settings. 2. Disable "deep sleep" in the settings on the monitor itself. 3. Load GPU-Z and use the option to "Save BIOS" to restart the graphic driver. |
| Troubleshooting G-Sync options not showing in the control panel | 1. Check if the NVIDIA graphics card is compatible (GTX 650 Ti Boost or higher spec) and if the drivers are installed correctly. 2. Download and install the latest NVIDIA driver and Control Panel. 3. Check if the NVIDIA Control Panel shows that you have a G-Sync Capable Display. |
What You'll Learn

Check if G-Sync is running
To check if G-Sync is running on your ASUS monitor, look for the light indicator. When G-SYNC is on, the light indicator will show a red light.
If you're playing a game and want to verify that G-Sync is enabled, click on the Display option from the NVIDIA Control Panel menu bar, then select Show indicator for G-Sync. Depending on the type of monitor connected, the menu item could state Show indicator for G-Sync, Show indicator for G-Sync Compatible, or Show indicator for G-Sync/G-Sync Compatible. The indicator will appear on your screen to let you know whether G-SYNC is turned on.
If you're unsure whether G-Sync is working, you can try the Gsync Pendulum Demo, a test tool from Nvidia that lets you cycle between Vsync, no Vsync, and Gsync. You can also adjust the framerate to observe the differences.
Additionally, if you have your monitor show the refresh rate, and it is as high as the fps in a game (below 144 FPS), it is likely that G-Sync is functioning correctly.
Asus VE278: Webcam Ready LCD Monitor?
You may want to see also

Update your NVIDIA driver
To update your NVIDIA driver, you can use the NVIDIA Update program, which will notify you when a new driver is available and direct you to the relevant driver page on www.nvidia.com. Here is a step-by-step guide on how to update your NVIDIA driver:
- Install a Release 270 or later GeForce/ION driver from www.nvidia.com. When you install this driver, you will be given the option to install NVIDIA Update.
- Once NVIDIA Update is installed on your PC, the program will scan your hardware configuration and your current driver version. This information will be sent to NVIDIA and matched to their driver database to check for updates.
- You can configure how often you want NVIDIA to check for updates, whether you want notifications for beta drivers, and whether you want system tray balloon notifications.
- To access the NVIDIA Update control panel, you can either right-click on the windows desktop, select the NVIDIA Control Panel, and navigate to Help > Updates, or right-click on the new NVIDIA logo in the windows system tray and select "Check for updates" or "Update preferences".
- On the Preferences tab in the NVIDIA Update control panel, you can enable or disable NVIDIA Update, change how often your PC will check for updates, enable or disable system tray balloon notifications, enable or disable beta driver notifications, and enable or disable automatic game and program profiles.
- On the Updates tab, you can view available and installed updates and manually check for the latest updates by clicking the "Check for Updates" button.
- If there is a new update available, click on the hyperlink for the update or the system tray pop-up balloon when a notification appears. This will take you to the relevant driver page on www.nvidia.com, where you can download and install the latest driver.
Alternatively, you can manually download the latest NVIDIA drivers from www.nvidia.com without using NVIDIA Update. To do this, simply navigate to the driver download page on the NVIDIA website and download the latest driver for your specific NVIDIA product.
Monitoring Individual Data Usage: Router Firmware Options
You may want to see also

Check your display cable
If you are experiencing issues with your ASUS monitor, it is a good idea to check the display cable. This is a simple process, and you should start by checking that the signal cable (VGA/DVI/HDMI/DisplayPort) is connected properly. Check both ends of the cable, ensuring that it is firmly connected to the monitor and the computer input port (graphics card). If you are unsure, unplug and plug the two terminals again, being careful to ensure that all pins are straight and not bent.
If you are still experiencing issues, try replacing the cable with another identical signal cable (VGA/DVI/HDMI/DisplayPort). Again, ensure that the cable is connected properly at both ends. If you do not have another identical cable, try connecting your monitor to another computer (PC/Notebook) to see if the issue is with the cable or the monitor itself.
If you are still experiencing issues, try pressing the OSD button. If the menu shows, use the reset function to return to the initial value of the screen. If the issue persists, press and hold the "MENU" key, then select MENU > System Setup > Restore factory mode (Reset) > select "Yes".
If none of these steps resolve the issue, you may need to contact the ASUS Service Centre for further assistance.
Deltek's Internet Monitoring: What You Need to Know
You may want to see also

Update your NVIDIA Control Panel
To update your NVIDIA Control Panel, you will need to first access the NVIDIA Update control panel. There are two ways to do this.
The first method involves right-clicking on your Windows desktop and selecting the 'NVIDIA Control Panel' option. Once you have opened the control panel, navigate to the Help menu and select Updates.
The second method involves right-clicking on the new NVIDIA logo in the Windows system tray and selecting 'Check for updates' or 'Update preferences'. This will direct you to the NVIDIA Update control panel.
Once you have accessed the NVIDIA Update control panel, you will be able to view and select any available updates. You can also manually force a search for the latest updates by clicking the 'Check for Updates' button. If there is a new update available, you can click on the hyperlink for the update, or on the system tray pop-up balloon when a notification appears. This will direct you to the relevant driver page on www.nvidia.com for your hardware.
It is important to note that NVIDIA Update provides notifications for GeForce and ION GPUs for desktop and notebook PCs. Other NVIDIA GPUs are not supported at this time. Additionally, ensure that your hardware meets the minimum system requirements for G-Sync, such as using a compatible NVIDIA GPU (GTX 650 Ti Boost or higher) and having the correct drivers installed.
Locking Your Asus PB238Q Monitor: A Step-by-Step Guide
You may want to see also

Check your device manager
If you're experiencing issues with your ASUS monitor's G-SYNC feature, it may be necessary to reboot the G-SYNC module. G-SYNC is a technology developed by NVIDIA to eliminate screen tearing and minimize display stutter and input lag.
Open the Device Manager: There are several ways to do this, depending on your Windows version. For Windows 10, you can:
- Press the Windows Logo + X key combination on your keyboard, then select "Device Manager" from the list.
- Type "Device Manager" in the search box on the taskbar or Start Menu, then select it from the menu.
- Go to the Start Menu, click "Settings," navigate to "System > About," and then scroll down and click "Device Manager."
- Open the Control Panel by clicking the Start Menu, typing "Control Panel," and then clicking the icon. From there, click the "Hardware and Sound" category, and then select "Device Manager."
- Use the "Power User" menu by pressing Windows + X or right-clicking the Start button. Select "Device Manager" from the list.
- Use the Command Prompt by typing "devmgmt.msc" and pressing Enter.
- Once the Device Manager is open, navigate to the "Monitors" section.
- Right-click on your ASUS monitor and select "Properties."
- In the Properties window, check the "Driver" tab. Ensure that your monitor driver is up to date and compatible with G-SYNC. If not, you may need to update or reinstall the driver.
- Additionally, check the "Events" tab in the Properties window. This tab will provide information about any recent issues or errors related to your monitor. This information can be helpful in troubleshooting.
- If you notice any issues with your monitor driver or related hardware, you may need to update, rollback, or reinstall the driver. This can often be done through the Device Manager by right-clicking on the driver and selecting the appropriate option.
- After making any necessary changes, restart your system and check if G-SYNC is functioning properly.
Remember that G-SYNC requires compatible hardware, including a supported NVIDIA GPU and a G-SYNC-capable monitor, such as the ASUS PG series model. Ensure that your system meets the minimum requirements before attempting to use G-SYNC.
The Ultimate Guide to Calibrating Your ASUS Monitor
You may want to see also
Frequently asked questions
You can try restarting your PC or reconnecting your display port. If this doesn't work, check that you have the latest NVIDIA driver and Control Panel installed.
You can try disabling sleep mode for your monitor in your Windows settings.
G-Sync should be automatically enabled by the NVIDIA driver with a compatible graphics card. It can also be manually enabled via the control panel under the G-Sync menu option.
There is a light indicator for different gaming modes. When G-Sync is on, it shows a red light.
You will need a monitor that supports the G-Sync feature, such as the PG series model, a supported NVIDIA GPU, Windows 7, 8.1, or 10, and Display Port 1.2 direct support from the GPU.


