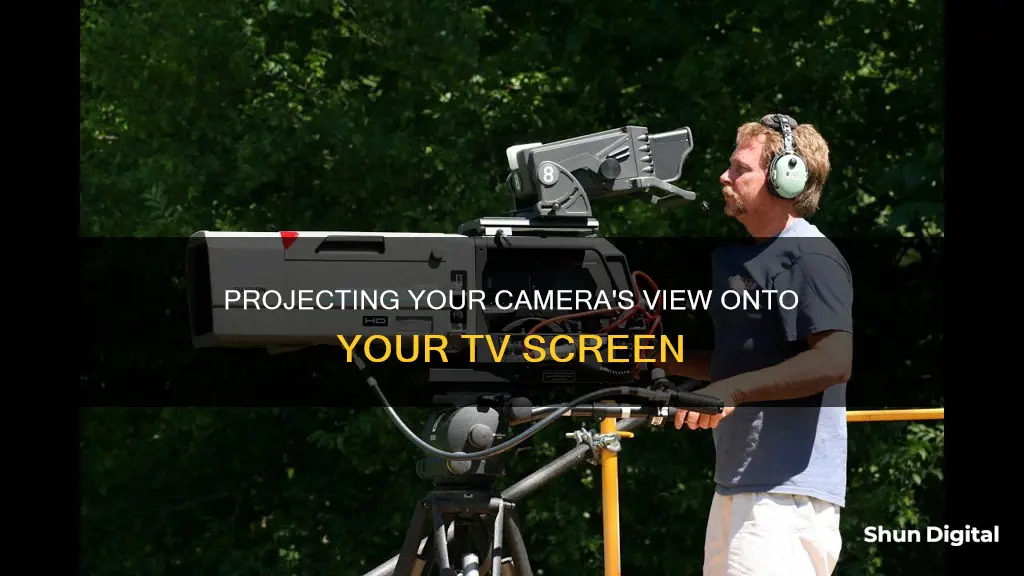
There are several ways to project a camera to a TV, and the method you choose will depend on the type of camera and television you have. Before connecting the camera to your TV, it's important to ensure that your TV is compatible with the camera. This includes checking the supported TV input (e.g., HDMI, AV, or BNC) and video resolution. Once you've determined that your camera and TV are compatible, you can use a cable such as HDMI, A/V, USB, or Ethernet to connect them. Alternatively, if you have a smart TV, you may be able to connect your camera wirelessly by using a dedicated mobile app or downloading the camera brand's app directly to your TV.
Characteristics of projecting a camera to a TV
| Characteristics | Values |
|---|---|
| Camera type | Security camera, camcorder, digital camera |
| Connection type | Wired (HDMI, USB, Ethernet, A/V, S-Video, i.LINK, BNC, RCA, Coaxial), Wireless (Wi-Fi, Bluetooth) |
| TV type | Smart TV, older TV models |
| TV input | HDMI, AV, BNC, USB, Ethernet, VGA, AUX |
| Camera input | HDMI, USB, Ethernet, A/V, S-Video, i.LINK, BNC, RCA, Coaxial |
| Resolution | 960H, D1, CIF, High-Definition |
| Additional equipment | DVR, NVR, VCR, converter, adapter |
What You'll Learn

Connecting a camcorder to a TV using an A/V cable
There are several ways to connect a camcorder to a TV, including using an A/V cable, an S-Video cable, an i.LINK® cable, an HDMI® cable, or a USB cable. If you want to connect your camcorder to a TV using an A/V cable, follow these steps:
First, locate the A/V inputs on your TV. Newer models usually have yellow, red, and white connectors on the side or back. Attach the A/V cable to the TV first, as this will ensure you have enough cable length to reach your camcorder. Insert the cable into the colour-matching slots labelled 'Video In' and 'Audio In'. If your camcorder uses an S-Video connection, disregard the yellow composite cable and attach the S-Video and red-white stereo cables.
Next, attach the A/V cable to the camcorder. Match the colour-coded cables to the connection labelled 'Audio/Video Out'. Set the camcorder to Playback Mode (or VCR Mode on older models). Turn on your TV and select the correct video input. If you're using an A/V cable, you'll likely need to use the AUX input. Finally, begin playing the media on your camcorder.
If your camcorder has standard A/V output jacks, use standard A/V cables for the connection. If your camcorder has a mini A/V output jack, use an A/V cable with a mini connection on one end. Refer to your camcorder's instruction manual for model-specific information.
School Bus Camera Footage: Who's Watching?
You may want to see also

Using an S-Video cable to connect a camcorder to a TV
There are several ways to project a camera to a TV, and one of them is by using an S-Video cable. Here is a detailed, step-by-step guide on how to do this:
Firstly, it is important to ensure that both your camcorder and television have an S-Video jack. S-Video, or Separate Video, is a standard for carrying standard-definition video signals. If both your devices have the necessary S-Video jack, you can proceed to the next step.
Now, take your S-Video cable and connect one end to the S-VIDEO IN jack on the television. S-VIDEO IN is typically labelled or colour-coded, making it easy to identify. Once you have successfully connected the cable to the TV, move on to the next step.
With the first end of the S-Video cable connected to the TV, it's time to connect the other end to your camcorder. Simply locate the S-VIDEO OUT jack on your camcorder and connect the corresponding end of the S-Video cable. This step is crucial in establishing the connection between the two devices.
In addition to the S-Video connection, you will also need to connect an audio cable to ensure sound transmission. Connect one end of the audio cable to the left and right audio input jacks on the television. Typically, these audio jacks are colour-coded or labelled to ensure proper connection.
After connecting one end of the audio cable to the TV, take the other end and connect it to the audio output jacks on your camcorder. By doing so, you will enable the sound transmission from the camcorder to the television.
Now that all the necessary connections are in place, it's time to turn on your camcorder and set it to playback mode. This mode allows the camcorder to transmit the recorded media to the television for viewing. Once playback mode is activated, you can proceed to the final step.
Finally, turn on your television and tune it to the appropriate video input to receive the signal from the camcorder. Depending on your TV model, you may need to refer to the instruction manual to correctly tune it to the right video input. Once you have followed these steps, you should be able to view the media from your camcorder on your television, successfully projecting your camera's feed to the larger screen.
Hooking Up Night Owl Cameras: TV Connection Guide
You may want to see also

Connecting a security camera to a TV with a DVR
There are several ways to connect a security camera to a TV with a DVR, and the specific steps will depend on the type of camera you have. Here is a general guide:
First, ensure that your TV is compatible with your security camera. Check that your TV has the required input, such as HDMI, AV, or BNC. Also, verify that your TV can display the camera's video quality. For instance, older TV models may not support high-definition video feeds.
For CCTV cameras (analog cameras), you will typically need to use a coaxial or RCA cable to connect to your TV. These cameras usually have lower image resolutions like 960H, D1, and CIF.
For HD-over-Coax security cameras, which are a type of analog camera capable of high-definition video transmission, you will need to use BNC connectors and a coaxial cable.
- Connect your security camera to the DVR using Eternal cables for digital cameras or BNC cables for analog cameras.
- Use an HDMI or VGA cable to connect the DVR to your TV. Modern DVRs typically support HDMI for improved image quality.
- Power on the DVR and TV, then configure the correct input source on your TV.
- Once the setup is complete, access the camera feeds on your TV through the DVR's interface.
You can also use an NVR instead of a DVR to connect your security camera to your TV. The main difference is that DVRs and NVRs support distinct types of security cameras.
Moto 360 Watch: Camera Feature or Missing Component?
You may want to see also

Connecting a security camera to a TV without a DVR
There are several ways to connect a security camera to a TV without a DVR. Here is a step-by-step guide on how to do it:
Using an HDMI Cable:
- Purchase an HDMI female-to-BNC male converter that suits your needs.
- Connect the converter to the CCTV camera using a standard BNC cable.
- Connect the converter to the HDMI port on your television using an HDMI cable.
- Turn on your TV and select the appropriate HDMI input source.
Using an AV (Composite) Cable:
- Obtain an RCA converter and a BNC cable.
- Plug the BNC cable into your camera.
- Connect the RCA converter to the BNC cable.
- Plug the RCA converter into the AV input on your TV.
- Turn on your TV and select the AV input source.
Note that this method may not support HD quality signals, so it is not ideal for HD cameras.
Using a VGA Cable:
- Ensure your CCTV camera supports AV-out or VGA-out functions. Most cameras do, but you can refer to the manual guide for confirmation.
- Prepare a VGA cable (VGA-to-VGA) and an RCA cable for audio (2 RCA male-to-male).
- Connect the BNC connector and RCA connector to your camera. BNC is for video, and RCA is for audio.
- Connect the VGA cable to your TV, computer monitor, or LCD screen.
- Connect the RCA cable to your TV for audio.
Using a Component Cable:
- Plug the power adapter into a power outlet and run the cable to your camera.
- Connect the component video output on your security camera to the component video input on your TV, usually found on the back.
- Turn on your TV and switch to the component video input by pressing the "Input" or "Source" button on the remote control.
If you want to connect multiple security cameras, you will need to purchase additional component video cables and a component video switch box, as most TVs only have one component video input.
Using a USB Cable:
- Most modern security cameras come with a USB port. Simply connect the camera to your TV using a USB cable.
- Turn on your TV and select the USB input source.
This method will allow you to view the camera feed on your TV without the need for any additional adapters or converters.
Business Surveillance: Watching My Cameras from Home
You may want to see also

Connecting a camcorder to a TV using an HDMI cable
First, ensure that your camcorder and TV are both turned off. This is important to prevent any potential damage to the devices and to ensure a smooth connection.
Next, locate the HDMI port on your camcorder. Modern camcorders are typically equipped with an HDMI port, which allows for a high-quality connection to your TV. The HDMI port on your camcorder may be labelled as "HDMI OUT" or "HDMI Output".
Once you have located the HDMI port on your camcorder, connect one end of the HDMI cable to it. Then, connect the other end of the HDMI cable to an available HDMI input port on your TV. You can usually find these ports on the back or side of your television.
After establishing the physical connection, turn on both the camcorder and the TV. Set the camcorder to Playback Mode, which may also be labelled as "Movie Playback Mode" or "VCR Mode" on older models.
Finally, change the input on your TV to match the HDMI port you are using. For example, if you connected the camcorder to HDMI port 3, select HDMI 3 as the input source on your TV. You can usually do this by pressing the "Input" or "Source" button on your TV remote and selecting the corresponding HDMI input.
By following these steps, you should now be able to view the footage from your camcorder on your TV, enjoying superior quality thanks to the HDMI connection.
It is worth noting that while HDMI provides excellent video and audio quality, there are alternative connection methods available, such as using A/V cables or USB connections, which may be more suitable for older devices or specific use cases.
Mastering the Art of Spy Camera Wristwatches
You may want to see also
Frequently asked questions
First, locate the A/V inputs on your TV and attach the A/V cable to the TV. Insert the cable into the colour-matching slots on the TV labelled Video In and Audio In. Attach the A/V cable to the camera, matching the colour-coded cables to the connection labelled Audio/Video Out. Set the camera to Playback Mode and turn on your TV, selecting the correct video input. Begin playing the media on your camera.
Connect the HDMI cable to the HDMI jack on the camera. Connect the other end of the cable to an available HDMI input jack on your TV. Turn on the TV and set the camera to Playback Mode. Change the input on your TV to whichever HDMI port you are using.
Connect the USB cable to the USB jack on the camera. Connect the other end of the USB cable to the USB input jack on the TV. Turn on your TV and put the camera into Playback Mode. Change the input on your TV to USB.
If your wireless security camera comes with its own application, download and launch the app on your phone. Connect your security camera to Wi-Fi and use an app like Google Home to stream the video from your phone to your TV.


