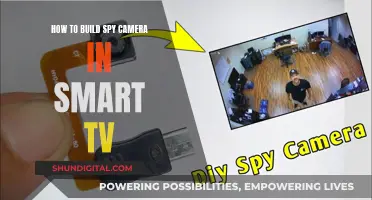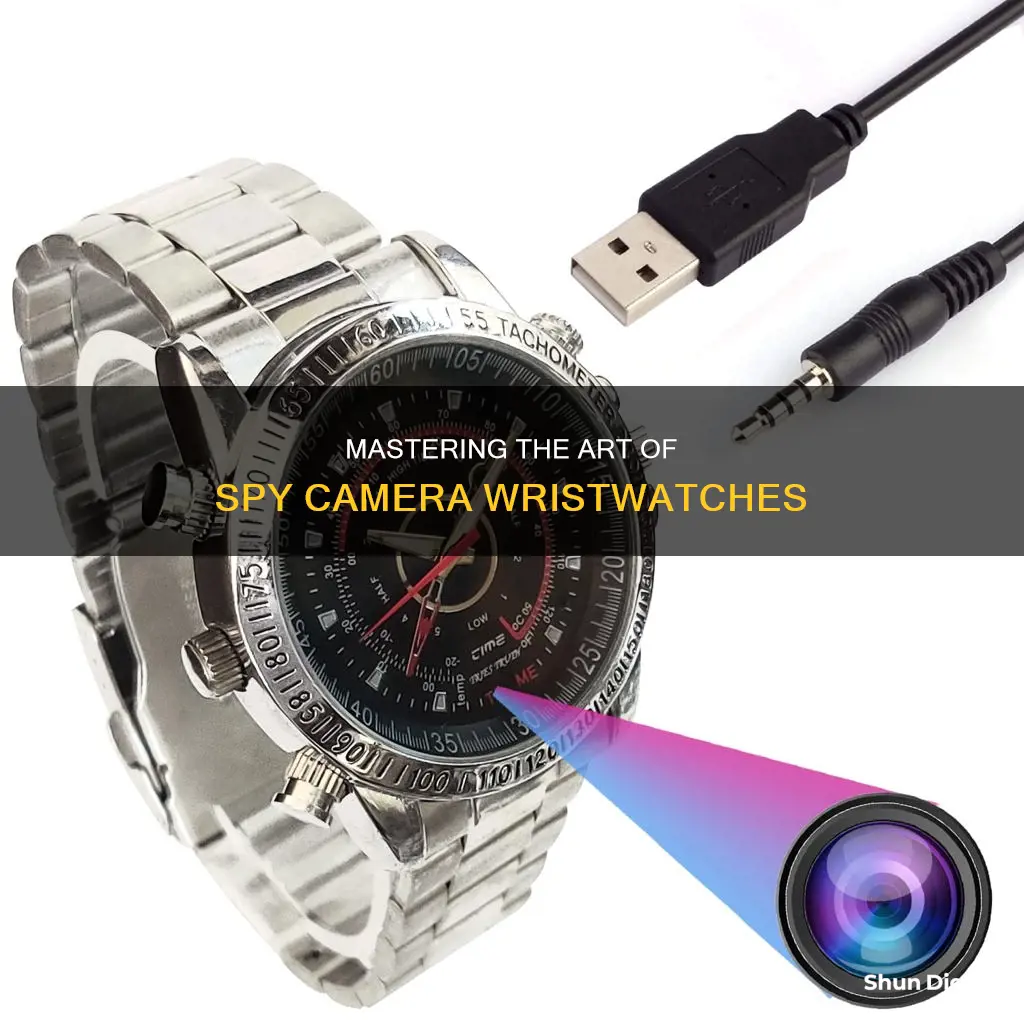
If you're looking to channel your inner spy, a spy camera wristwatch could be your next gadget. While these devices can be tricky to use at first, you can become a pro in no time by following some simple instructions. Before you embark on your first mission, it's crucial to understand the specifics of your spy watch, including its specifications, image quality, and waterproof rating. Once you've familiarised yourself with the basics, it's time to explore the world of memory and storage options. Some watches use a micro SD card, while others have built-in internal memory. After sorting out the memory, you can move on to pairing your device with a smartphone or computer via Bluetooth. This will allow you to view and manage your recordings easily. To capture footage, you'll need to navigate the buttons on your watch, typically located at the 10 o'clock and 2 o'clock positions. These buttons control various functions, including powering the watch, voice and video recording, taking photos, and activating night vision. Remember to always check the user manual for specific instructions, as button functions can vary across different models.
| Characteristics | Values |
|---|---|
| Charging | Locate the charging port, usually covered on the side or back of the watch. Connect the provided USB charger to the port, and plug the other end into a power source. |
| Water Resistance | The watch is water-resistant but not waterproof. It can withstand occasional splashes but should not be submerged. Check the manufacturer's rating and do not exceed the specified limits. |
| Storage | Some watches have built-in memory, while others require a micro SD card. Check the specifications and insert a compatible card if needed. Format the storage if necessary. |
| Pairing | Turn on Bluetooth and pair the watch with your smartphone or computer to view and manage recordings. You may need to enter a pairing code or use a connection app. |
| Buttons | The buttons are usually located around the watch face at the 10 and 2 o'clock positions. The 10 o'clock button is for powering, voice recording, and video recording. The 2 o'clock button is for photos, mode switching, and night vision. |
| Video Recording | Press and hold the 10 o'clock button until the red LED flashes. Release, and the watch will start recording. Press and hold again to stop. |
| Data Transfer | Power off the watch. Locate the hidden storage compartment, remove the memory card, and insert it into a computer. Access the video files once the card is recognised. |
| Camera Location | The camera is usually at the bottom of the case, above the bezel, but can also be on the sides or front. |
| Maintenance | Keep the battery charged, storage empty, and the lens clean with a microfiber cloth or lens pen. |
What You'll Learn

Charging the battery
To ensure your spy camera wrist watch is always ready for action, it's important to keep the battery charged. Here's a detailed guide on charging the battery of your spy watch:
Locating the Charging Port:
The charging port on your spy watch is typically located on the side or back of the device. It may be covered by a small rubber or silicone flap to maintain its discreet design. Before you begin charging, locate this port and ensure that it is clear of any debris or obstruction.
Connecting the Charger:
Use the provided USB charger that came with your spy watch. Connect one end of the USB cable to the charging port on the watch. The other end of the USB cable can then be plugged into a power source. You can use a computer, a wall adapter, or a portable power bank for charging.
Monitoring the Charging Process:
Keep an eye out for a charging indicator light. Typically, this light turns red or orange when the watch is charging and changes to green or turns off once the device is fully charged. Remember to disconnect the charger once the watch is fully charged to preserve the battery's lifespan.
Turning Off the Watch:
Some models of spy watches require the device to be powered off for effective charging. Before initiating the charging process, ensure that you have turned off your spy watch. This is an important step to ensure the charging process works as intended.
By following these steps, you can ensure that your spy camera wrist watch is always powered up and ready for any mission or covert operation. A well-charged battery will give you the confidence to capture those crucial moments without worrying about a dead battery. Now you're ready to embark on your next spy adventure!
Cromebook Camera: Is Your Privacy at Risk?
You may want to see also

Memory and storage options
When selecting a spy camera, it is crucial to consider the trade-off between memory and battery life. A high-capacity memory card can increase storage space, but if the battery life is insufficient, the camera will stop recording before the memory is full. Conversely, a camera with high battery life and inadequate memory will result in shorter recording times as the memory fills up quickly. Therefore, it is essential to balance memory capacity and battery life to ensure optimal performance.
To optimise memory and battery life, consider the recording resolution. Higher resolutions, such as 4K ultra-high definition, produce sharper images but consume more storage space and battery power. Lower resolutions may be suitable if extremely high image quality is not necessary, resulting in longer recording times.
Additionally, the required memory capacity depends on various factors, including the desired recording resolution, the length of individual recordings, and the frequency of camera usage. It is recommended to have at least three times the memory capacity compared to the total planned recording duration to accommodate unforeseen events and ensure smooth operation.
Some memory cards offer voice-activated recording, while others provide up to 100 days of battery life or cloud storage options. When choosing a spy camera, consider your specific needs and select a device with the appropriate memory and storage options to meet your surveillance requirements.
Mounting Cameras to Sky-Watcher: A Comprehensive Guide
You may want to see also

Pairing with a smartphone or computer
Pairing your spy watch camera with your smartphone or computer is essential for viewing and managing your recordings. Here is a step-by-step guide on how to do it:
Firstly, turn on your spy watch camera. If your device has Bluetooth, enable this feature. From your smartphone or computer, search for available Bluetooth devices and select your spy watch camera from the list. Follow any on-screen instructions to pair the two devices. You may be asked to enter a pairing code, which can be found in your watch manual. Alternatively, the system might guide you through a connection app.
Once the two devices are paired, you can access and manage your videos and photos through your smartphone or computer. You can now explore and utilise your new spy watch camera to its fullest potential!
If you wish to connect your spy watch camera to a computer, there are a few extra steps. First, ensure the spy watch camera is turned off. Then, locate the USB port on the device, which is usually hidden beneath a cover or as part of the wristband to maintain its discreet design. Connect a USB cable to the spy watch camera's USB port, and then plug the other end of the cable into an available port on the computer. Your computer should then automatically detect the device, allowing you to access the files on the memory card and transfer them to your computer for safekeeping.
CVS Camera Surveillance: What You Need to Know
You may want to see also

Navigating the buttons
Firstly, locate the buttons on your spy watch. Typically, these are placed around the watch face, with the main buttons at the 10 o'clock and 2 o'clock positions. The 10 o'clock button is usually for powering the watch, voice recording, and video recording, while the 2 o'clock button is for taking photos, switching between modes, and activating night vision.
Now, let's go through the step-by-step process of using these buttons:
- Familiarize yourself with the buttons and their functions. Each button has multiple features, so make sure you know exactly what each press does.
- When activating a function, apply a gentle yet firm press to the button. This will minimize accidental usage, ensuring you don't start recording or taking photos unintentionally.
- To start video recording, press and hold the 10 o'clock button until a red LED light flashes. Release the button and wait for the camera to initialize—when the red LED light stops flashing, you're ready to record.
- To stop the video recording, simply press and hold the 10 o'clock button again. The red LED light will blink a few times as the recording is saved.
- For taking photos, you'll generally use the 2 o'clock button. Press this button once to capture a photo.
- If you need to switch between different modes, such as video, photo, and voice recording, you'll also use the 2 o'clock button. A single press or long-press can switch between these modes, depending on your watch model.
- To activate night vision, you'll typically press the 2 o'clock button twice. The red LED will start flashing, indicating that night vision mode is active.
Remember, while these are general guidelines, specific button functions may vary between different watch models. Always refer to the user manual provided with your spy watch for detailed instructions specific to your device.
Surface Cameras: Watching or Just an Urban Myth?
You may want to see also

Starting and stopping video recording
To start recording a video on your spy camera wrist watch, press and hold the 10 o'clock button until a red LED light flashes. Release the button and let the red LED light flash momentarily as the camera initializes. Once the red LED light stops flashing, the camera will start recording.
On some watches, a different button may need to be pressed to start recording. Always refer to the user manual for your specific device, as button functions can differ between models.
To stop the video recording, simply press and hold the 10 o'clock button again. The red LED light will blink a few times to indicate that the recording is being saved.
Now you know the basics of starting and stopping a video recording on your spy camera wrist watch. With practice, you'll become more comfortable with the process and can focus on capturing the moments you need discreetly and effectively.
Target's Camera Surveillance: Who's Watching?
You may want to see also
Frequently asked questions
First, locate the charging port. This is typically on the side or back of the watch, covered with a small rubber or silicone flap. Connect the provided USB charger to the port, then plug the other end of the USB cable into a power source. A light may indicate the watch is charging and when it is fully charged. Remember to turn off the watch before charging, as some models require this.
Familiarize yourself with the buttons and their functions. The buttons are usually located around the watch face at the 10 o'clock and 2 o'clock positions. To start recording video, press and hold the 10 o'clock button until a red LED light flashes. To stop recording, press and hold the same button again. To take a photo, ensure the watch is in standby mode, then press the 2 o'clock button.
Ensure the spy watch is turned off, then locate the USB port, which is usually hidden beneath a cover or as part of the wristband. Connect a USB cable to the port, then plug the other end into your computer. Your computer should then automatically detect the device. You may need to install specific drivers or software for your computer to recognize the watch.


