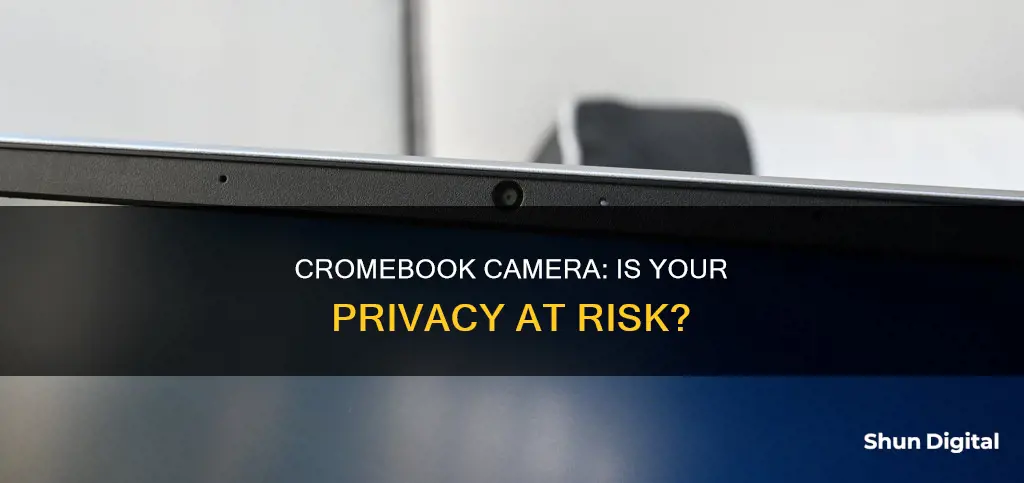
Chromebooks have a range of camera features that can be used for various purposes. These include taking photos, recording videos, QR scanning, document scanning, and video calling. The camera app on a Chromebook has a built-in QR scanner and document scanner, eliminating the need for third-party apps or a physical scanner. Users can also record their screens, which is useful for recording gameplay or creating tutorials. While Chromebooks offer many camera features, privacy concerns may arise. Users can manage their camera and microphone settings to protect their privacy, including blocking access on all levels and services if desired.
| Characteristics | Values |
|---|---|
| Camera Access | Can be managed by the user. |
| Camera Features | Take photos, videos, edit and print photos, scan documents, QR codes, and create time-lapse videos and GIF animations. |
| Video Calling | Google Meet, Google Duo, Zoom, and Microsoft Teams can be used for video calling. |
| Webinars | Can join or host webinars using apps like Cisco Webex. |
| External Camera | Chromebooks support the use of an external camera for wide-angle photos and adjusting video recording angles. |
What You'll Learn

Protect your privacy by managing access to your camera and microphone
To protect your privacy on Chrome OS, you can manage access to your camera and microphone. If your Chromebook has a physical camera switch, make sure it's turned on.
To give camera access on your Chromebook: Turn on Camera access. If you turn off Camera access, it blocks access on all levels and services. To grant permissions to your camera, select the apps you want to grant camera access to.
Under "Privacy controls", select the type of permission you want:
- On: If Camera access is turned on, apps and system services can access your camera.
- Off: Apps with this permission can't access your camera even if Camera access is turned on.
For Chrome browser or web applications, you can select "Ask" or "Block". "Ask" means that to access your camera every time they start, Chrome browser needs to ask for your permission. "Block" means Chrome browser can't access your camera even if Camera access is on.
For Android applications, you can select "Ask every time" or "Denied". "Ask every time" means that to access your camera every time they start, applications need to ask for your permission. "Denied" means applications can't access your camera even if Camera access is turned on.
To change camera permission in the Chrome browser, in the address bar, enter chrome://settings/content.
To protect your privacy on Chrome OS, you can also manage access to your microphone. If your Chromebook has a physical microphone switch, make sure it's turned on.
To set microphone access on your Chromebook: Turn on Microphone access. If you turn off Microphone access, it blocks access on all levels and services. To grant permissions to your microphone, select the apps you want.
Under "Privacy controls", select the type of permission you want:
- On: If Microphone access is turned on, apps and system services can access your microphone.
- Off: Apps with this permission can't access your microphone even if Microphone access is turned on.
For Chrome browser or web applications, you can select "Ask" or "Block". "Ask" means that to access your microphone every time they start, Chrome browser needs to ask for permission. "Block" means Chrome browser can't access your microphone even if Microphone access is turned on.
For Android applications, you can select "Ask every time" or "Denied". "Ask every time" means that to access your microphone every time they start, applications need to ask for permission. "Denied" means applications can't access your microphone even if Microphone access is turned on. Access will be blocked all the time.
To change microphone permission in the Chrome browser, in the address bar, enter chrome://settings/content.
Android Smartwatches: Camera-Equipped or Not?
You may want to see also

Take photos with a Chromebook
Taking photos with a Chromebook is easy. Firstly, sign in to your Chromebook and open the Camera app. You can do this by selecting the Launcher in the corner of your screen and then choosing the Camera app from the bottom row of options. Once the app is open, you can click the shutter button to take a photo. By default, the photo will be taken in landscape orientation, but you can click "Square" to change the shape of your photo.
There are a few other features you can use when taking photos on a Chromebook. You can mirror your photo by selecting "Mirroring", which flips the image from left to right. You can also use gridlines to help you straighten your photo before you take it by selecting "Grid". If you want to take a photo with a delay, you can use the "Timer" feature, which gives you a three or 10-second delay. You can also switch between cameras if your Chromebook has two built-in cameras or if you have plugged in an additional one.
Once you've taken your photo, you can view it in the Gallery app by clicking on the thumbnail in the bottom-right corner of the Camera app. You can also see all your photos by opening the Gallery app and clicking on a photo to view it in the display area. If you want to delete a photo, select it and then click the trash can icon.
Employee Surveillance: Is It Legal to Watch Your Workers?
You may want to see also

Record videos with the Chromebook Camera app
The Chromebook Camera app is a versatile tool that allows you to record videos for various purposes, from birthday wishes to official announcements. Here's a step-by-step guide on how to record videos using the Chromebook Camera app:
Step 1: Open the Camera App
To begin, open the Camera app on your Chromebook. You can find it by clicking the "Search" button on the keyboard and searching for "Camera," or by going to the launcher menu and looking for the camera icon. The Camera app icon usually looks like a camera or a similar image.
Step 2: Switch to Video Mode
Once the Camera app is open, you'll notice that it defaults to Photo mode. To record a video, you'll need to switch to Video mode. Simply click or tap on the "Video" icon located next to the camera shutter button. This will change the camera mode to Video.
Step 3: Start Recording
Now that you're in Video mode, it's time to start recording. Look for the "Record" button, which is usually a circle with a red dot or icon that indicates recording. Press this button to start capturing your video. The icon will change its appearance to let you know that recording is in progress.
Step 4: Stop Recording
When you're finished recording, simply press the "Record" button again, or you may see a "Stop Recording" button. This will end the video capture and save your video to your Chromebook.
Step 5: Preview and Find Your Videos
After recording, you can preview your video by opening the Gallery app or clicking the thumbnail of the most recent video in the bottom right corner of the Camera app. To find your saved videos, go to the Files app and select "Downloads." You can also rename your videos by right-clicking and selecting "Rename."
Additional Tips:
- Lighting is essential: If your video looks grainy, try improving the lighting. If possible, film outdoors or in a well-lit room.
- Use an external camera: For enhanced video quality, consider using an external camera with better specifications. You can connect it to your Chromebook via a USB port.
- Try alternative apps: Explore Chromebook extensions like ClipChamp and Webcam Toy, which offer advanced features, especially useful for external webcams.
Big Brother: Is the Government Spying on Us?
You may want to see also

Scan documents with your Chromebook
Scanning documents with your Chromebook is easy. You can use your Chromebook's default Camera app or scan documents using a printer. Here's how to do it:
Using Your Chromebook's Camera App:
- Ensure your Chromebook is updated to the latest version of Chrome OS and that your device has a working webcam.
- Open the Camera app from the app drawer.
- In the app, select the "Scan" option from the multiple choices at the bottom.
- Choose the "Document" option from the two scanning options: "Document" and "QR code".
- Place your document in front of the camera, aligning the edges within the frame on your screen.
- Adjust the document as needed for a decent scan.
- Press the Shutter button. The app will detect the document, crop it automatically, and separate it from the background.
- After scanning, choose to save the document as an image or a PDF. If you're not satisfied with the result, select "Retake" to try again.
- You can also fine-tune the cropped area by pressing "Fix" or use the "Share" button to share your document.
Using a Printer:
For HP Printers with Embedded Web Server (EWS):
- Find your HP printer's IP address by checking the built-in menu under Preferences > Options > Wireless Settings (or similar).
- Open Google Chrome and type the printer's IP address into the URL field to access the printer menu.
- Select the "Scan" tab. If you see an error, go to "Settings" > "Administrator Settings", enable "Webscan", and then return to the "Scan" tab.
- Adjust any desired scan settings, such as output document type, resolution, and quality.
- Select "Start Scan" to initiate the scanning process.
- The scanned document will appear in a new browser tab. Right-click on the image and choose "Save image as" to save it to your Chromebook or Google Drive account.
For Epson Printers with Scan to Cloud:
- Visit the Epson Connect web page and create a new account.
- Sign in and set up your preferred cloud service (such as Google Drive) to save your scans.
- Select the "Scan to Cloud" setting on your Epson control panel to initiate the scan and send it to your chosen cloud service.
- Access the cloud service with your Chromebook to retrieve the scanned document.
Galaxy Watch 6: Camera Expectations and Realities
You may want to see also

Use an external camera with your Chromebook
You can improve your photos and videos by connecting an external camera to your Chromebook. An external camera with better specifications can help you take wide-angle photos, adjust the angle of your video recordings, and more.
Panning, tilting, and zooming are available for all the major external cameras available for Chromebooks. You can effectively zoom in to magnify yourself. Moreover, the external camera settings are synchronized with video calling apps automatically.
To use an external camera with your Chromebook, you may need to connect it to your Chromebook via USB. You can refer to YouTube tutorials for a step-by-step guide on how to connect your external camera to your Chromebook.
It's worth noting that if your Chromebook has two built-in cameras, you can switch between them by selecting "Switch camera" on the left side of the screen. This option is also available if you plug in an external camera.
Who's Watching? Camera Privacy and Security Concerns
You may want to see also
Frequently asked questions
Yes, you can use the camera on your Chromebook to take photos or videos of yourself. You can also use it for video calling.
Yes, you can use the built-in camera app on your Chromebook to scan documents and share them with others. You don't need a physical scanner or any third-party document scanning apps.
Yes, to protect your privacy on ChromeOS, you can manage access to your camera and microphone. You can turn off camera access on "Privacy controls" to block access on all levels and services.


