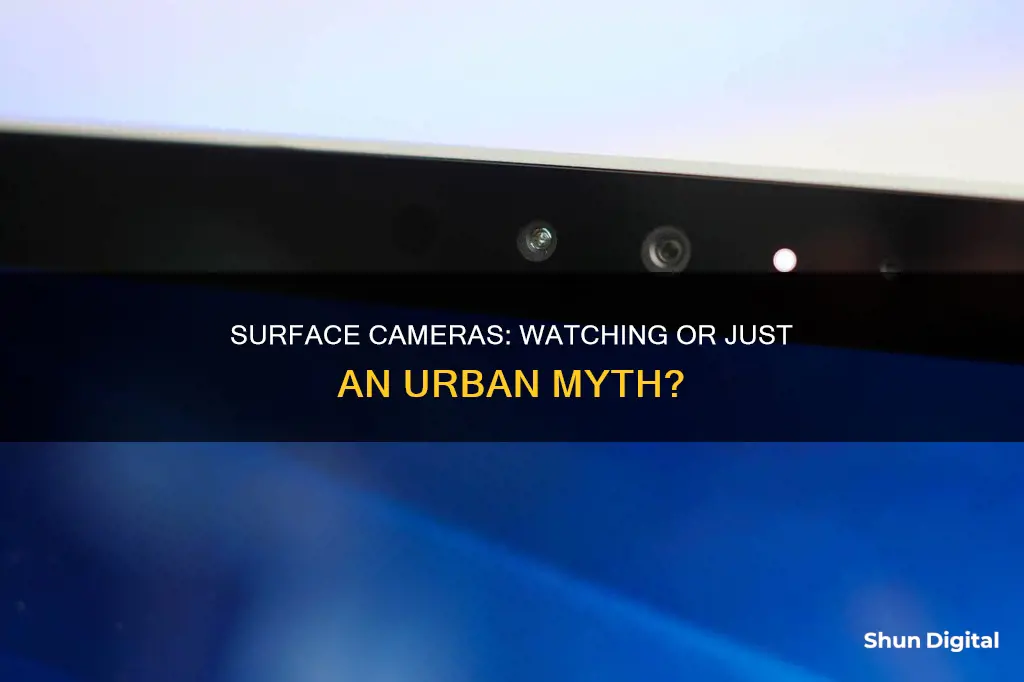
Microsoft Surface devices have both front-facing and rear-facing cameras. The front-facing camera can be used for video conferencing, while the rear-facing camera can be used for recording videos or taking photos. While the cameras offer convenience and functionality, some users have raised concerns about privacy and the potential for unauthorized access. In this topic, we will explore the capabilities of Surface cameras, discuss privacy implications, and provide tips for ensuring your camera is secure and not accessible to malicious actors.
| Characteristics | Values |
|---|---|
| Number of cameras | 2: front-facing and rear-facing |
| Camera resolution | 5MP still images and 1080p video |
| Camera use | Video conferencing, recording video, snapping photos, unlocking your computer |
| Camera issues | Bugs, hardware issues, outdated drivers, incorrect camera selected, conflicting apps, privacy settings, antivirus software |
What You'll Learn

Microsoft Surface cameras: a privacy concern?
Microsoft's Surface devices have become increasingly popular, especially with the rise of remote working. The built-in cameras on these devices are a key feature, offering high-quality video and images. However, with the ever-growing concern over privacy and the threat of hacking, are Microsoft Surface cameras a cause for concern?
The Case for Concern
In today's digital age, privacy is a significant concern for many. The very notion of a device 'watching' us is an unnerving one. Microsoft Surface devices are equipped with both front-facing and rear-facing cameras, which can be easily switched between. These cameras are capable of capturing high-resolution images and videos, which, if accessed by malicious actors, could pose a serious privacy threat.
Protecting User Privacy
Microsoft has addressed privacy concerns by implementing a dedicated camera LED that is controlled by the camera itself and not the device's software. This means that whenever the camera is active and sending data, the LED light is illuminated, making it nearly impossible for hackers to disable the light and use the camera without a user's knowledge. This feature is designed to provide peace of mind and protect users from potential webcam hijacking.
Additional Measures
While Microsoft has taken steps to ensure user privacy with the LED light, some may still seek further reassurance. Aftermarket camera shutters or a simple piece of tape can be used to physically block the camera when not in use. Additionally, users can mute the device's volume to disable the camera shutter sound, ensuring that no one is alerted when a photo is taken.
While the cameras on Microsoft Surface devices have come under scrutiny, the company has taken proactive measures to protect user privacy. The inclusion of a dedicated camera LED that cannot be controlled by software is a significant step towards ensuring that users are aware of when the camera is active. With these safeguards in place, users can feel more secure, although additional physical measures can be implemented for those seeking further peace of mind.
Cromebook Camera: Is Your Privacy at Risk?
You may want to see also

How to check if your camera is on
There are several ways to check if your camera is on. Here are some methods to try:
Check the camera indicator light
Most webcams have a small red, green, or blue indicator light near the lens that lets you know if your camera is recording. If you see the light flashing, it means your camera is in use. If the light is glowing steadily, it means the camera is recording video.
Observe the camera
If your camera moves from side to side, makes noises, or adjusts its lenses, it is likely that the camera is on and being controlled remotely.
Check your storage files
If someone is using your camera to record footage, you may find video or audio storage files that you did not create. Check your webcam recordings folder for any unfamiliar files. The hacker may have also changed the location of the files, so check your webcam settings to ensure the saved files location folder is the one you selected.
Check for unknown applications
If your webcam is running, but you did not activate it, it may be running as part of an unknown application. Go to your system's privacy settings to see which apps have access to your camera. You can also launch Task Manager and select the Processes tab to check if the camera process is running.
Run a malware scan
If you suspect an unknown application is controlling your webcam, run a malware scan on your computer to identify and remove any viruses or malware.
Check your camera security settings
Check your camera's security settings for any changes. For example, your password may have been changed to its default setting, you may no longer be able to change the settings, or the firewall protection may have been turned off.
Check the data flow
Monitor your network traffic for any sudden spikes in data usage, which could indicate that your camera is sending data without your knowledge.
Check your device manager settings
If you are using a Microsoft Surface device, you can check your camera status in your Device Manager settings. From your desktop, click on the Windows menu, select Device Manager, and then System Devices to expand the menu of your computer's devices. Double click on either Microsoft Camera Front or Microsoft Camera Rear, and select Enable or Disable Device as needed.
Additionally, when using a Microsoft Surface camera, a small privacy light will appear near the active camera when it is in use. This light cannot be turned off.
The Camera's Eye: Passive Observer or Active Participant?
You may want to see also

Using your camera for video conferencing
Video conferencing has become a staple of our daily lives, whether it's for work, socialising, or even family catch-ups. It's important to understand how to use your camera for video conferencing effectively, especially if you're working from home.
Choosing the Right Camera
The first step is to choose a camera that suits your needs. If you're using a laptop, it most likely has a built-in camera, but you can also purchase a separate webcam for better quality. Consider the following:
- Video Resolution: Aim for a camera that can record in at least 1080p resolution. 4K is ideal for presentations or high-detail work but requires more processing power.
- Field of View (FOV): If you're often in meetings by yourself, a simple webcam with a narrower FOV will suffice. For larger groups, consider a camera with a wider FOV or a pan/tilt/zoom (PTZ) function.
- Audio Pickup: Ensure the camera has a good microphone, especially if you're in a noisy environment. Omni-directional microphones are ideal for picking up sound from all over the room.
- Compatibility: Make sure the camera is compatible with your devices and conferencing software.
Setting Up Your Camera
Once you've chosen your camera, it's time to set it up:
- Positioning: Place the camera at seated eye level to replicate the experience of speaking to someone in person.
- Lighting: Ensure your camera has adequate lighting. Ring lights or other external light sources can help improve video quality.
- Background: Choose a suitable background for your calls. A plain background or virtual background can enhance your video's professionalism or privacy.
Using Your Camera
Now that your camera is set up, it's time to use it effectively during video conferences:
- Eye Contact: Maintain eye contact with your audience by looking directly into the camera when speaking.
- Framing: Ensure you're properly framed in the shot. Use the camera's zoom or PTZ functions to adjust your position if needed.
- Gestures: Use hand gestures and body language to emphasise your points, but be mindful of staying within the camera's frame.
- Muting: Remember to mute your microphone when you're not speaking to reduce background noise.
- Etiquette: Be mindful of video conferencing etiquette, such as muting during meetings with many participants or using the chat function for questions.
Monster High: Frights, Camera, Action! Streaming Options Revealed
You may want to see also

Taking photos and videos with your Surface
Your Surface has cameras that you can use to take pictures, unlock your computer, and more. The cameras on your Surface depend on which model you have. The Windows Hello camera and front-facing camera are above the screen. With the screen facing you, the back camera is in the middle towards the top edge of your Surface.
Using the Windows Hello Camera
Windows Hello lets you log in to your computer faster by using your face. For more information on setting this up, go to Learn about Windows Hello and set it up.
Taking Photos and Recording Videos
By default, the built-in Camera app is ready to take photos, but you can easily switch between photo and video mode. For information about how to open the Camera app and take a photo or record a video, see How to use the Camera app.
The rear-facing camera on the Surface has an autofocus lens that detects a face in the scene automatically and focuses on it. If it doesn't detect a face, it will focus on the main subject in the centre of the screen. You can adjust and lock the focus on a different location by tapping the screen on that spot. If you're shooting a video, you can spot adjust the focus without stopping the recording. When you tap the screen to adjust the focus, the focus is locked on that spot until you tap the screen again.
Here's how to adjust and lock the focus:
- Photos: Tap the screen to focus on that spot, then tap the Camera button to take the picture.
- Videos: While you're recording video, tap the screen to spot adjust the focus.
Changing Camera Options
You can zoom in or out, switch between the front and back cameras, change the photo aspect ratio, show or hide framing grid lines, adjust video settings, and change what happens when you press and hold the camera button. To learn how, see How to use the Camera app.
By default, pressing and holding the camera button records a video, but you can change the setting so that holding the camera button takes a quick series of still photos instead.
Taking Photos and Videos with Surface Duo
Use your Surface Duo 2 to take pictures and videos of those moments you want to capture. With the dynamic triple lens camera on Surface Duo, you'll be able to capture all those special moments. After you take a picture, you can review and edit using both screens.
Tap Photos on your Home screen to see your pictures.
You can open the Camera quickly anytime you're using your Surface Duo—just quickly press the Fingerprint Power Button twice. To change the setting anytime, open Settings, then tap Surface Duo features > Camera and flashlight.
Tips for Improving Your Photography Using a Surface
- Think about photo composition: Photo composition is how you arrange the people and objects in your frame before you start snapping pics. A 2-in-1 laptop such as a Surface can give you a full-screen preview of what the photo will look like.
- Don't depend on flash: Try using a natural light source, like the sun or stars, to illuminate your photos. You can also manually adjust your Surface camera's brightness without using the default flash feature.
- Clean your camera lens: Taking a good photo can be as simple as making sure your camera lens is clean. If you notice that your images are appearing blurry, you might need to stabilize your device or clean its lens.
- Tap into the power of software: With Microsoft Photos, you can use built-in editing tools and customize photos with 3D effects or mark them up by drawing by hand.
Big Brother: Is the Government Spying on Us?
You may want to see also

Fixing a broken Surface camera
If your Surface camera is broken, there are a few potential fixes you can try. Firstly, it's important to identify the specific issue you're facing. Is your camera not working at all, or are you experiencing problems with image quality, such as fuzzy photos or scratches on the lens? Once you've identified the problem, you can try the following solutions:
- If your Surface Pro X camera isn't working, Microsoft has deployed a troubleshooter to address the issue. This issue specifically affects Windows PCs with an Arm-based chip, causing Windows to display an error code when trying to use the integrated webcam. While Microsoft works on a permanent fix, they have released a critical troubleshooter to mitigate the issue. This fix, however, may sacrifice webcam quality and disable certain webcam features.
- In case your camera has been acting up after your device got wet, there might be moisture trapped behind the lens. Try using a can of pressurized air, typically used for cleaning keyboards and computer parts, to blow air into the crevices around the lens and remove any remaining moisture. If this doesn't work, you can use a hairdryer on very low heat. Be cautious, as too much heat can dissolve adhesives inside your device.
- If the lens is scratched, you might be able to fix the issue by simply replacing the faceplate or lens cover. The ease of this process will depend on your camera model. Some models might have complex or nearly impossible replacement procedures.
- For issues with the LCD screen, you can use a scratch remover kit. These kits contain a chemical that polishes the LCD surface, removing scratches and restoring clarity. However, this method only works for scratched screens, not cracked ones.
- If you're experiencing errors with more advanced camera models that have their own operating systems, try powering down the device, removing and reinserting the batteries.
- In some cases, you may need to replace the camera entirely. This process usually requires taking the device to a repair shop, especially if you don't have an electronics background or the necessary precision tools.
Remember to refer to your specific camera model when attempting any of these fixes, as procedures may vary. Additionally, for complex issues, it is always recommended to seek professional assistance to avoid further damage to your device.
Finding the Best Spots to Mount 15 Cameras
You may want to see also


