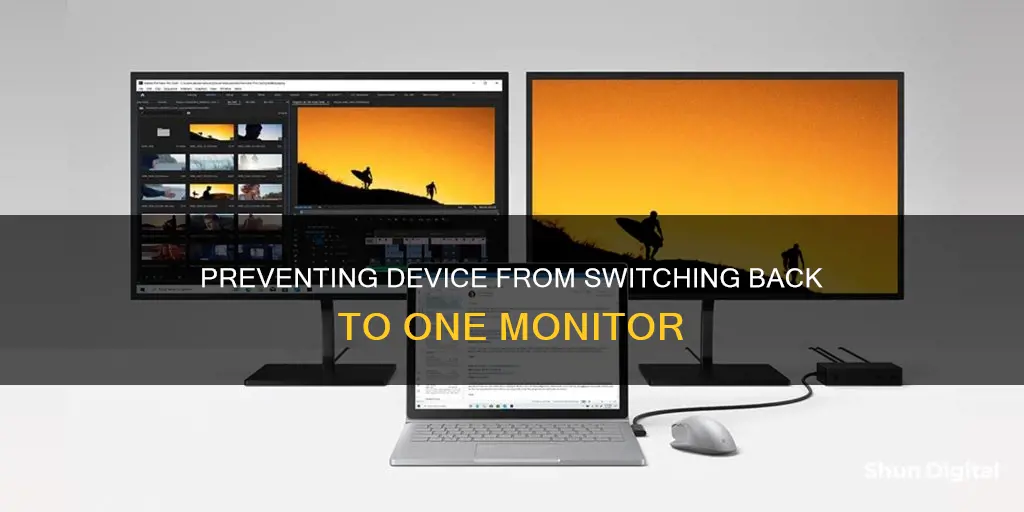
If you're using a dual-monitor setup, you may encounter an issue where your device switches back to a single monitor. This can be caused by several factors, including display settings, connection issues, or software glitches. To prevent this from happening, you can try a few solutions:
- Ensure that your display settings are configured correctly. Check that the Extend these displays option is selected in the Multiple Displays section of the Display Settings.
- Verify that all cables are securely connected and try using different cables or ports if possible.
- Update your graphics drivers to the latest version.
- Adjust your power settings to keep your monitors from turning off or going into sleep mode.
- Use third-party apps like PersistentWindows or Dual Monitor Tool to manage your display setup and lock windows to specific monitors.
- If using a VGA connection, switch to a different connection type such as DisplayPort or HDMI.
- Uninstall all greyed-out monitors in Device Manager and keep only the highlighted monitor you are currently using.
- In the Windows Registry, set the value of UseIViewHelper in the HKEY_LOCAL_MACHINE\SOFTWARE\Microsoft\TMM key to 0.
| Characteristics | Values |
|---|---|
| Problem | Apps and windows are moved to a different monitor when the device wakes up from sleep mode |
| Solution 1 | Use a third-party app such as PersistentWindows, Dual Monitor Tool, MonitorDetectKiller, Custom Resolution Utility, or Stardock Multiplicity |
| Solution 2 | Change the connection type to something other than VGA |
| Solution 3 | Make the VGA monitor the primary monitor |
| Solution 4 | Unplug the monitor, then plug it back in when the device wakes up |
| Solution 5 | Update to Windows 11 |
| Solution 6 | Change the EDID source from "monitor" to "file" in the NVIDIA control panel |
| Solution 7 | Set the "UseIViewHelper" value to 0 in the Windows Registry |
| Solution 8 | End the "dwm.exe" process in Task Manager and restart it |
What You'll Learn

Check your power cable is plugged in properly
When you're using multiple monitors, it can be frustrating if one of them keeps turning on and off or keeps connecting and disconnecting. This is often due to a problem with the monitor's connection. To prevent your device from switching back to one monitor, it's important to check that your power cable is plugged in properly.
First, check that the power cable is firmly plugged into the monitor. Check both ends of the cable to ensure that it's not only connected to the monitor correctly but also securely attached to the power source, be it a wall outlet, surge protector, power strip, or battery backup. If you're using a power strip or surge protector, make sure it's securely plugged into the wall outlet.
If your power cable seems securely connected, try unplugging and replugging it. Check the end that's plugged into your computer, too. You can also try swapping the power cable with an alternate one if you have one. Additionally, try plugging your monitor directly into the wall outlet instead of using a power strip.
If you're still experiencing issues with your monitor connection, the problem may lie with the port. Try using a different port on both the monitor and your computer. Ensure that the PSU (power supply unit) is properly secured to the case. If it falls inward when you press it firmly, it's not correctly attached, and you'll need to open the computer case to fix it, making sure the power cable is unplugged first.
Monitoring TempDB Usage: A Guide for SQL Server Admins
You may want to see also

Check data cable connections
To prevent your device from switching back to one monitor, you should check your data cable connections. Here are some steps to help you do that:
Firstly, identify your computer's video output port. Common output ports include HDMI, DisplayPort, USB-C, and VGA. Then, find your monitor's video input port. Modern monitors tend to use DisplayPort or HDMI ports, but some may also have VGA or DVI ports. If the input doesn't match your computer's output, you will need to buy an adapter.
Next, buy a cable to connect your monitor to your computer if you don't already have one. If your computer and monitor have a common port, it's usually cheaper to buy a cable that fits both. Plug one end of the cable into your computer's video output port, and the other end into your monitor's input port. If you're using an adapter, plug one end of the cable into the adapter, and then plug the monitor's cable into both the monitor and the adapter.
Finally, power on the monitor and see if your desktop is reflected on the second monitor. If not, check that the cable connections are secure. If they seem loose, unplug and replug them. You can also try swapping the cable with an alternate one if you have one.
Launching ASC Performance Monitor: A Step-by-Step Guide
You may want to see also

Swap cables
Swapping monitor cables is a good way to test for problems with your monitor setup. If you have multiple monitors, you can try swapping the cables to see if the problem follows the cable or stays with the monitor. This can help you determine if the issue is with the cable or the monitor itself.
- Power off your monitors and computer. It is important to turn off all devices before making any hardware changes.
- Locate the cable connections: Find where the cables are plugged into the back of each monitor and the computer.
- Unplug the cables: Gently pull the cables out of the ports on the monitors and the computer. Be careful not to damage the ports or the cables.
- Swap the cables: Take the cable from one monitor and plug it into the port on the other monitor, and vice versa. Make sure the connections are secure.
- Power on the devices: Turn on the monitors and the computer.
- Test the setup: Check if the problem has been resolved or if it has moved to the other monitor.
If the problem follows the cable, then you may need to replace the cable. If the problem stays with the monitor, then the issue may be with the monitor itself or its settings.
It is important to note that simply swapping the cables may not always change the display order. Windows identifies each monitor by its unique plug-and-play signature, so the display order may remain the same even after swapping the cables.
In addition to swapping cables, you can also try using different types of cables, such as switching from HDMI to DisplayPort or vice versa. This can help if you are experiencing issues with display resolution or aspect ratio.
When dealing with monitor problems, it is always a good idea to check your cable connections first. Loose or damaged cables can often cause issues with your display. Try unplugging and replugging the cables to ensure a secure connection. If you have alternate cables, you can try swapping them out to see if that fixes the problem.
Android Studio: Monitor Your Android App's Performance
You may want to see also

Change ports
Changing the ports your monitors are connected to can be a solution to prevent your device from switching back to one monitor. Here's what you need to do:
For desktop PCs:
- Disconnect all monitors except the primary monitor.
- Open the Registry Editor by typing "regedit" into the Windows search bar and selecting it from the results.
- Go to "HKEY_LOCAL_MACHINE\System\CurrentControlSet\Control\GraphicsDrivers" by pasting this address into the address bar at the top of the Registry Editor and pressing Enter.
- Rename the "Configuration" key to "Configuration.old" by right-clicking on it and typing "Configuration.old".
- Rename the "Connectivity" key to "Connectivity.old" in the same way.
- Shut down your PC completely.
- Connect only the monitor you want to set as Monitor 1 to your PC's primary video port. If you have a multiple-port video card, plug it into the first port.
- Power on your PC and right-click the desktop. Select "Display Settings" from the menu.
- Plug in the second monitor. Windows will automatically detect it and install any necessary drivers.
For laptops:
- Press the Windows Key + I to open the Settings menu.
- Navigate to System > Display.
- Select the monitor you want your apps to appear on and set it as your primary display.
Additional tips:
- If you're using a dedicated graphics card with multiple output ports, try switching to another port as sometimes ports can go bad or get damaged.
- Update your graphics drivers as Windows may not be configured correctly for multiple monitors.
- If you're using an older cable standard like VGA or DVI-D, try a newer alternative like HDMI or DisplayPort.
- Try a different cable if you have one available, as the old one may have issues such as bent pins or exposed wires.
CCleaner's Monitoring Feature: Is It Still Useful?
You may want to see also

Update graphics drivers
Updating your graphics drivers is essential for optimal performance in gaming, video rendering, and other graphic-intensive tasks. Outdated drivers can cause sluggish and glitchy performance, and even security issues, as they leave your computer vulnerable to hackers.
How to Update Graphics Drivers on Windows 11, 10, 8, and 7:
Using Windows Update:
Windows has a built-in tool called Windows Update, which comes installed on Windows 11, 10, and 7. While the drivers you get from Windows Update may not be the latest versions, they are stable and fine-tuned for your system. Here's how to update using Windows Update:
- Open the Windows Start menu.
- Click on "Settings".
- Select "Windows Update".
- Click on "Check for updates". All available updates, including graphics drivers, will be installed automatically.
Using Device Manager:
The Device Manager tool allows you to search for specific software updates, including graphics drivers. Here's how to update your graphics driver using Device Manager:
- Open the Windows Start menu.
- Type "Device Manager" and open it.
- Click on "Display adapters" in the drop-down menu.
- Right-click on your graphics card and select "Properties".
- Navigate to the "Driver" tab and click on "Update Driver".
- Click on "Search automatically for drivers". If Windows finds an updated version, you can install it.
Using a Third-Party Tool:
There are third-party tools available, such as AVG Driver Updater and Avast Driver Updater, that can automatically scan, update, and fix your graphics drivers. These tools can save you time and ensure you always have the latest drivers.
Preventing Windows from Overwriting Custom Drivers:
If you've manually installed a customized driver, you may want to prevent Windows from overwriting it with a generic version during automatic updates. Here's how to do it:
- Open the Group Policy Editor by pressing Win + R, typing "gpedit.msc", and pressing Enter.
- Navigate to "Device Installation Settings" by going to Computer Configuration > Administrative Templates > System > Device Installation > Device Installation Restrictions.
- Double-click on "Prevent installation of devices that match any of these device IDs" and set the policy to "Enabled".
- Open Device Manager (Win + X > Device Manager).
- Expand "Display adapters", right-click on your graphics card, and select "Properties".
- Go to the "Details" tab and choose "Hardware Ids" from the drop-down menu.
- Copy the first value (your device ID).
- In the Group Policy Editor, click on "Show", then paste the copied device ID.
- Apply the changes and restart your PC.
By following these steps, you can keep your graphics drivers up to date and ensure optimal performance and compatibility with your system.
Monitoring JVM Heap Usage: Practical Tips for Performance Optimization
You may want to see also
Frequently asked questions
In your device settings, make sure that the "Extend these displays" option is selected. You can also try unplugging and replugging your monitors, or using a different port on your device and monitor.
Try using a third-party app such as PersistentWindows, Dual Monitor Tool, or Stardock Multiplicity.
There is likely a problem with the monitor's connection. Check that the power and data cables are plugged in securely, and try using a different port on your device and monitor.
Try using a DisplayPort connection instead of HDMI. You can also try a third-party app such as PersistentWindows.


