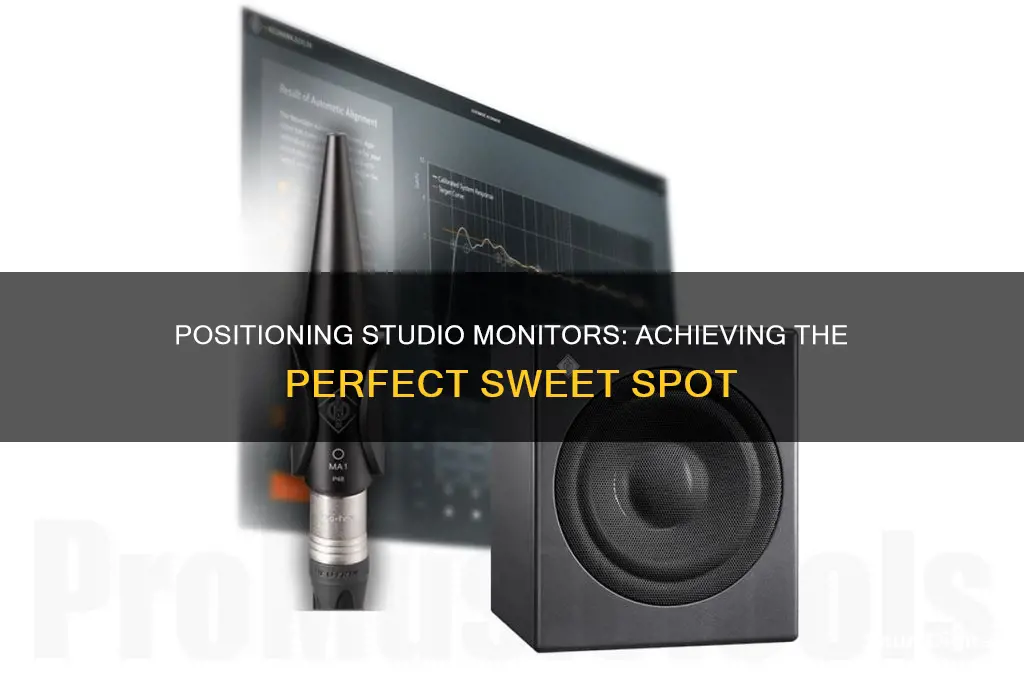
Studio monitor placement is one of the most important steps in achieving good sound. A small detail like monitor placement can have a greater impact on your sound than the monitors themselves. To achieve the optimal sound, your head should form an equilateral triangle with your monitors, with the tweeters at the same height as your ears. This setup helps to maintain a consistent listening perspective from one studio to another.
What You'll Learn

Place monitors so tweeters are at ear height
To achieve the best sound from your studio monitors, it is recommended that you place the tweeters at ear height when you are seated. This usually means a height of 47-55 inches (120-140 cm) from the floor. If your speakers are on a desk or console that is too low, you can use speaker stands to raise them up. Alternatively, you can place the speakers on the desk and use stands to raise your listening position.
The directional pattern of sound emanating from the speaker, known as horizontal and vertical dispersion, varies as you move from the front and centre of the speaker. For the most consistent sound, you should position yourself so that your ears are directly in front of the speakers. This will ensure that you are listening to the studio monitors on-axis.
Some speakers can be placed slightly higher and tilted downwards towards your ears. However, this is a precarious setup and care must be taken to avoid the speakers toppling over. It is also important to note that the height of the studio monitors is less important than their angle.
Every monitor is different, and speaker manufacturers will specify what the acoustic centre of their speaker is. This is what should be aligned with your ear height because that is what the speaker was designed and tested for in terms of balance. In general, for dome tweeters in normal shallow waveguides, the further away a speaker is, the higher it should be due to what happens with tweeter frequencies over distance.
However, speakers that are coaxial or horn-loaded are different, with different dispersions in the vertical plane. Ultimately, it is recommended that you go with what works for you, your room, and your setup.
Performance Monitoring vs Evaluation: What's the Difference?
You may want to see also

Create space between monitors and the rear wall
Creating space between your studio monitors and the rear wall is essential to achieving an accurate listening experience. Here are some tips to help you create that space:
Firstly, understand the impact of bass frequencies. Bass frequencies project outward in all directions, and much of that sound travels backward and reflects off the rear wall of the room. When these reflected frequencies recombine with the direct sound from the monitors, it results in what is known as the boundary effect, where "in-phase" frequencies are amplified, and "out-of-phase" frequencies cancel each other out.
To mitigate this issue, aim to create maximum separation between the wall and the monitors. In most rooms, this ideal separation is between 1-2 feet. While this may not entirely solve the problem, it will reduce the strength of the reflections, thus lessening the impact of the boundary effect. Additionally, consider using monitors with front bass ports, as they direct a larger portion of the energy forward, away from the walls.
Another important consideration is the distance between the monitors and the sidewalls. Every solid surface in the room can act as a boundary for sound reflection, causing phase cancellations and other unwanted acoustic interactions. Therefore, it is recommended to maintain different distances between the monitors and the side and back walls to avoid creating corners in your listening position. A general guideline is to place monitors around 40-60 cm away from the back wall and 60-90 cm from the sidewalls.
For nearfield monitors, which perform best up to about 2.5 meters from your listening position, a minimum distance of 20-30 cm (8-12 inches) between the monitors and walls is generally sufficient to reduce sound waves reflecting back to the listening position. However, if your monitors have a rear port, keep them away from the wall by at least the same distance as the port's diameter, typically about 5-10 cm.
In summary, creating space between the monitors and the rear wall, as well as maintaining different distances from the side and back walls, helps minimize sound reflections and improve the overall accuracy of your listening experience.
Monitor Graphics Card Failing: How to Spot the Signs
You may want to see also

Use a rope to measure the distance between the microphone stand and tweeter
To align studio monitors, you'll need a 2-metre long rope or wire, a laser level, and a microphone stand.
Once you've set up your workbench and placed your monitors, you'll want to refine the triangle between the monitors and your head. Extend the microphone stand vertically and place it where your head will be. Then, take the rope and measure the distance between the stand and the tweeter. Holding your finger on the rope to mark the measured distance, use the rope to ensure the distance between these points is equal: Tweeter 1 – Tweeter 2. This will give you a perfect equilateral triangle.
Now, place the laser level on the monitor, directly above the tweeter. Turn the speaker until the tweeter is aligned with the microphone stand. Ensure you only turn the speaker and don't move the stand or the monitors themselves. This will ensure the tweeters are pointing towards the stand.
Finally, adjust the height of the monitors so that the tweeters are at the same height as your ears. High-pitched sounds are extremely directional, so pointing them at ear height will ensure you hear them well.
Corvette Blind Spot Monitoring: Is It Worth It?
You may want to see also

Point the tweeters towards the microphone stand
When aligning studio monitors, the position of the tweeters is a crucial consideration. While there is no one-size-fits-all solution, pointing the tweeters towards the microphone stand can offer several advantages.
Firstly, by directing the tweeters towards the microphone stand, you create a stronger centre image. This setup helps to prevent vocals and other sounds in the vocal range from panning or hopping from left to right when they are panned. This results in a more stable and focused sound, which can be beneficial for critical listening and mixing applications.
Secondly, the omnidirectional nature of low frequencies comes into play. By keeping the tweeters closer to the centre, you can avoid the "ganging up" of low frequencies in the centre, which could otherwise create a muddy or unclear low-frequency response. Pushing the low frequencies to the sides maximises directionality and helps to create a more spacious and accurate soundstage.
Additionally, the height of the tweeters should be adjusted so that they are at ear level. This is important because high frequencies are highly directional, and positioning the tweeters at ear level ensures that you experience the full range of high frequencies as intended.
It is worth noting that the decision to point tweeters inwards or outwards is influenced by the specific characteristics of the tweeter and the room acoustics. Experimentation is key, and you may find that slight adjustments to the tweeter position can significantly impact the overall sound.
Remember, every aspect of your setup affects the final sound, so take the time to explore different configurations and trust your ears to determine what works best for your specific needs.
Finding the Perfect Viewing Distance for Your Monitor
You may want to see also

Position monitors against the longest wall
When setting up studio monitors, it is important to consider the position of the monitors in relation to the walls of the room. In an ideal world, studio monitors would be placed at least three feet away from the wall to avoid the comb filter effect, which causes low and soft spots for certain frequencies. However, this is not always possible, especially in smaller spaces or bedrooms.
If you are unable to maintain this distance, it is recommended to push the monitors right up against the longest wall. This is because doing so will shift the comb filter effect into higher frequencies, which are easier to treat acoustically. The longer wavelengths of lower frequencies require thicker sound treatment, which may not be practical for many home studios. By reducing the distance between the monitors and the wall, you can correct the increase in low-frequency efficiency with a simple bass roll-off filter, which is built into most modern studio monitors.
It is worth noting that placing monitors against the long wall can result in reflections from the back wall reaching your ears sooner and with higher intensity. To mitigate this, you can use acoustic treatment, such as rockwool or fiberglass, behind the monitors. However, foam is generally considered the lowest rung of treatments and may not be effective for low-frequency control.
Additionally, you can use your studio monitors for brainstorming and arranging, and then switch to headphones for the final mixing stage. This way, you can still benefit from the monitors without letting the room acoustics affect the final mix.
Monitoring CPU Usage: Windows Tips and Tricks
You may want to see also
Frequently asked questions
The room you choose should have as many of these features as possible: walls composed of dense material, uneven walls, no bare walls or corners, and should be far from bedrooms, highly populated areas, and noisy public transport systems.
You should favour a workbench that’s solid and full (without room for legs) as they have better acoustic output. Place the rear close to the widest wall, leaving 30-40 cm of empty space between the bench and the wall.
Place the monitors in line with the workbench edge and ensure the tweeters are at the same height as your ears. Place the speakers so that they create an equilateral triangle with your head as one of the vertices.
Vertically extend a microphone stand and place it where your head will be. Measure the distance between the stand and the tweeter and use a rope to mark the measured distance. This will give you a perfect equilateral triangle.
Place a laser level upon the monitor, above the tweeter, and turn the speaker until the tweeter is aligned with the microphone stand.


