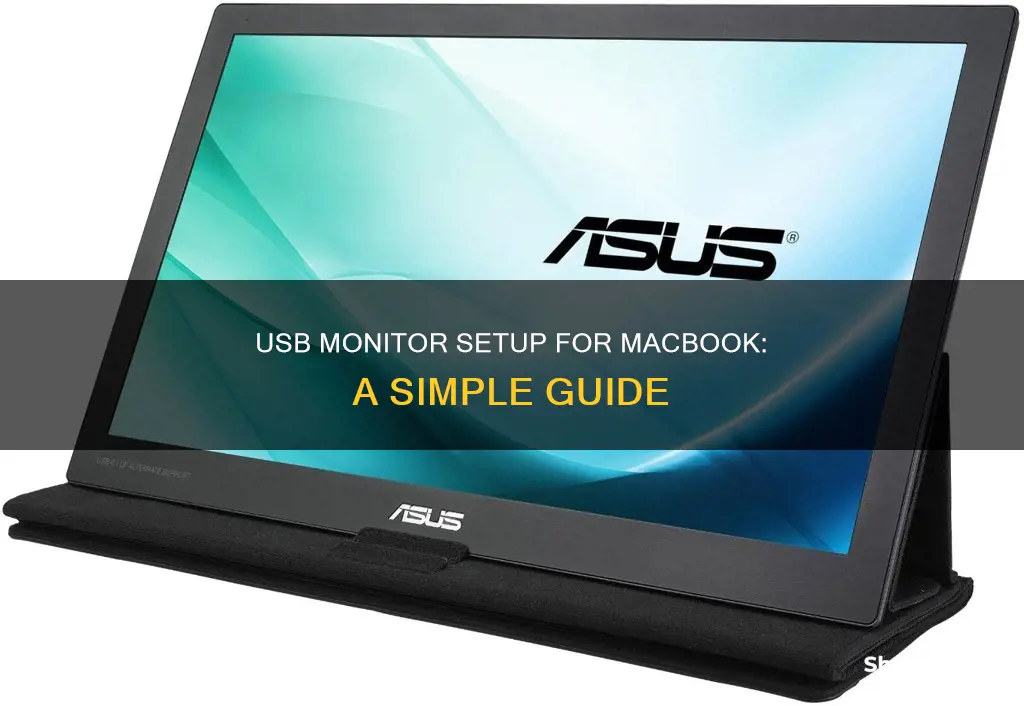
Connecting a USB monitor to your MacBook can be done in a few simple steps. First, you need to identify the correct port on your MacBook, which could be a USB-C, HDMI, Thunderbolt, or Mini DisplayPort. Once you've identified the port, connect the display to a power source and then use the appropriate cable to connect it to your MacBook. If your MacBook doesn't have the required port, you can use an adapter or replace the cable. After the display is connected and powered on, your MacBook should automatically detect it, and you can configure the display settings according to your preferences.
What You'll Learn

Identify the correct port on your MacBook
To connect a USB monitor to your MacBook, you need to identify the correct port on your MacBook model. This is important because the type of port you will be using depends on the age and model of your MacBook.
For instance, the 2023 MacBook Pro (14-inch, Nov 2023) with the M3 chip includes two Thunderbolt / USB 4 ports. On the other hand, if you have a 2023 MacBook Pro (14-inch, Nov 2023) with the M3 Pro or M3 Max chip, it includes three Thunderbolt 4 ports.
To find out which ports your MacBook has, you can use tools like "About This Mac" or the "System Information" app on your macOS device. Alternatively, if you can't access your Mac, you can find the serial number on the underside or original packaging and use it to check the model on Apple's website.
Once you've identified the correct port on your MacBook, you can proceed with connecting the USB monitor by following the appropriate steps for your specific MacBook model and port type.
The Mystery of Liquid in LCD Monitors
You may want to see also

Connect the display to power
To connect a display to your MacBook, you must first connect the display to a power source. This is the first step in setting up an external display for your Mac.
Use your display's power cable to connect the display to a power source. Make sure that the power cable is properly plugged in and the display is turned on. This will ensure that the display is receiving power and is functional.
Once the display is connected to power, you can proceed to the next step of connecting it to your MacBook. It is important to ensure that your display is set up correctly and receiving power before attempting to connect it to your MacBook to avoid any potential issues.
Identify the correct port on your MacBook
The next step is to identify the correct port on your MacBook. The type of port you will use depends on the model and age of your MacBook. Newer MacBook models typically feature Thunderbolt or USB-C ports, while older models may have Mini DisplayPort or HDMI ports. You can refer to Apple's website or your MacBook's manual to identify the ports on your specific model.
Use the right cables and adapters
After identifying the port on your MacBook, you need to use the appropriate cable to connect your display. If your display comes with a cable, it is recommended to use that. Ensure that the cable matches the port on your MacBook. If not, you may need to purchase an adapter separately. Apple's website and authorised resellers offer a range of adapters suitable for different MacBook models.
Connect the display to your MacBook
Once you have the correct cable or adapter, connect one end to the corresponding port on your MacBook. Then, connect the other end of the cable to the matching port on your display. This could be an HDMI, DisplayPort, VGA, or DVI port, depending on the available ports on your display. Ensure that the cable is securely connected on both ends.
Turn on your MacBook and display
After establishing the connection, turn on your MacBook and the external display. Your MacBook should automatically detect the external display. If it doesn't, you can go to "System Preferences" on your MacBook, click on "Displays," and then select the "Arrangement" tab to adjust the display settings and arrangement.
Hooking Up an External Monitor to Your 2009 iMac
You may want to see also

Use the correct cable for your display
To connect a USB monitor to your MacBook, it is crucial to ensure you have the correct cable for your display. The specific cable you need will depend on the type of ports available on your MacBook and the monitor.
If you have a MacBook Air model introduced in 2022 or later, you can use a USB-C charge cable with a compatible USB-C power adapter. For MacBook Air models from 2018 onwards, you will need a 45W MagSafe Power Adapter with a MagSafe 2-style connector. For MacBook Air models introduced between 2012 and 2017, a 45W MagSafe Power Adapter with an L-style connector is required.
For MacBook Pro models, the power adapter and cable needed will depend on the specific model and year of release. For instance, the 16-inch MacBook Pro models from 2019 require an Apple 96W USB-C Power Adapter and USB-C Charge Cable, while the 13-inch MacBook Pro models introduced in 2016 or later need an Apple 61W USB-C Power Adapter and USB-C Charge Cable.
To determine the appropriate cable for your MacBook, check the certification label on your power adapter or use the System Information on your Mac to identify the required cables and adapters. Additionally, refer to the documentation that came with your display to ensure you have the correct cable for the connection.
It is worth noting that not all USB-C cables are equal, and some may only support power delivery. Therefore, it is essential to use the cable that came with your display or purchase a compatible cable if one is not provided.
Removing Moisture from LCD Monitors: DIY Guide
You may want to see also

Connect the display to your MacBook
To connect a display to your MacBook, you need to first determine what kind of video ports your MacBook has, how many displays it can support, and whether you have the right cables.
Identify the Video Ports on Your MacBook
The ports on your MacBook will determine what kind and how many external displays you can connect, and how you connect them. Common ports include Thunderbolt 3 (USB-C), Thunderbolt / USB 4, and Thunderbolt 4 (USB-C).
Determine How Many Displays Your MacBook Supports
The number of displays your MacBook can support depends on its model and capabilities. For instance, MacBook computers with the Apple M1 Chip can connect to a single external display, while MacBook computers with Thunderbolt 4 (USB-C) and HDMI ports can connect to up to eight external displays, depending on the model.
Ensure You Have the Right Cables and Adapters
If your display comes with cables, use those to connect to the corresponding ports on your MacBook. If your display doesn't have cables, obtain cables that fit the available ports on your MacBook and displays. If you have display cables but their connectors don't match your MacBook's ports, you may need to use an adapter.
Connect Your Display to Power and Your MacBook
Once you have the correct cables and adapters, connect your display to a power source and then to your MacBook using the identified video ports, cables, and adapters (if needed).
After your display is connected, your MacBook should automatically detect it, and you should see your Mac desktop on the display. You can then configure your display settings, such as resolution, brightness, and colour profile, by going to System Preferences and clicking on Displays.
Monitoring Sprint Hotspot Usage: A Comprehensive Guide
You may want to see also

Configure display settings
Once you have connected your USB-C monitor to your MacBook, you can configure its display settings according to your preferences.
To do this, go to System Preferences from the Apple menu and click on Displays. Here, you can adjust various settings like resolution, refresh rate, and the arrangement of displays. If the display is not made by Apple, certain settings might be available only by using the display's built-in controls and menu system. Check your display's documentation for details.
Arranging displays
You can arrange the position of displays to suit your needs. You can mirror the content on all connected monitors or extend your desktop across multiple screens. Additionally, you can choose which display should act as your main display.
To achieve optimal visuals, it is important to select a suitable resolution. You can choose the default resolution your Mac recommends or manually select an option that aligns with your preferences. Adjusting the brightness of each screen individually is also possible by moving the slider left or right.
If you connect two displays to your MacBook with an M3 chip, the display you connect first becomes the primary display. To change the primary display, disconnect them, then reconnect in a different order. When you have two displays connected to your MacBook with an M3 chip and you open the lid, the laptop screen replaces the second display.
If you want to mirror your screen, click the display that you want to act as a mirror, then choose the mirror option from the “Use as” menu.
Display preferences for multiple monitors
Multiple monitors connected to your MacBook can significantly enhance productivity and multitasking capabilities. To adjust preferences for multiple monitors, go to the "Displays" settings on your Mac.
Here, you can take advantage of options like arranging the position of displays and choosing whether to mirror or extend your desktop. This flexibility allows you to tailor your setup according to how you prefer to work or use each monitor's unique features.
Remember that each monitor can have its resolution settings, so make sure to choose resolutions that suit the respective screen sizes and your preferences. You can also adjust the refresh rate of your screens if compatibility allows it.
Selecting the Perfect Woofer Size for Your Keyboard Monitor
You may want to see also
Frequently asked questions
First, identify the correct port on your MacBook. This could be a USB-C, HDMI, Thunderbolt, Mini DisplayPort, or a combination. Next, connect one end of the appropriate cable to the corresponding port on your MacBook, and then connect the other end to the corresponding port on the monitor.
If your MacBook doesn't have the required port for the video cable, you can use an adapter or replace the video cable with a compatible one.
If your MacBook doesn't automatically detect the external monitor, go to "System Preferences" on your MacBook, click on "Displays", and then select the "Arrangement" tab. From there, you can adjust the display settings and arrangement as desired.
If you're still having issues, try the following:
- Check the cable and connection: Ensure that the cable connecting your MacBook to the monitor is securely plugged in on both ends.
- Use the correct adapter: Depending on your MacBook model and monitor type, you may need an adapter to connect the two.
- Restart your Mac and monitor: Turn off your Mac and the connected monitor, wait a few moments, and then power them back on.
- Detect displays in System Preferences: If your Mac still doesn't automatically detect the external display, you can manually check for it in System Preferences. Go to the Apple menu > System Preferences > Displays. Press the Option key to make the "Detect Displays" button appear, then click it.


