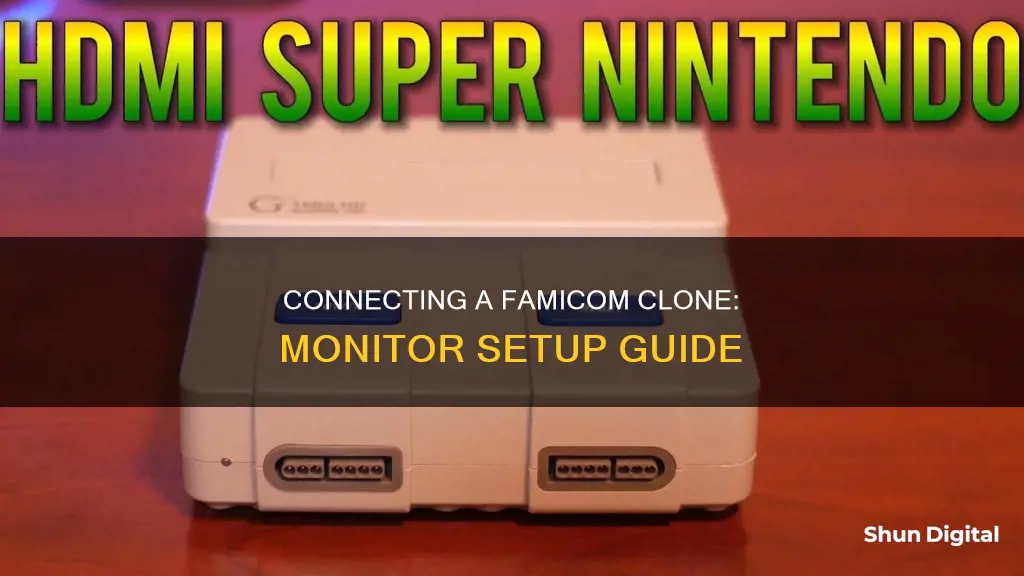
If you're looking to hook up your Famicom clone to a monitor, you'll need to consider a few things. Firstly, the power requirements – Famicom clones typically use 100v AC power, so you may need a step-down transformer if your power supply is 120v. Next, you'll need to think about the video signal. The Famicom outputs an analog signal, while modern TVs and monitors typically support digital signals. To connect your Famicom, you may need to purchase additional hardware such as an analog-to-digital signal converter or perform an RGB mod to output an RGB signal, which can then be converted to HDMI. Keep in mind that these options may introduce some lag, and you'll need to be comfortable with soldering if you opt for the RGB mod.
What You'll Learn

Power requirements for the Famicom Disk System drive
The power requirements for the Famicom Disk System drive are unique and depend on the country you are in. In the US, you cannot plug in the power adapter that comes with the Famicom Disk System drive directly into the wall as Japan uses 100v AC and the US uses 120v.
There are a few options to work around this issue:
- Buy a step-down transformer to use the original power adapter.
- Purchase a special power adapter to use with the Famicom Disk System.
- Use 6 C cell batteries to power the drive. The power demand and draw on the disk drive are very minimal, so batteries are a viable solution.
- Get an AC adapter with a plug that fits and outputs a minimum of 7.5VAC. The maximum voltage is less clear but under 12VAC is generally considered safe.
There are also modern 2-in-1 power adapters available that can power both the Nintendo Famicom and the Disk System. These adapters output a regulated 9V voltage, reducing the heat emitted by the components and increasing the lifetime of the console. They also have a 2-metre cable and are CE certified and FCC regulated.
HD vs LCD Monitors: Which Screen is Superior?
You may want to see also

Using an RGB mod to output an RGB signal
The Nintendo Famicom outputs a Japanese RF signal, which is only compatible with old Japanese TVs. While a simple hack can enable you to get a composite video output, this will only provide an NTSC-J signal, which is not compatible with all displays.
A more expensive option is to use an RGB mod. This will allow you to output an RGB signal from your Famicom, which can then be connected to a modern display.
To install the RGB mod, you will need to open up your Famicom console and remove the power/video board. This is done by unscrewing the shell, motherboard, power/video board, and power-on switch. You will also need to remove the joypads to make manipulation easier. The power/video board can then be removed by desoldering the ribbon cable that connects it to the motherboard.
Next, you will need to prepare the adapter board by soldering pin rails to it. The adapter board is then connected to the motherboard via a support. The NesRGB board is then connected to the adapter board via another set of pin rails, and a support is installed to insert the PPU.
Once the boards are assembled, you will need to solder wires to pass power, audio, and video signals from the NesRGB board to the Power/IO board. It is important to note that the NesRGB kit does not come with an RGB or Scart cable, and you will need to purchase one separately. Alternatively, you can attempt to make your own cable, but this can be difficult due to the small size of the pins.
Finally, you will need to configure the power input on the IO board for either center positive or center negative, depending on your power adapter. You can also adjust the color palette and audio channel separation to your preferences.
Connecting a PS2 to a Monitor: A Step-by-Step Guide
You may want to see also

Using an analog-to-digital signal converter
Firstly, you need to ensure you have the correct cables to connect your Famicom clone to the converter box. The Famicom clone should have an RF output, so you will need a cable with an RF connector on one end to attach to the console, and an input that matches your chosen converter box on the other. Some converter boxes may require a coaxial connection, while others may use a different type of cable.
Next, you will need to connect the converter box to your monitor. This can be done using an HDMI cable if your converter box has an HDMI output. Simply connect the HDMI cable from the converter box to an HDMI input on your monitor. If your monitor does not have HDMI inputs, you may need to use a different type of cable, such as DVI or VGA, along with the appropriate adapter if necessary.
Once the physical connections have been made, you will need to configure the input settings on your monitor. This process may vary depending on your specific monitor model, but typically involves navigating to the input settings menu and selecting the appropriate input source. For example, if you connected the converter box to your monitor via HDMI, you would select the HDMI input source that corresponds to the port you used.
Finally, power on your Famicom clone and converter box, and tune your monitor to the correct channel. The channel may depend on the model of your Famicom clone and the specific setup of your converter box. You may need to refer to the instructions provided with your converter box for guidance on the correct channel to use.
LCD Monitor Functionality: Understanding the Inner Workings
You may want to see also

Using a TV with S-video input
If you want to connect your Famicom clone to a TV with S-video input, you can consider installing the NESRGB mod kit. This mod kit will enable your Famicom to output an RGB signal, which can then be converted to S-video for connection to your TV.
Step 1: Purchase the NESRGB Mod Kit
You can purchase the NESRGB mod kit from various online stores or directly from the manufacturer, Tim Worthington. The kit includes all the necessary components and instructions for installation.
Step 2: Install the NESRGB Mod Kit in Your Famicom Clone
Before beginning the installation, make sure you have the necessary tools, such as a soldering iron, solder, and desoldering tools. Carefully follow the instructions provided with the NESRGB mod kit to install it in your Famicom clone. If you are not comfortable with soldering, you can seek assistance from someone with experience in electronics.
Step 3: Connect the NESRGB Mod Kit to Your TV
Once you have installed the NESRGB mod kit, you will need to connect it to your TV using an S-video cable. Make sure that your TV has an S-video input port. If your TV does not have an S-video input, you may need to purchase an adapter or converter to connect the Famicom clone.
Step 4: Configure Your TV Settings
After connecting the Famicom clone to your TV, power on both devices. Locate the input settings on your TV and switch it to the S-video input channel. Adjust any necessary settings, such as brightness, contrast, and colour, to ensure the best picture quality.
Step 5: Test Your Setup
Insert a game cartridge into your Famicom clone and power it on. You should now see the game displayed on your TV through the S-video connection. If you encounter any issues, double-check your connections and ensure that your TV is set to the correct input channel.
By following these steps, you can connect your Famicom clone to a TV with S-video input using the NESRGB mod kit. This will allow you to enjoy your favourite Famicom games on a modern display with improved video quality.
How LCD Monitors Light Up and Work
You may want to see also

Connecting the console to a set-top box or VCR
If you want to connect your Famicom clone to a set-top box or VCR, you'll need to follow a few steps. Firstly, ensure you have the correct cables to connect the console to the set-top box or VCR. The console should have an RF coax connection, and the set-top box or VCR should have either an HDMI or Composite AV output. If your set-top box or VCR only has an HDMI output, you will need to use an HDMI converter to connect to the Famicom.
Once you have the correct cables, connect the console to the set-top box or VCR using the RF coax connection. Then, connect the set-top box or VCR to the TV using either HDMI or Composite AV (yellow/red/white RCA cable jacks). Turn on the console and the set-top box or VCR, and tune the set-top box or VCR to Channel 95 or 96. You may need to scan for the correct channel using the set-top box or VCR.
If you are unable to get a signal, try adjusting the channel on the console. Some consoles may require you to tune to a specific channel, such as Channel 3 or 4, to output the signal to the set-top box or VCR. Ensure that your TV is set to the correct input channel that matches the output channel of the set-top box or VCR.
It is important to note that the Famicom clone console will only output an analog video signal via RF. If your TV does not support analog signals, you will need additional hardware to convert the signal. You can either modify your Famicom to output an RGB signal, which can then be converted to HDMI, or use an analog-to-digital signal converter. These options may introduce some lag and will require additional hardware purchases.
Finding the Input Selection Button on Your ASUS Monitor
You may want to see also
Frequently asked questions
You will need a RAM adapter that goes with the Famicom Disk System disk drive. The RAM adapter sits in the Famicom like a cartridge and the data from the floppy disk is loaded into RAM. The cable from the RAM adapter plugs into the back of the Famicom Disk System disk drive.
You cannot plug in the power adapter that comes with the Famicom Disk System drive directly into the wall in the United States. Japan uses 100v AC and the US uses 120v. You will need to either buy a step-down transformer to use the original power adapter or a special power adapter. The Famicom Disk System disk drive will also run on 6 C cell batteries.
You will need additional hardware as your Famicom will only output an analog video signal via RF, while your HDTV will only support a digital signal. You can either install an RGB mod to allow your Famicom to output an RGB signal, or use an analog-to-digital signal converter.
The simplest option is to use an analog-to-digital signal converter. This option is cheaper and does not require soldering, unlike an RGB mod. However, it may result in a lower-quality image.
The best option for video quality and lag is to install an NESRGB mod in your Famicom and connect it directly to your HDTV via S-video.


