The ViewSonic TD2220 is a 22-inch multi-touch Full HD LED monitor with a 1920x1080 resolution, integrated speakers, and DVI and VGA inputs. It also has a VESA mountable design, allowing you to mount the monitor as per your requirements. The monitor supports the USB HID Touch driver and is compatible with Windows 7, Windows 8, and Windows 10. In this article, we will provide a step-by-step guide on how to hook up the TD2220 ViewSonic monitor, ensuring you get the most out of this versatile and high-performance display.
What You'll Learn

Connecting the monitor to a power source
To connect your ViewSonic TD2220 monitor to a power source, first check that you have a power outlet within reach of the monitor's power cable. The power cable should have been included in the box with your monitor.
Once you have located a suitable power outlet, follow these steps:
- Inspect the power cable for any signs of damage, such as fraying or exposed wires. Do not plug in a damaged power cable as this may be a safety hazard. If the cable is damaged, contact ViewSonic customer support to obtain a replacement.
- Take the power cable and orient it so that the connector (the end that plugs into the monitor) is facing the monitor, and the plug is facing the power outlet.
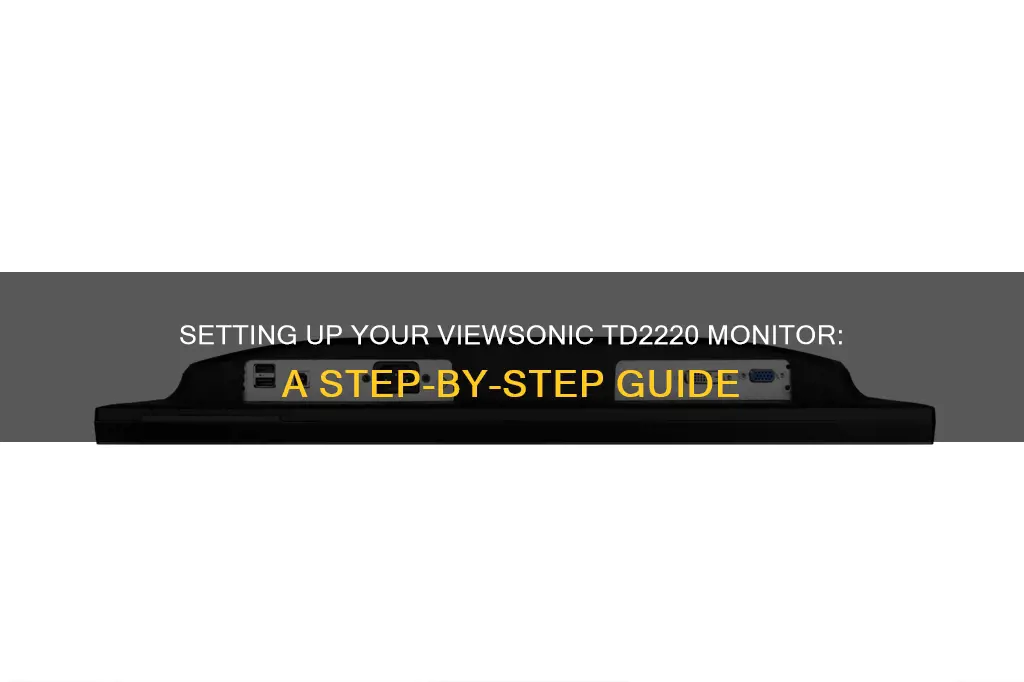
- Plug the connector into the power inlet on the monitor. The power inlet is located on the back of the monitor and is labelled "Power in: 3-pin Socket (IEC C14 / CEE22)".
- Gently but firmly push the connector into the power inlet until it clicks into place.
- Plug the other end of the power cable into the power outlet.
- Once the power cable is connected to both the monitor and the power outlet, you can turn on the monitor by pressing the power button, which is located on the underside of the monitor bezel, to the right of the "1" button.
Note: The power button is a tactile button, so you will need to press it physically. It is not a touch-sensitive button.
Your ViewSonic TD2220 monitor is now connected to a power source and should be turned on. You can now proceed to adjust the display settings, connect your input devices, and perform any other necessary setup steps.
Opening a BenQ LCD Monitor: A Step-by-Step Guide
You may want to see also

Connecting the monitor to a computer
The ViewSonic TD2220 monitor can be connected to a computer in several ways, depending on the desired specifications. The monitor supports both digital and analog connections, with input options including:
- VGA (Video Graphics Array)
- DVI (Digital Visual Interface)
- USB (Universal Serial Bus)
- 3.5mm Audio In
For a standard connection, users can connect the monitor to their computer using either a VGA or DVI cable. The specific cable required will depend on the computer's available ports. If using a VGA connection, ensure the cable is securely connected to the "VGA" port on the monitor and the corresponding port on the computer. The same process applies to a DVI connection, ensuring the correct ports are used.
For touch functionality, a USB connection is required. Connect the USB cable provided with the monitor to the "USB 2.0 Type B" port on the monitor and an available USB port on the computer. This will enable the touch capabilities of the monitor.
Additionally, the monitor has built-in speakers that can be connected to the computer for audio output. Use the "3.5mm Audio In" port on the monitor and connect it to the corresponding audio output port on the computer using a standard audio cable.
It is important to ensure that the correct drivers are installed for the monitor to function properly. The necessary drivers can be downloaded from the ViewSonic website or installed from the provided installation CD.
Monitoring CPU and RAM Usage: A Comprehensive Guide
You may want to see also

Adjusting the monitor's settings
Adjusting the Monitor Settings
The ViewSonic TD2220 monitor has a range of settings that can be adjusted to suit your preferences and needs.
On-Screen Display (OSD) Controls
The monitor's settings can be adjusted using the On-Screen Display (OSD) controls. To access the OSD menu, press the "Menu" button on the monitor's control panel. The control panel is located on the front of the monitor, just below the screen.
Once you have accessed the OSD menu, you can use the "Up" and "Down" arrow buttons to navigate through the various settings options. The "Left" and "Right" arrow buttons allow you to adjust the values within each setting.
Adjusting Brightness and Contrast
To adjust the brightness and contrast settings, use the "Up" and "Down" arrow buttons to highlight the "Brightness/Contrast" option in the OSD menu. Then, use the "Left" and "Right" arrow buttons to adjust the brightness and contrast levels to your desired values.
Input Select
The TD2220 monitor offers multiple input options, including VGA, DVI, and audio. To switch between input sources, use the "Up" and "Down" arrow buttons to highlight the "Input Select" option in the OSD menu. Then, use the "Left" and "Right" arrow buttons to select your desired input source.
Audio Adjust
The monitor also has built-in speakers, and you can adjust the volume using the OSD controls. To do this, highlight the "Audio Adjust" option in the OSD menu and use the "Left" and "Right" arrow buttons to adjust the volume to your desired level.
Color Adjust
You can also adjust the color settings of the monitor to suit your preferences. The TD2220 offers several color modes, including "sRGB," "Bluish," "Cool," "Native," "Warm," and "User Color." To access these options, highlight the "Color Adjust" setting in the OSD menu and use the "Left" and "Right" arrow buttons to select your desired color mode.
Manual Image Adjust
In addition to the preset color modes, the TD2220 allows for manual image adjustments. This includes settings for "H/V Position," "Horizontal Size," "Fine Tune," "Sharpness," and "D-Sub." To access these settings, highlight the "Manual Image Adjust" option in the OSD menu and use the "Left" and "Right" arrow buttons to adjust the values as needed.
Eco Mode
The monitor also features an Eco Mode, which helps to reduce power consumption and prolong the life of the display lamp. There are two Eco Mode options: "Optimize" and "Conserve." To activate Eco Mode, highlight the "Eco Mode" setting in the OSD menu and use the "Left" and "Right" arrow buttons to select your desired mode.
By following these steps and adjusting the various settings, you can customize your ViewSonic TD2220 monitor to suit your specific needs and preferences.
Scaling Monitor Display: Adjusting Size for Optimal Viewing
You may want to see also

Mounting the monitor
The ViewSonic TD2220 monitor features a VESA-compatible mount design, allowing you to mount the monitor as per your requirements using its convenient 100 x 100mm VESA-compatible mount. The monitor can be mounted on a monitor stand or a wall, depending on your setup and specific needs.
To mount the monitor, first, detach the base of the monitor stand. You can do this by unscrewing the base from the monitor. Once the base is removed, you will be able to access the VESA mount.
Next, you will need to acquire a compatible VESA mount. Ensure that the VESA mount you choose aligns with the 100 x 100mm pattern of the TD2220 monitor. There are various VESA mounts available on the market, including those that can be attached to a wall, desk, or custom setup.
After acquiring the appropriate VESA mount, follow the instructions provided with the mount for installation. This may involve drilling holes and securing the mount with screws. Ensure that the VESA mount is securely attached before proceeding.
Finally, attach the TD2220 monitor to the installed VESA mount. Carefully align the VESA pattern on the monitor with the corresponding pattern on the mount. Secure the monitor to the mount using the appropriate screws. Ensure that the screws are tightened sufficiently, but be careful not to overtighten them.
Once the monitor is securely attached to the VESA mount, you can adjust the tilt and swivel to your preferred viewing position. The TD2220 monitor offers adjustable forward/back tilt, providing flexibility in finding the optimal viewing angle.
Understanding Monitor Connection Ports and Plug Sizes
You may want to see also

Troubleshooting common issues
The ViewSonic TD2220 is a versatile monitor with a range of features, but you may encounter some issues when setting it up or during use. Here are some tips to help you troubleshoot common problems:
- Inaccurate touch response/random touch response: Ensure that there are no objects placed close to the screen, as the touch screen is sensitive and can react to nearby objects. Direct sunlight, halogen lamps, or IR transmitters may also cause light interference and touch malfunction.
- Touchscreen not working with Windows 7: Install the touch screen pack for Windows 7. If that doesn't work, try unplugging the monitor's USB cable and plugging it back in.
- Issues with the right edge of the screen: The right edge of the screen may have issues recognising gestures. Try using the mouse to run the pointer into the corner, or use a stylus to interact with the screen.
- Touchscreen not working with Microsoft Surface Pro: Ensure you have the correct cables to connect the monitor to your Surface Pro.
- Touchscreen not working with iPad Pro: The TD2220 is not compatible with the iPad Pro.
- Touchscreen not working with macOS: MacOS users can access a full range of touch and gesture controls by installing the vTouch driver.
- Touchscreen not working with Chrome OS: There is no mention of Chrome OS compatibility, so it is unlikely that the touchscreen functions will work with this operating system.
- Touchscreen not working with Android: There is no mention of Android compatibility, so it is unlikely that the touchscreen functions will work with this operating system.
- No audio: Check that the audio cable is securely connected to both the monitor and your device. Ensure that the correct audio output is selected in your device's settings.
- Poor audio quality: Adjust the audio settings on your device to improve sound quality.
- Poor image quality: Adjust the monitor's settings, such as brightness, contrast, and colour, to improve image quality. Ensure that the correct input is selected and that the cables are securely connected.
- Monitor not rotating: The TD2220 can be rotated vertically. If you are unable to rotate the screen, ensure that the stand is correctly attached and that there are no obstacles preventing rotation.
LCD Monitor Functionality: Understanding the Inner Workings
You may want to see also
Frequently asked questions
The ViewSonic TD2220 monitor can be hooked up to your computer using either a VGA or DVI cable. The monitor also has two USB ports and two built-in speakers.
The TD2220 ViewSonic monitor has a Full HD 1080p resolution, with a 1920x1080 display.
The TD2220 ViewSonic monitor has a 60Hz refresh rate.
Yes, there are several alternatives to the TD2220 ViewSonic monitor, including the TD2223, TD2211, and TD2230.


