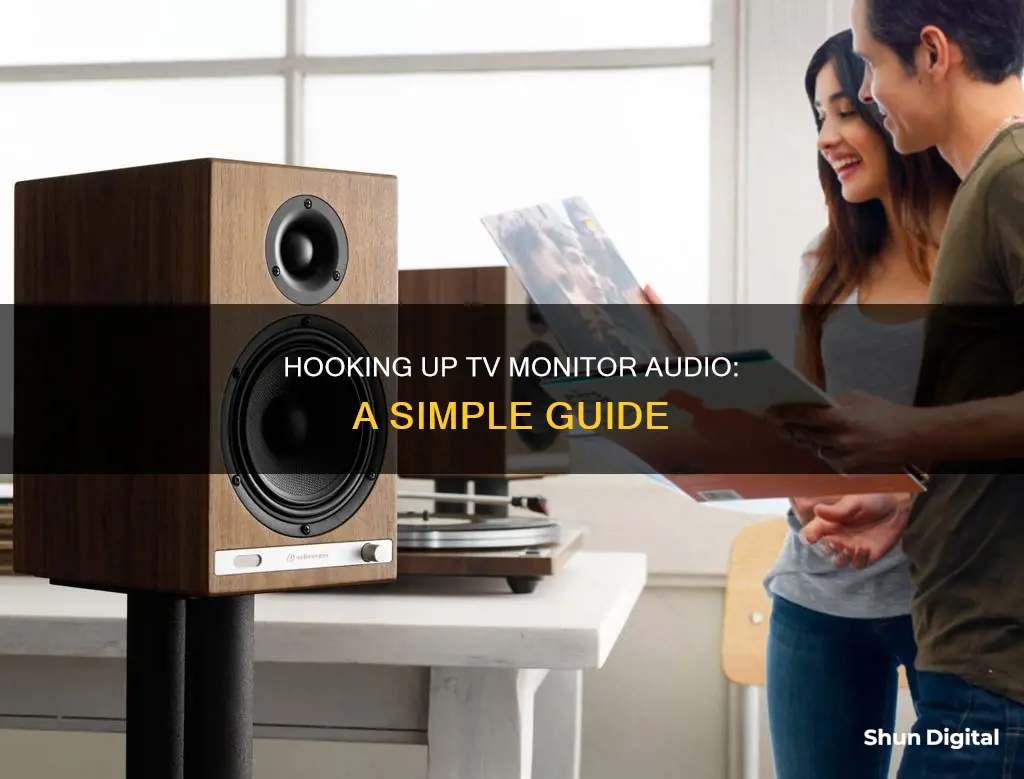
There are several ways to hook up a TV monitor's audio, depending on the type of audio outputs your TV has. Modern TVs usually have a combination of digital ports (Optical Out, HDMI ARC) and analog ports (RCA OUT, AUX). If your TV has a headphone output, you can use a 3.5mm male connector to transfer the TV's audio to external speakers or headphones. If your TV has an Optical output, you can use a Digital to Analog Audio Converter to convert the digital audio signal to an analog signal for your speakers. Alternatively, if your TV has an HDMI ARC port, you can connect an HDMI speaker directly without needing an adapter or converter.
How to hook TV monitor audio
| Characteristics | Values |
|---|---|
| Connection options | HDMI, RCA to 3.5mm cable, optical audio cable, Bluetooth, RCA-to-AUX converter, Digital-to-Analog Audio Converter, Analog-to-Digital Audio Converter, USB Audio Card, HDMI Audio Extractor |
| Connection devices | TV, studio monitors, laptop, PC, audio interface, audio mixer, DJ controller, audio receiver, VCR, DVD, CD, turntable |
| Connection types | RCA, TRS, XLR, 3.5mm, optical, headphone jack, eARC, AUX, TOS-LINK, S/PDIF, HDMI ARC, USB, Coaxial |
What You'll Learn

Connecting studio monitors to a TV
Step 1: Check Your TV's Outputs
Identify the outputs available on your TV. Modern TVs typically feature a headphone output, an RCA output, or even digital outputs like an optical connection. You will be using one of these outputs to send the audio signal to your studio monitors. Make sure not to confuse the audio outputs with the audio inputs.
Step 2: Identify Your Studio Monitor Inputs
Different studio monitors will have different input options. Common input types include RCA, TRS, and XLR. Knowing the input types of your studio monitors will help you choose the right cables and connections.
Step 3: Choose the Connection Method
- Using the headphone jack: If your TV has a standard 3.5mm headphone jack, you can use a 3.5mm to 1/4" or XLR cable to connect to your studio monitors. This is a simple and straightforward method.
- RCA connection: If your TV has RCA outputs (usually coloured red and white), you can use a Twin 1/4 inch jack to twin RCA phono cable. Ensure that you connect the correct colours to the corresponding left and right speakers.
- Digital to Analog Converter: If your TV has a digital output like an optical connection, you will need an external Digital to Analog Converter. This converter will allow you to connect your studio monitors by converting the digital signal to an analog signal.
- HDMI connection: You can also connect your studio monitors to your TV using an HDMI cable. This option may provide better sound quality.
- Using a mixer: If you have an audio mixer, you can connect your TV's audio output to the mixer and then output the signal to your studio monitors. This gives you more control over the sound and allows for adjustments to the EQ.
Step 4: Adjust Settings
Depending on your TV and studio monitor setup, you may need to adjust the audio output settings on your TV to ensure the sound is directed to the correct output. Additionally, always remember to start with the volume levels low before gradually increasing them to suit your needs.
By following these steps, you should be able to successfully connect your studio monitors to your TV and enjoy an enhanced audio experience.
Monitoring VRAM Usage: MSI Afterburner Guide
You may want to see also

Using a 3.5mm to 1/4 or XLR cable
First, let's understand what 3.5mm, 1/4, and XLR connections are. 3.5mm and 1/4 refer to the size of the jack plug that connects to the audio device. 3.5mm is also known as a minijack or 1/8-inch jack, commonly found on portable devices. On the other hand, 1/4-inch jacks are larger and often used in semi-professional audio applications. XLR connectors, on the other hand, are typically used for microphones and other pro audio equipment. They provide superior signal integrity and are designed to carry balanced signals, making them ideal for longer cable runs.
Now, let's discuss how to use a 3.5mm to 1/4 or XLR cable to hook up your TV or monitor audio. Here are the steps you need to follow:
- Identify the audio output options on your TV or monitor: Look for ports labelled "audio out" or any other port that sends audio out, such as HDMI, optical, coaxial, RCAs, or a 3.5mm socket.
- Choose the appropriate cable: Select a 3.5mm to 1/4 or XLR cable that matches the output port on your TV or monitor. If you need to connect to an XLR input, ensure you have an XLR cable.
- Connect the cable: Plug the 3.5mm end of the cable into the audio output port on your TV or monitor. If you're using an XLR cable, connect the female XLR end to the male output on your device.
- Connect to your audio device: Plug the other end of the cable into your audio device, such as a speaker, soundbar, or receiver. Ensure the cable is securely connected.
- Test the audio: Turn on your TV or monitor and play some audio. Adjust the volume and ensure the sound is clear and free of interference.
- Manage cabling: Place your audio device near your TV or monitor to hide unsightly cables. Use cable ties or wraps to organise and secure the cables neatly.
How Do Apartments Monitor Water Usage by Each Unit?
You may want to see also

Using an eARC or optical audio converter
If you want to connect your TV to a soundbar or receiver, one of the easiest ways to do so is by using a specialised HDMI port called Audio Return Channel (ARC). The ARC connection lets you listen to your TV audio without needing an extra cable, such as an optical one. However, if you have an older TV that doesn't support ARC, you can use an HDMI to optical converter to connect your HDMI-compatible devices to audio systems that use an optical connection.
If your TV has an optical output, you can use an external Digital to Analog Audio Converter to take your TV's high-quality digital audio signal and convert it to an analog signal for your studio monitors. While this is an option, the sound difference is negligible.
If your TV has an eARC, you can use an eARC audio converter as a source to get the best sound quality. You can also use an RCA to 3.5mm cable or an optical audio cable. Make sure to select the correct input on the monitors for the connection type you are using.
If you want to connect your TV to a soundbar or receiver, you can also use an HDMI to optical converter. This handy device allows you to seamlessly connect your HDMI-compatible devices, such as gaming consoles, Blu-ray players, and streaming devices, to audio systems that use an optical connection.
Inns and Internet Privacy: What You Need to Know
You may want to see also

Using an HDMI cable
First, identify the type of HDMI port on your PC. The standard HDMI port is the most common, but some PCs may use an HDMI mini or Mini DisplayPort. Next, purchase an HDMI cable that has the correct connection for your PC on one end and a standard HDMI connection on the other. Ensure the cable is long enough to reach from your PC to your TV.
Once you have the correct cable, connect one end to your PC. The HDMI slot is usually behind the CPU for desktop computers or on the side of the keyboard for laptops. Then, connect the other end of the cable to your TV by plugging it into one of the HDMI ports, which are usually labelled and numbered.
Now, use the TV remote to select the HDMI source. Look for a button on the remote that says "Source" or "Input," and use it to select the HDMI port you connected your PC to. The TV may automatically display what's on your computer monitor at this point.
If you are connecting a Windows PC, you may need to adjust some settings. Go to the Start Menu, open Settings, and select "System" and then "Display." From here, you can adjust the resolution and detect the TV as a second monitor.
If the audio is still not playing through the TV speakers, you may need to adjust the audio output settings on your PC. Go to the Windows Start menu, click "Settings," select "Sound," and choose your TV as the playback device.
LCD Monitor Technology: Advancements and Innovations
You may want to see also

Connecting via Bluetooth
Connecting your TV monitor to audio via Bluetooth is a convenient way to enhance your viewing experience. Many TV brands now come with built-in Bluetooth features, but it's not a standard feature. If your TV has Bluetooth, you can connect it to speakers, soundbars, headphones, and more.
To find out if your TV has Bluetooth, check if it came with a Smart Remote. If it did, then it supports Bluetooth. You can also check by going to Settings > Sound > Sound Output. If you see the option "Bluetooth Speaker List", your TV supports Bluetooth.
If your TV doesn't have built-in Bluetooth, you can get a Bluetooth adapter. These can be connected to a 3.5mm audio port or a standard left/right AUX audio port (using red and white cables). You can also use a low-latency Bluetooth transmitter, which plugs into your TV's audio-out jack (3.5mm headphone jack, RCA jacks, USB, or optical).
Once you've confirmed that your TV has Bluetooth or you've purchased an adapter, follow these steps to connect to your Bluetooth device:
- Switch on your Bluetooth device and put it in pairing mode. If you're unsure how to do this, consult your device's user manual.
- Switch on your TV and head to the Network Settings.
- Select Bluetooth, then select "Add Device".
- Look for and select your Bluetooth device from the list of discoverable devices.
- Enjoy your audio!
It's important to note that your TV Bluetooth connection will only allow one Bluetooth speaker at a time, and you may experience compatibility issues as some Bluetooth speakers are designed only to connect to mobile devices. Additionally, you may lose connection due to the distance between the TV and the Bluetooth device.
Monitoring Memory Usage: A Guide for SQL Server 2008
You may want to see also
Frequently asked questions
You need to assess your output options on the TV and connect one of those outputs to one of the input options on your studio monitor.
You can connect this to the headphone or audio output port on your PC's sound card.
Yes, if your monitor or smart TV supports Bluetooth, you can connect to one or multiple Bluetooth speakers without the need for any cables.
Most modern monitors come with at least one HDMI output port, so you can use an HDMI cable to connect the TV to the monitors.


