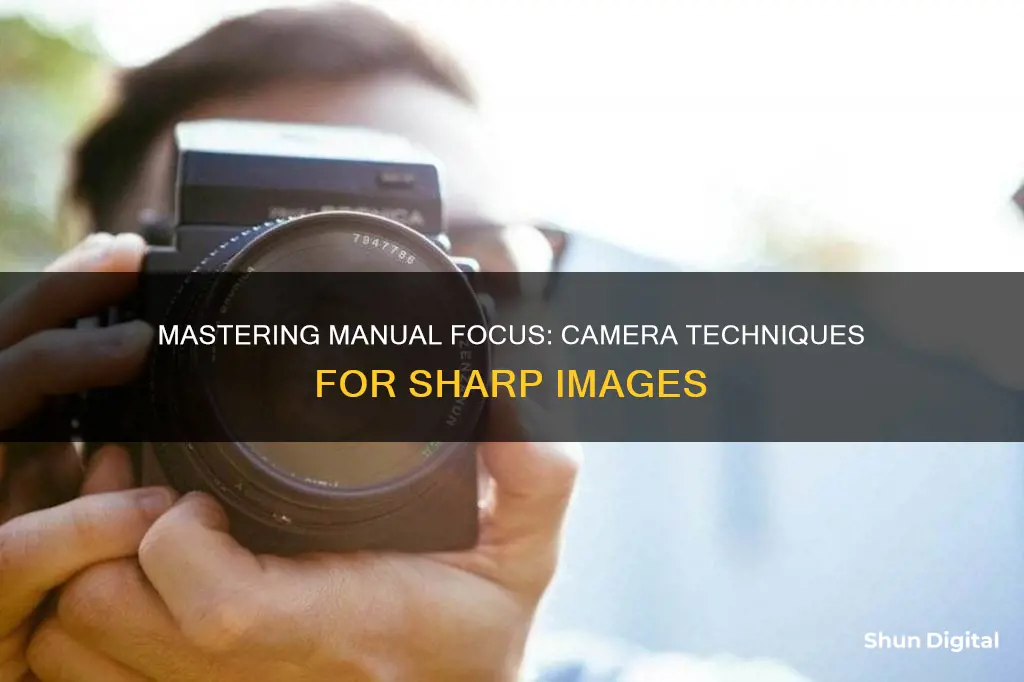
Focusing a camera manually can be a tricky skill to master, but it's a useful one to have in your back pocket. While autofocus is great, it can sometimes lock onto the wrong part of a scene or struggle in low-light settings. In these situations, you might want to switch to manual mode and focus the camera yourself.
| Characteristics | Values |
|---|---|
| When to use manual focus | When autofocus fails, in low-light, low-contrast, or when the subject is visually similar to its surroundings |
| How to use manual focus | Locate the focusing mode switch, switch to MF, find the focus ring, look through the viewfinder, twist the focus ring until the subject is in focus |
| Manual focus vs autofocus | Manual focus gives you more control but can be slower; autofocus is good for moving subjects or fast-paced scenarios |
| Benefits of manual focus | More precise, consistent, and creative |
| Drawbacks of manual focus | Can be tricky, time-consuming, and not suitable for all genres of photography |
What You'll Learn

When to use manual focus
Manual focus is a useful skill to have as a photographer, as it gives you more creative control over your images. While autofocus is generally very accurate, it can fail in certain situations. Here are some scenarios where using manual focus can be beneficial:
- Low-light conditions: Autofocus systems rely on light to function properly. In low-light environments, your camera may struggle to lock onto a subject, leading to blurry images. In such cases, switching to manual focus can help you achieve sharper results.
- Low-contrast scenes: Autofocus systems depend on contrast to identify subjects. When there is low contrast in a scene, such as a white car against a snowy landscape, autofocus may struggle, leading to continuous hunting. Manual focus allows you to take control and achieve the desired sharpness.
- Complex compositions: When there are obstructions or foreground elements between you and the subject, such as shooting through a fence or tree branches, autofocus may focus on the wrong elements. Manual focus lets you choose the exact subject you want to be in focus, ensuring you get the shot you want.
- Macro photography: This type of photography involves taking close-up images with wide apertures, leaving little room for error in terms of sharpness. Autofocus often struggles in these situations, hunting for focus and sometimes locking onto the wrong areas. Manual focus gives you the precision and control needed to experiment and get the sharpest results.
- Panorama photography: Creating a seamless panorama image requires consistency in focusing throughout the individual shots that will be stitched together. Autofocus may cause inconsistencies in focus as the lens adjusts with each shot. By using manual focus, you can ensure that the lens stays focused on the same spot, resulting in a more cohesive final image.
- Shallow depth of field scenarios: When working with wide apertures, precise focusing is crucial as the margin for error is slim. While autofocus can work well in some cases, such as with Eye AF in portrait photography, there are times when it falls short. Manual focus allows you to carefully set the point of focus, ensuring you nail the shot.
- Wide-angle photography: When shooting with a wide-angle lens, your subjects may occupy a small area of the frame, making it challenging to control autofocus. Switching to manual focus gives you the ability to choose the exact point of focus, ensuring that the desired areas of the image are sharp.
Best Camera Batteries: 3000mAh Options and More
You may want to see also

Manual focus vs autofocus
Manual focus and autofocus each have their own advantages and disadvantages, and the choice between the two depends on the photographer's needs and shooting conditions.
Autofocus allows the camera to set the focal point, handling most of the work in ensuring a clear shot. It is generally quick, although its speed varies depending on the camera and lens type. Sports-oriented equipment is typically much faster. Autofocus has seen advancements such as tracking, which enables it to lock focus on a subject and track it through the frame. This feature is particularly useful for capturing moving subjects. Autofocus systems also rely on contrast to identify objects of interest.
However, autofocus is not infallible. It can lock onto the wrong part of the scene, and it can struggle in low-light conditions or when there is not enough contrast between the subject and the rest of the scene. Autofocus can also have trouble when there are many objects in the scene, as it can get confused by foreground objects.
Manual focus, on the other hand, enables the user to set the focal point, providing more creative control over the image. It is ideal for situations where autofocus may struggle, such as low-light conditions, low-contrast scenes, or when there are obstructions between the photographer and the subject. It is also useful when the subject is visually similar to its surroundings, or when shooting video. Manual focus is also very precise, allowing the photographer to carefully pick the point of focus from a chaotic scene.
Manual focus is generally slower than autofocus, making it less suitable for capturing moving objects. It also requires the photographer to choose the point of focus, which can be challenging in certain situations, such as when shooting from the hip.
In conclusion, neither autofocus nor manual focus is universally superior. The choice depends on the specific needs and conditions of the photographer. Autofocus is generally recommended as the default setting, with manual focus used in specific scenarios where autofocus struggles.
Vicohome Camera Charging: A Step-by-Step Guide
You may want to see also

How to enable manual focus
Manual focus can be a great skill to learn, and it can be very useful in certain situations, such as low light or crowded settings. While autofocus is usually the go-to for most photographers, there are times when manual focus is the better option.
Enabling Manual Focus
To enable manual focus, you will need to locate the switch on your lens. This is usually found on the side of the lens and is labelled "AF-MF", which stands for autofocus and manual focus. Switch this to the MF setting, and you are ready to shoot in manual focus mode.
Adjusting Focus
Once in manual focus mode, you will need to adjust the focus using the focus ring on your lens. If you have a zoom lens, there will be two rings: the zoom ring, which is closest to the camera body, and the focus ring, which is towards the end of the lens.
As you turn the focus ring, you will see different parts of the shot come into focus. The point at which an object becomes sharp will correspond to its distance from the lens. You can see this distance in feet or meters by looking at the numbers in the window at the top of the lens.
Using Live View
When shooting in manual focus mode, it can be helpful to use the live view feature, if your camera has one. This will bring up a real-time view through your lens on the LCD screen, giving you a wider view to judge the sharpness of your subject. You can also zoom in on this screen to fine-tune the focus.
When to Use Manual Focus
While you can use manual focus at any time, there are certain scenarios where it is particularly beneficial. These include:
- Macro photography: When shooting macro, it is important to have precise control over what is in focus, and autofocus often struggles in these situations.
- Crowded settings: If you are trying to focus on a specific subject in a crowded setting, your camera may have trouble identifying the correct subject.
- Shooting "through" an object: By using manual focus, you can keep the object closest to the lens out of focus and ensure that a subject further away is in focus.
- Low light: In low-light conditions, it can be challenging for autofocus to work effectively, so manual focus is often a better option.
- Street photography: By locking your focus and aperture, you can shoot continuously without having to adjust these settings.
While autofocus is a fantastic tool, there are times when manual focus is the better option. By learning how to enable and use manual focus, you can gain more control over your photography and achieve effects that may not be possible with autofocus.
Mastering Camera Projection in Modo: A Step-by-Step Guide
You may want to see also

How to get sharp results
Manual focus is a great way to get sharp images, but it can be tricky. Here are some tips to help you get the sharpest results when using manual focus:
- Use Live View: Using the LCD screen instead of the viewfinder can make it easier to see if your image is sharp. You can zoom in on your subject and use the arrow keys to move your view, making it simpler to adjust the focus.
- Pre-focus for action: While autofocus is usually best for action shots, there are times when manual focus is better. Pre-focusing on a spot where you expect your subject to be can help you capture sharp shots without missing the moment. This works well for subjects with predictable movement patterns.
- Use camera-assisted manual focus: Many cameras have features to help with manual focus. For example, Nikon cameras have a circle that appears in the viewfinder when your image is in focus, while Canon cameras have a focus point that lights up. Mirrorless cameras often have focus peaking, which highlights the part of the image that is in focus.
- Stability is key: To get sharp images, you need a stable setup. Use a tripod and check that the ground is stable. You can also use your camera's image stabilization settings or a flash or studio strobe to help reduce camera shake.
- Adjust your shutter speed: Slowing down your shutter speed will let in more light, but it can also cause motion blurs. Speeding up your shutter will help keep things crisp and clean.
- Use a high f-number: For a sharp image, use a high f-number for a narrow aperture. This will keep both the foreground and background in focus.
- Take your time: Manual focus requires patience. Take the time to compose your shot, focus, and fine-tune before capturing the image. This will help you get sharper results and reduce the number of photos you need to edit later.
Exploring Adobe Camera Raw: Mastering the Undo Functionality
You may want to see also

Focusing in low light
Use Autofocus with "AF Assist" Speedlight:
The ""AF Assist" feature on modern speedlights or flash commanders emits a red beam that helps the camera acquire focus in extremely low light conditions. To use this method:
- Mount a compatible speedlight or flash commander on your DSLR's hot shoe.
- Change your focus mode to AF-S (Single Servo/Single Area AF).
- Half-press the shutter release or AF-ON button to activate the red lights on the speedlight.
- The red beam will project onto your subject, allowing your lens to focus accurately.
Manual Focus Techniques:
If you prefer to focus manually, here are some techniques to improve your results in low light:
- Use Live View with Manual Focus: Live View on your camera's LCD screen can help you focus more easily in low light conditions. You can magnify the image to ensure that even the smallest details are in sharp focus.
- Use a Mirrorless Camera with an Electronic Viewfinder (EVF): EVFs provide a live feed from the camera's imaging sensor, making it easier to focus in low light. They also offer features like focus peaking, which adds an overlay to show which areas of the image are sharp.
- Consider a Manual Focus Lens: Some manual-only lenses offer greater precision for manual focusing, especially for macro and fast-aperture prime lenses.
- Use Manual Focus Override: This feature allows you to use autofocus and then fine-tune the focus manually without switching modes.
- Magnify the Scene: Many cameras will automatically magnify the scene when you start to adjust the manual focus, giving you a better view of what's in focus.
- Use Focus Peaking: This feature highlights areas in the scene with the highest contrast, making it easier to see when your subject is in focus as you adjust the manual focus ring.
Other Tips for Low Light Photography:
- Use a Wide Aperture: A low f-number (wide aperture) will allow more light to reach the sensor, helping with focus and exposure in low light.
- Increase ISO: Higher ISO values will increase the light sensitivity of your camera, making it easier to capture well-exposed images in low light. However, be mindful of the increased noise and graininess that can come with higher ISO settings.
- Slow Down Shutter Speed: Slowing the shutter speed will allow more light to enter the camera, creating motion blurs and light trails if shooting at night.
Maintain Original Ratios in Camera Raw: A Simple Guide
You may want to see also
Frequently asked questions
Manual focus is when you adjust the in-focus region to be closer or further from the camera. This is usually done by rotating the focusing ring on your lens while autofocus is disabled.
You can use manual focus whenever you like, but it is particularly useful when there are obstructions between you and the subject, when there is low contrast in the scene, when the subject itself is low in contrast, when shooting video, and when it is not possible to focus on a subject because it is moving too quickly.
On your lens, look for a switch with positions labelled A and M. If you set your lens to the "M" setting, you will have turned off autofocus and entered manual-focus-only mode.
Make sure your diopter is set for your vision. This control is usually found to the side of your viewfinder and can be calibrated by rotating it until everything inside the viewfinder appears as sharp as possible. You can also use tools like a loupe or the magnifying button to zoom in on your live view screen.
Manual focus gives you complete control over exactly where to place the focus. It also circumvents the handful of tricky situations in which autofocus tends to struggle, such as low light levels or when there is an obstruction between you and the subject.


