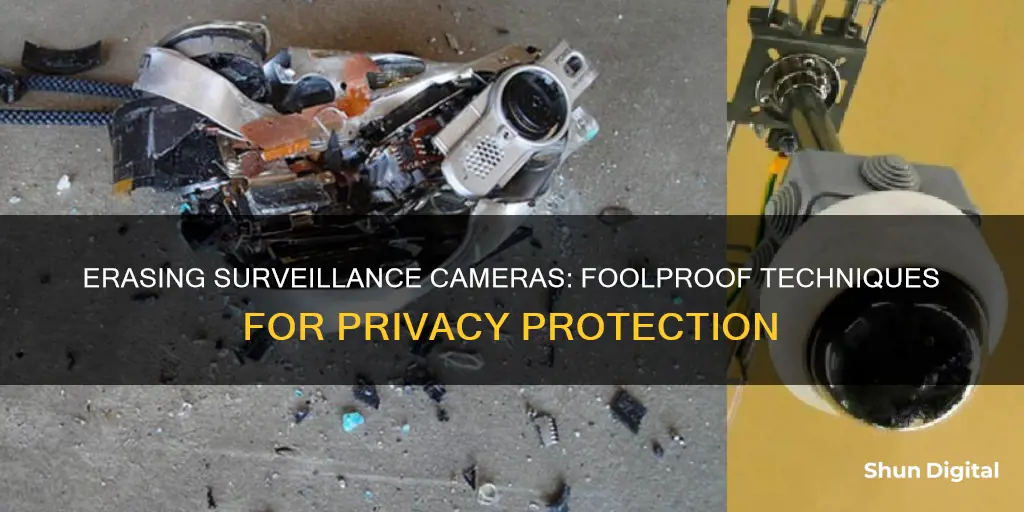
Surveillance cameras are everywhere, and with that comes a ton of information on each camera. This data can be deleted, but it depends on whether you have admin-level access to the camera system. If you are the owner of the camera, you can delete footage manually or set up the system to automatically delete old footage. There are several ways to erase surveillance footage, depending on the camera type and storage used. For example, if you use a DVR system, you can usually delete footage by pressing a button on the device. If your footage is stored on an SD card, you can either erase it manually or use software to format the card and delete all files.
| Characteristics | Values |
|---|---|
| Possibility of erasing CCTV footage | Yes, if you own the camera |
| Manual deletion | Possible |
| Automatic deletion | Possible |
| Admin rights | Required for deletion |
| Admin password | Required for deletion |
| Storage type | SD card, DVR/NVR, PC, cloud storage |
| Deleting individual clips | Not possible in most cases |
| Deleting from SD card | Remove the card and use a card reader to delete specific clips or format the card to delete all clips |
| Deleting from DVR/NVR | Connect the DVR/NVR to a monitor, log in, go to Device Settings, and format the hard disk drive |
| Deleting from PC | Connect the cameras to the PC, find the file on the PC, and delete specific recordings |
| Deleting from cloud storage | Log in to your account, locate the recording page, and delete the videos |
| Recovering deleted footage | Possible through hard drive recovery services |
What You'll Learn

Deleting security camera footage from cloud storage
To delete security camera footage from cloud storage, you will need to log in to your account. You can do this by opening the cloud storage app and entering your login credentials. Once you have successfully logged in, navigate to the recording page to see the recorded videos from your IP security camera.
From there, you can choose the videos you want to delete and click on the delete icon. Different cloud storage applications have different systems and apps, so if you are unsure, you can search for instructions or contact the system support team for guidance.
It is important to note that deleting security camera footage from cloud storage may vary depending on the provider. For example, some manufacturers like Nest and Ring provide mobile apps that allow you to view, download, or delete cloud recordings. On the other hand, third-party services like Dropbox or iDrive may have different deletion settings, so it is recommended to check the policies of your specific provider.
Best Cameras for RAW Photography: Unlocking the Power
You may want to see also

Erasing security camera footage from an SD card
- Turn off the camera: Before removing the SD card, ensure that the security camera is powered off to avoid any data corruption or damage to the card.
- Remove the SD card: Locate the SD card slot on your security camera and carefully take out the card. This may require opening a small panel or cover to access the card slot.
- Connect the SD card to a computer: Use a card reader to insert the SD card into your computer. This will allow you to access the video files stored on the card.
- Open the SD card folder: Once your computer detects the SD card, open the card's folder. You will usually find this in the "This PC" or "My Computer" section, along with other storage devices.
- Browse and select the video files: Navigate through the folders and locate the specific video files you want to delete. You can select individual videos or multiple files for a bulk delete.
- Permanently delete the selected files: Right-click on the selected files and choose the "Delete" option for Windows or drag the files to the Trash if you're using a Mac. Make sure to empty the Trash afterward to permanently erase the files.
- Safely eject the SD card: Once you have confirmed that all the desired files have been deleted, use the "Eject" feature to safely disconnect the SD card from your computer. This will ensure that no data is lost or corrupted during the removal process.
- Reinsert the SD card into the camera: After successfully deleting the footage, place the SD card back into your security camera. This will allow the camera to resume recording, overwriting the oldest videos first if the card is full.
It is important to note that deleting footage from an SD card is a manual process. Therefore, you will need to repeat these steps periodically to free up space as your storage fills up. Additionally, always make sure to review the files before deleting them to avoid removing any important footage accidentally.
Unlocking Portrait Mode: Creative Camera Control
You may want to see also

Deleting security camera footage from a DVR/NVR
Step 1: Connect your DVR/NVR to a monitor. This can be done using a VGA or HDMI cable.
Step 2: Log in to your DVR/NVR device using your monitor. You will need to enter your login credentials, including your password.
Step 3: Navigate to the Device Settings or Configuration section. This is usually found within the Settings menu.
Step 4: Locate the Disk Management or Storage section. Here, you will find options to manage your camera's video history and snapshots.
Step 5: Format the hard disk drive. By formatting the hard drive, you will delete all the video footage and snapshots stored on your DVR/NVR. It is important to note that this action cannot be undone, and all data will be permanently erased.
It is worth mentioning that formatting the hard drive will not affect other configurations on your DVR/NVR, such as motion detection, email settings, scheduling, or masking. These settings will remain intact even after formatting.
Additionally, it is important to emphasize that deleting security camera footage should only be done for the right reasons. If you are an individual, deleting footage can ensure good cybersecurity hygiene. For business owners, deleting footage may be necessary to comply with privacy regulations. However, always remember that deleting essential footage or evidence can be considered a crime.
The Ultimate Camera Mode for Photography Enthusiasts
You may want to see also

Deleting security camera footage from a PC
Step 1: Connect the security camera to your PC using a cable. This establishes a link between the camera and your computer, allowing you to access the camera's data.
Step 2: Locate the storage path of the camera on your PC. The files containing the footage are typically labelled as "Recordings" or something similar. However, in some cases, these files may be encrypted for added security, and you may need a password or key to access them. If you encounter such encryption, contact your provider for the necessary credentials.
Step 3: Once you've accessed the file, you can browse through the videos and select the ones you want to delete. You can choose individual recordings or select multiple files to delete in bulk.
It is important to note that deleting security camera footage may be necessary to free up storage space and maintain the efficiency of your security system. Additionally, ensuring that outdated or unnecessary footage is deleted is an essential aspect of good cybersecurity hygiene.
However, it is worth mentioning that deleting essential footage or evidence can be considered a crime. Therefore, exercise caution and ensure you have the right to delete the footage before proceeding.
Surveillance Cameras: How Many Families Feel Secure?
You may want to see also

Hacking to delete security camera footage
Hacking security cameras is alarmingly simple. However, it is useless to hack security cameras as they are often secured with SSL encryption to encrypt the video feed and surveillance footage, WPA2-AES encryption to secure users' WiFi networks, and SSL-TLS to provide data encryption and authentication when video feeds are sent across insecure networks.
In addition, some security cameras support cloud storage. So, even if a hacker destroys the CCTV footage and the local storage device, the camera owner will still have a copy secured in the cloud. Some IP cameras can also sound a loud alarm if someone tampers with them. Camera owners can also set email alerts that enable photos or video clips to be sent to their phone or FTP server if someone tampers with the camera.
If you own the security system, you can delete the footage regularly. Another option is to select the 'Set Automatic Option' if you don't have time to do the task yourself. This option is available in No Subscription Cameras that let you record on free cloud storage or SD.
To delete security camera footage, you will need access to the admin password found in the camera settings. Here are some ways to delete security camera footage:
Deleting security camera footage from an SD card
If you are using an external SD card to record videos from a security camera, you can easily delete the camera footage. First, check the timestamp and length of the recording. If you want to delete only selected clips, take out the SD card from the camera and delete those unwanted recordings via a card reader on your computer.
Deleting security camera footage from DVR/NVR
- Connect your DVR/NVR to a monitor.
- Log in to the DVR/NVR and go to its Device Settings.
- Find the disk management option, and then you can format the hard disk drive to delete all your camera's video history and snapshots.
Deleting security camera footage from a PC
Some may prefer to record IP cameras straight from their computer or laptop rather than a dedicated DVR/NVR. If this is true for you, follow the steps below to clear CCTV footage:
- Connect security cameras to a PC.
- Find the file on the PC according to its storage path.
- Select and delete specific recordings.
Deleting security camera footage from cloud storage
Using cloud storage for recorded files keeps your data secure and easy to find. This also makes it easier for you to see, fast forward, rewind, delete or download the recorded videos of your IP camera easily. Once you log in to your account and access the cloud storage, you can delete the videos you want.
Charging the FinePix XP120: A Step-by-Step Guide
You may want to see also
Frequently asked questions
Yes, if you own the camera and have admin access, you can erase CCTV footage.
To erase selected clips, remove the SD card and use a card reader to delete the files via your computer. To erase all footage, format the SD card directly via the camera software.
Connect your DVR/NVR to a monitor, log in with your admin credentials, go to Device Settings, locate the disk management option, and format the hard disk drive to delete all video history and snapshots.
Connect the security cameras to your PC, find the file on your PC according to its storage path, and select and delete the specific recordings you want to remove.
While technically possible, it is highly unlikely as modern CCTV systems are secured with SSL encryption. Additionally, many systems will notify the owner if someone tampers with the camera.


