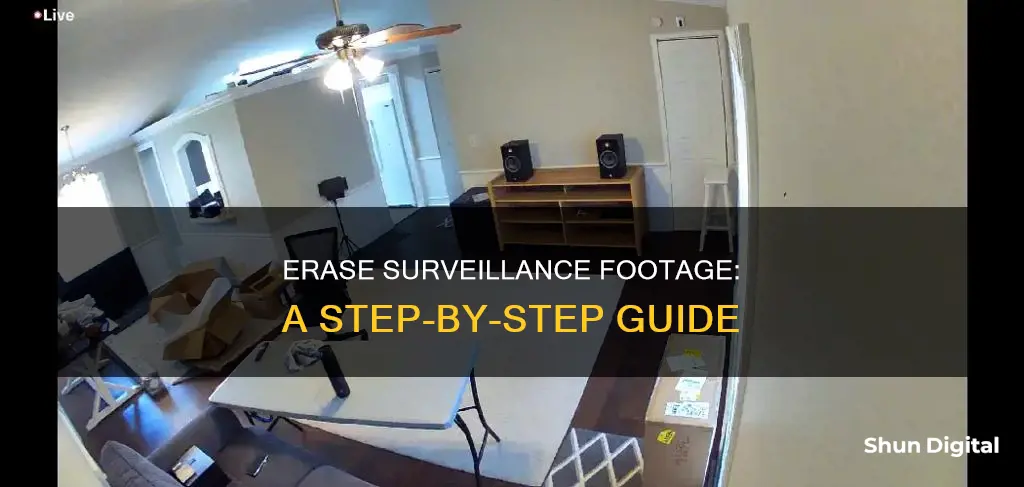
Deleting surveillance camera footage is a straightforward process, but it's important to note that it should only be done on cameras that you own. There are various reasons why someone may want to delete footage, such as freeing up storage space, removing irrelevant footage, maintaining privacy, and complying with laws and regulations. The process of deleting footage depends on the type of camera and storage system being used, but it generally involves accessing the camera settings with an admin password and formatting the storage drive or using a card reader to connect an SD card to a computer and deleting specific files.
How to Delete Surveillance Camera Footage
| Characteristics | Values |
|---|---|
| Possibility | Yes, if you own the camera |
| Admin Rights Required | Yes |
| Admin Password Required | Yes |
| Storage Types | SD Card, DVR/NVR, PC, Cloud Storage |
| SD Card Steps | Remove SD card, use card reader, open micro SD card info, select "Format" |
| DVR/NVR Steps | Connect to monitor, log in, go to Device Settings, find disk management, format hard disk drive |
| PC Steps | Connect cameras to PC, find file on PC, select and delete specific recordings |
| Cloud Storage Steps | Log in to account, access cloud storage, select videos, delete |
What You'll Learn

Deleting security camera footage from a PC
Step 1: Connect your security cameras to your PC
This step involves physically connecting the cameras to your computer using the appropriate cables. Ensure that your PC recognises the connection.
Step 2: Locate the file on your PC
Once the cameras are connected, you need to find the folder or directory where the footage is stored. This may vary depending on the software and settings you are using.
Step 3: Select and delete specific recordings
After locating the folder, select the recordings you wish to delete. You can do this by right-clicking on each file and choosing the "Delete" option. Confirm the deletion when prompted. The selected recordings will be moved to the Recycle Bin or Trash folder on your PC.
Step 4: Permanently delete the files
To permanently remove the recordings from your system, you need to empty the Recycle Bin or Trash folder. Make sure you have selected the correct files for deletion, as this action cannot be undone.
It is important to note that deleting security camera footage from a PC does not delete the same footage stored on an SD card or other storage devices. If you wish to delete footage from multiple storage locations, you will need to follow the specific steps for each storage type. Additionally, keep in mind that even after permanent deletion, specialised companies or data recovery software may still be able to retrieve the footage, especially if it has not been overwritten.
Choosing the Right Camera Profile for Your RAW Photos
You may want to see also

Deleting security camera footage from an SD card
Step 1: Check Timestamps and Recording Length
Before deleting any footage, it is essential to identify the specific recordings you want to remove. Check the timestamps and the length of the recordings to determine which clips are necessary and which are not. This step ensures that you only delete the unwanted footage and preserve the important clips.
Step 2: Remove the SD Card from the Camera
Power off the camera and carefully remove the SD card from its slot. This step gives you access to the SD card, allowing you to connect it to a computer or laptop for further action.
Step 3: Connect the SD Card to a Computer
To access the files on the SD card, you will need a card reader. Insert the SD card into the card reader, which is then connected to your computer or laptop. This enables your computer to read the files stored on the SD card.
Step 4: Access the SD Card Files
Once the computer recognises the SD card, open the folder associated with the card. You should now be able to view the files and browse through the recordings stored on the card.
Step 5: Select and Delete the Desired Recordings
With the folder open, you can now select the specific recordings you want to delete. You can identify the desired clips based on their timestamps and length. You can choose to delete individual recordings or perform a bulk deletion of multiple files.
Step 6: Permanently Delete the Files
To ensure the files are permanently removed, perform the necessary action based on your operating system. For Windows, right-click on the selected files and choose "Delete." On a Mac, drag the selected files to the Trash and then empty the Trash to permanently erase the files.
Step 7: Safely Eject the SD Card
Once you have confirmed that the desired recordings have been deleted, safely eject the SD card from your computer using the "Eject" feature. This step ensures that the SD card is properly disconnected before removing it.
Step 8: Reinsert the SD Card into the Camera
After successfully deleting the unwanted footage, you can now place the SD card back into your security camera. The camera will resume recording, and you will have freed up space for new recordings.
It is important to note that this process may vary slightly depending on your specific camera model and computer system. Always refer to the user manual for detailed instructions. Additionally, ensure that you have the necessary administrative rights to delete footage and that you are not removing any crucial evidence or information.
Gaffer's Kit: Should You Include Camera Batteries?
You may want to see also

Deleting security camera footage from DVR/NVR
Deleting security camera footage from a DVR/NVR is a straightforward process. Here is a step-by-step guide:
Step 1: Connect your DVR/NVR to a monitor. Use a VGA or HDMI cable to connect your DVR/NVR to the monitor.
Step 2: Log in to the DVR/NVR. You will need to use your admin account and password to log in.
Step 3: Navigate to the Device Settings. Once you are logged in, go to the Device Settings or Configuration/Settings section.
Step 4: Find the disk management option. In the Device Settings, look for the disk management option. This is where you will be able to manage and delete your camera's video history and snapshots.
Step 5: Format the hard disk drive. In the disk management section, you will be able to format the hard disk drive. This will delete all the video history and snapshots from your camera.
It is important to note that formatting the hard disk drive will permanently erase all the footage from your DVR/NVR. Therefore, if there are any specific videos or snapshots that you want to keep, make sure to back them up before proceeding. Additionally, formatting the hard drive will not affect other configurations on the DVR/NVR, such as motion detection, email settings, scheduling, etc.
Deleting security camera footage from a DVR/NVR is a simple process that can help free up space and improve the efficiency of your security system. Just make sure you have the necessary credentials and permissions before proceeding.
Cameras: Affordable History and the Evolution of Photography
You may want to see also

Deleting security camera footage from cloud storage
- Log in to your account: Open the cloud storage app or website and log in to your account using your credentials.
- Navigate to the recordings: Once you are logged in, find the tab or page that shows your recorded videos. This is usually labelled as "Recordings" or something similar.
- Select the videos you want to delete: Go through the list of recorded videos and select the ones you want to delete. You can identify them by their length and timestamp.
- Delete the selected videos: After you have chosen the unwanted videos, click on the delete icon or button. This will move the selected videos to the trash or recycle bin.
- Permanently delete the files: To permanently delete the files, you need to empty the trash or recycle bin. This step may vary depending on the cloud storage application. For example, on a Windows computer, you would right-click and select "Delete", while on a Mac, you would drag the files to the Trash and then empty it.
It is important to note that different cloud storage services may have different procedures for deleting files. For example, some manufacturers like Nest and Ring provide mobile apps that allow you to view, download, or delete cloud recordings. If you are using a third-party service like Dropbox or iDrive, you will need to check their specific deletion settings and policies.
Additionally, keep in mind that deleting security camera footage may be necessary for various reasons, such as freeing up storage space, removing irrelevant footage, maintaining privacy, and complying with legal requirements. Always review the files before deleting and stick to a schedule to manage your storage effectively.
Understanding Close-Up Mode: Getting Creative With Your Camera
You may want to see also

Reasons to delete security camera footage
There are several reasons why someone might want to delete security camera footage. Firstly, security cameras can pose a risk to privacy, both for the owner and other household members. Certain camera angles may capture footage from inside the home, including areas where there is an expectation of privacy, such as bathrooms or bedrooms. This can be a particular concern for individuals with strong privacy concerns or differing risk aversions.
Secondly, security camera footage can inadvertently capture sensitive or embarrassing moments that the owner may not want to be recorded or shared. Deleting such footage can provide peace of mind and ensure that private moments remain private.
Thirdly, security camera footage may contain evidence of a crime or other unwanted activity. In such cases, deleting the footage can be a way to cover up the incident and avoid potential legal consequences. This could include situations where the owner of the camera is involved in illegal activities or simply wishes to protect the privacy of guests or other individuals captured on camera.
Additionally, individuals may want to delete security camera footage to reduce the amount of data stored and minimise the risk of data breaches. Storing large amounts of footage, especially on cloud-based systems, can increase the risk of data being accessed or stolen by unauthorised individuals or entities. Deleting old or unnecessary footage can help mitigate this risk and enhance overall data security.
Finally, in some cases, individuals may want to delete security camera footage to protect their own legal interests. For example, if footage captures an incident that could be used as evidence in a civil or criminal case, deleting the footage may be an attempt to prevent it from being used in legal proceedings. This could be motivated by a desire to protect oneself or others from potential negative consequences.
Quickly Edit Multiple Photos in Camera Raw
You may want to see also


