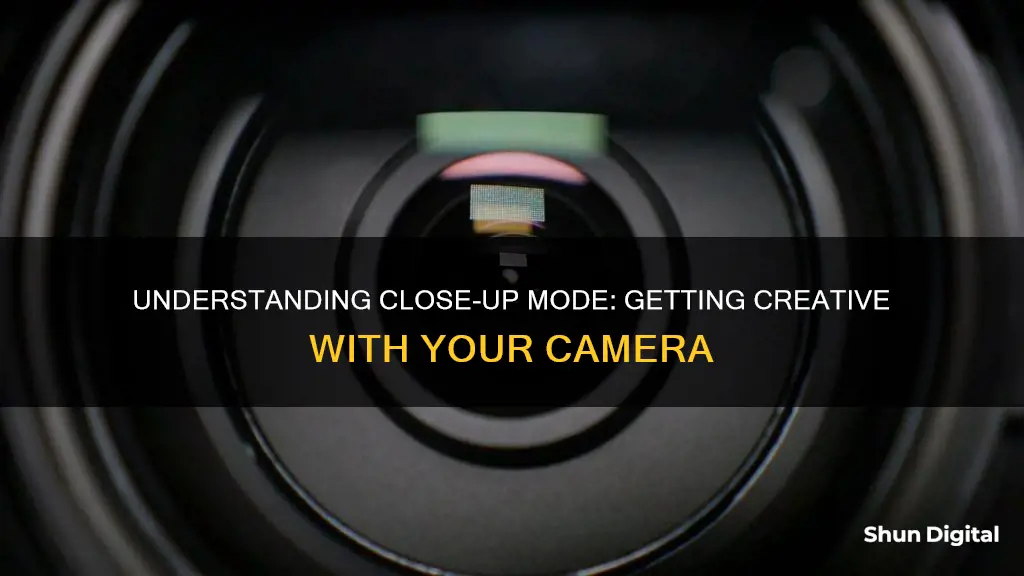
Close-up photography, also known as macro photography, is a form of photographic expression that captures subjects in extreme detail, revealing textures and intricacies that would otherwise be missed by the naked eye. This technique is commonly used in film and television to generate strong emotions, convey important information, and establish an intimate connection between the viewer and the subject. Close-up shots are often taken at a close range on a longer lens, allowing viewers to observe intricate details and emotions that a regular shot would not capture.
To achieve a successful close-up shot, photographers can utilise a variety of techniques and equipment. While a dedicated macro lens is ideal for true macro photography, it is not necessary, as close-up shots can be achieved by simply moving closer to the subject and using the camera's autofocus mechanism. Additionally, certain camera models offer a close-up mode or macro mode, which enables the camera to focus on objects just a few inches away, with the focus usually centred in the middle of the image.
What You'll Learn

Manual focus for precision
Close-up photography, or macro photography, is a form of photographic expression that allows you to capture the intricate details, shapes, textures, and colours of everyday objects or subjects in nature, such as flowers, insects, or food items. One of the biggest challenges in close-up photography is achieving the correct focus. As the distance between the camera and the object decreases, the depth of field becomes shallower, making it difficult to get the entire object in focus.
Manual focus is an advanced technique that gives you precise control over the point of focus in your image. It is particularly useful in close-up or macro photography, where autofocus tends to struggle and may lock focus on the wrong parts of the scene or fail to lock focus completely.
- Switch your camera or lens to manual focus mode, usually indicated as "MF" on the focusing mode switch.
- Locate the focus ring on your lens, which is often near the middle of the lens barrel for prime lenses or near the end for zoom lenses.
- Look through the camera viewfinder and twist the focus ring to see the focus shift.
- When shooting at high magnifications, use a relatively small aperture (such as f/8 or higher) to give yourself a larger margin of error. A smaller aperture also increases the depth of field, keeping more of the scene in focus.
- Use your camera's Live View function to preview the scene on the LCD screen. Magnify the image and adjust the focus until you achieve perfect sharpness.
- Check the focus after taking the image by zooming in on the LCD screen to ensure you got the desired point of sharpness.
- When shooting handheld, it is essential to remain as steady as possible to avoid camera shake that can result in blurry images. Consider using a tripod or monopod for added stability, especially when working with slower shutter speeds.
- Practice focusing manually and experiment with different lenses to find the one that focuses closest to your subject.
- For extremely close-up shots, consider investing in a macro lens, which allows you to focus at a much shorter distance, usually 30cm/1 foot or closer.
Charging Camera Batteries: Power Bank Essentials
You may want to see also

Macro lenses for magnification
Macro lenses are used for close-up photography, also known as macrophotography. In this form of photography, the object in the photograph is larger than life size, revealing details and textures that would otherwise be invisible to the naked eye.
The magnification ratio of a lens is the relationship between the size of the subject's projection on the imaging sensor and the subject's size in reality. For example, if a 1-metre tall child is photographed, and the resulting image of the child on the sensor is 1 cm tall, the magnification ratio is 1:100, meaning the child is 100 times larger in real life than its image as projected on the sensor.
A 'true' macro lens has the ability to produce a magnification ratio of 1:1 or higher. In other words, the lens can reproduce the subject's size onto the sensor at its actual life size. Lenses that can achieve this are often labelled as 'macro 1:1' to indicate their magnification capabilities.
When choosing a macro lens, it is important to consider the sensor size and camera system, the desired level of magnification, and whether you will also be shooting subjects at a distance. Some macro lenses, especially those with ultra-high magnification ratios, cannot focus on infinity.
While it is possible to take close-up shots without a macro lens, using a dedicated macro lens will allow you to achieve higher magnifications and sharper images.
Charging a VTech Camera: A Step-by-Step Guide
You may want to see also

Using a tripod
- Choose a sturdy tripod that is compatible with your camera. Avoid cheap, lightweight models that might not provide enough stability.
- Decide on your location and composition before setting up the tripod. Point one of the legs in the direction of your camera's focus, with the other two legs spread out to either side to give you space to stand and work.
- Extend the tripod legs, starting with the thickest sections to provide the most stable support. Adjust the legs to ensure the tripod is level, using any built-in bubble levels if available.
- Avoid raising the centre post of the tripod—this will make your setup less stable. Instead, adjust the legs if you need to change the height of your camera.
- Attach your camera to the tripod using the quick-release plate, ensuring it is locked securely in place.
- Adjust your camera settings for tripod use. Turn off image stabilisation, use a remote shutter release or self-timer to avoid camera shake, and set the base ISO for the best image quality.
- If you are using a heavy lens, mount it directly onto the tripod using its tripod collar, rather than letting it hang off the camera mount.
- Add weight to the centre of the tripod, such as by hanging your camera bag, for extra stability.
Understanding Your Camera's RAW Settings
You may want to see also

Framing and composition
Get Close to Your Subject
One of the most important things to consider when composing a close-up shot is the distance between your camera and your subject. Get as close as you can to your subject to fill the frame and create a more intimate and detailed image. This will also help to blur the background and create a shallow depth of field, making your subject stand out.
Choose Your Lens Wisely
While a macro lens is not necessary for close-up photography, it is important to understand the limitations of your equipment. Each lens has a minimum focusing distance, so make sure you are using a lens that allows you to get close enough to your subject. Prime lenses are a good option for close-up photography due to their sharpness and clarity.
Pay Attention to the Background
The background of your image can make or break your composition. When shooting in close-up mode, the background is often out of focus, but it is still important to consider how it complements your subject. Look for backgrounds that are not too busy or distracting, and use depth-of-field preview to ensure the background enhances your subject rather than taking away from it.
Experiment with Different Angles
Don't be afraid to move around and experiment with different angles when composing your shot. Try shooting from above, at eye level, or down low to see how the different perspectives affect the overall composition. Sometimes, a slight shift in your point of view can make a big difference in the final image.
Use Foreground and Background Framing
Foreground and background framing are powerful techniques to draw attention to your subject. Place elements in the foreground or background of your composition to frame your subject and add depth to the image. This can be done by using natural or architectural features such as tree branches, arches, doors, or windows.
Focus on the Important Details
When shooting close-up photos, it is essential to focus on the most important part of your subject. Due to the shallow depth of field in close-up photography, it is often impossible to get the entire object in focus. Therefore, choose the most interesting or visually appealing part of your subject to be the main focal point.
Uncover Camera Raw's Masking Magic
You may want to see also

Lighting and weather conditions
When taking close-up photos, the lighting and weather conditions can greatly affect the outcome of your images. Here are some tips on how to make the most of the lighting and weather when taking close-up shots:
- Try shooting in cloudy weather: Bright sunlight can create dark shadows that obscure details in your photos. Cloudy weather provides softer light that can help bring out the details in your outdoor close-up shots.
- Use the time of day to your advantage: The angle and quality of natural light change throughout the day. At noon, the sunlight is top-down and creates harsh shadows, while close to dusk, the sunlight is warmer, softer, and more atmospheric. The golden hour, just after sunrise or before sunset, is an excellent time for outdoor photography as the light is warmer and softer.
- Make the most of the weather conditions: Clouds, mist, and rain can soften and diffuse natural light, creating moody and atmospheric shots. Overcast days are perfect for portrait photography as the soft light reduces shadows.
- Use low light to your advantage: As the sun sets and natural light levels drop, you can still take advantage of low-light conditions by using a camera with good low-light performance and adjusting your shutter speed and ISO settings.
- Match your white balance to temperature conditions: The colour temperature of natural light changes throughout the day and in different lighting conditions. Adjust your white balance settings accordingly to ensure accurate colours in your photos.
- Be mindful of your surroundings: Different qualities of natural light can suit certain subjects. Direct sunlight is great for showcasing vibrant colours and textures, while softer light is better for portraits as it reduces harsh shadows.
The Cost of Capturing Moments: Camera Charging Explained
You may want to see also
Frequently asked questions
Close-up mode, also known as macro mode, allows the camera to focus on objects that are only a few inches away. It is used to capture extreme close-ups of objects, making them appear larger than life size and revealing details and textures that would otherwise be missed.
When using close-up mode, it is important to watch the autofocus to ensure the camera is focusing on the object and not the background. Keep the object in the centre of the frame if using autofocus. Additionally, avoid using flash, as it will not work on close-up objects.
Close-up mode can be used to capture detailed images of flowers, insects, food, or any small object. It is also commonly used in film and television to create an emotional connection between the viewer and the subject, allowing for a revolutionary new approach to acting and performing.


