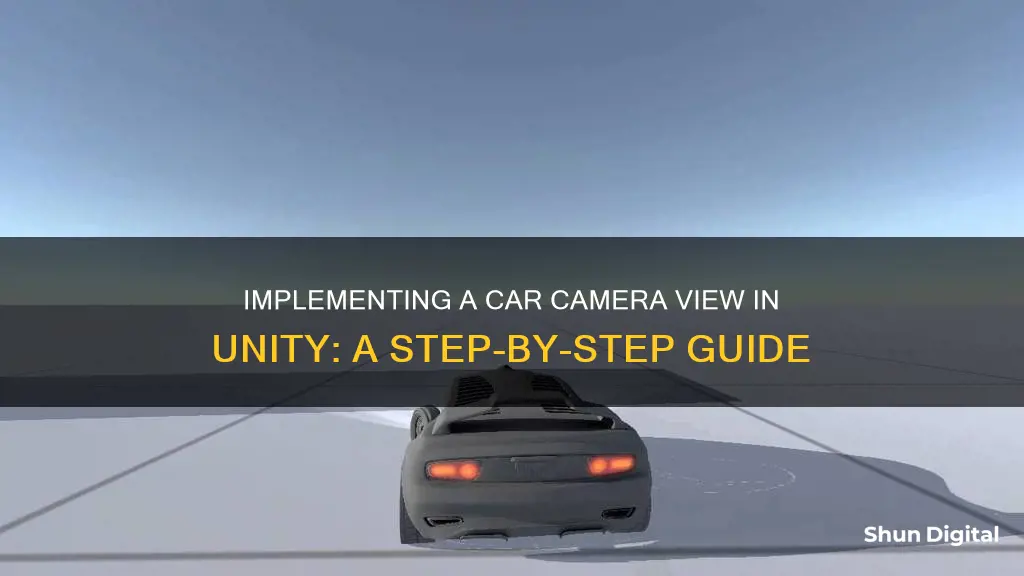
Unity is a game engine that allows users to create games with unique presentations through the customization and manipulation of cameras. One way to create a car camera in Unity is by using the Cinemachine package, which provides a range of useful features. Alternatively, you can attach a script to the main camera and adjust the smoothing factors to achieve the desired camera movement.
| Characteristics | Values |
|---|---|
| Number of cameras in a scene | Unlimited |
| Camera Inspector reference | Displays different properties depending on the render pipeline |
| Camera component | Creates an image of a particular viewpoint in your scene |
| Cinemachine | Built-in package in Unity that has a lot of useful features |
| RCC, Edy Physics, NWH Vehicle Physics | Car controller kits from Unity asset stores |
| Normalized Viewport Rectangle | Defines a certain portion of the screen that the current camera view will be drawn upon |
| Orthographic | Removes all perspective from the camera's view |
| Render Texture | Contains the output of the camera view |
| Physical Camera | Unity calculates the Field of View using properties that simulate real-world camera attributes |
| Culling Mask | Includes or omits layers of objects to be rendered by the camera |
| Multi-camera views | Can be achieved by adjusting the values of the Normalized View Port Rectangle property |
What You'll Learn

Use the Cinemachine Package
Unity's Cinemachine Package is a powerful tool for creating dynamic camera shots in games and films. Cinemachine is a suite of modules that can be used to operate the Unity camera and is especially useful for car cameras. It offers a range of features that simplify the complex mathematics and logic of tracking targets, composing shots, and blending and cutting between shots.
To install the Cinemachine Package, follow these steps:
- Open the Unity Package Manager by navigating to Window > Package Manager in the top menu.
- In the Package Manager, look for Cinemachine and select it for installation. If you don't see the package at first, use the dropdown menu above the list and select "All packages".
- Cinemachine is free and available for any Unity project. If you already have it installed, you can update it to the latest version through the Package Manager.
Cinemachine offers a wide range of benefits for game development, especially when creating a car camera:
- Speed and Efficiency: Cinemachine accelerates game development by eliminating the need for costly camera-logic development. It allows you to iterate and prototype new ideas quickly while saving settings in play mode.
- Procedural Targeting: You can configure the camera to automatically rotate and keep subjects at any position on the screen. The Composer feature enables real-time procedural composition, giving you control over follow lag, width/height damping, and motion look-ahead for professional-level framing.
- Attachment and Following: Cinemachine allows you to attach the camera to any object or set it to follow an object with a wide range of options and behaviours. You can define how you want the camera to follow the object, and it will adjust accordingly under different conditions.
- Orbit Camera Management: The package includes an industry-proven, sophisticated orbit camera rig for managing 3rd-person action-adventure orbit cameras. It provides numerous controls for orbit speed, shape, recentering, damping, and input type.
- 2D-Specific Features: Cinemachine supports orthographic rendering and 2D framing, making it easy to set up powerful 2D cameras. You can compose, track, and follow objects in a 2D environment.
- Multi-Subject Tracking: You can easily target a group of objects and adjust their weight and influence within the group. The Target Group feature provides dynamic ways to track, compose, adjust the field of view, and even adjust the camera position based on the actions of multiple subjects.
- Camera Blending: Cinemachine enables you to define relationships between any two cameras and blend them together. This is particularly useful in state-machine setups where sophisticated blending relationships are desired.
- Camera Shake: The Impulse module offers a complete camera shake system. You can set up Impulse sources on objects, and the camera will respond accordingly based on scale and distance with a 6-dimensional shake. You can manually craft or procedurally generate the shake effect.
- Camera Mixing: Cinemachine's Mixer feature lets you mix between up to 8 virtual cameras, controlling the mix manually, through Timeline, or by code. This system combines multiple camera attributes to create the perfect shot under varying conditions.
- Wall and Object Avoidance: Cinemachine makes it easy to manage and automate wall and object avoidance for any camera without the need for code. The Collider feature helps keep your camera from getting tangled with objects in the game world.
By utilising the Cinemachine Package, you can create dynamic and codeless cameras that capture the best shots based on scene composition. It gives you the freedom to experiment, tune, and iterate camera behaviours in real-time, making it an invaluable tool for car camera implementation in Unity.
Best Sensor Sizes for Outdoor Surveillance Cameras
You may want to see also

Use a car controller kit from the Unity Asset Store
If you're looking for a more comprehensive solution, consider using a car controller kit from the Unity Asset Store. These kits offer a range of features that can enhance your car camera setup. Here's what you need to know:
The Unity Asset Store features a variety of car controller kits, such as the Realistic Car Controller, Mobile Joystick & Mobile Car Control Kit, and the Car Controller for Game Creator. These kits provide a range of tools and functionalities to help you create and control cars in your Unity projects.
The Realistic Car Controller, for example, offers realistic car physics and car AI capabilities. This can be beneficial for creating a dynamic and immersive driving experience. The Mobile Joystick & Mobile Car Control Kit, on the other hand, is tailored for mobile devices, providing a user-friendly interface for controlling cars on smartphones or tablets.
Using a car controller kit can streamline your development process and provide a more polished result. These kits often include pre-built scripts, assets, and components that can be easily integrated into your project. This saves you time and effort in developing these features from scratch. Additionally, the car controller kits usually come with documentation and community support, making it easier to troubleshoot any issues that may arise.
When choosing a car controller kit, consider your specific needs and requirements. Evaluate the features offered by each kit, such as compatibility with different render pipelines, vehicle physics, camera control options, and integration with other tools or packages. Reading user reviews and ratings on the Unity Asset Store can also provide valuable insights into the quality and usability of a particular kit.
By leveraging the power of car controller kits from the Unity Asset Store, you can focus on crafting engaging gameplay experiences, fine-tuning car behaviours, and creating captivating visuals for your car camera setup. These kits offer a convenient and efficient way to elevate the overall production value of your Unity projects involving vehicles and driving mechanics.
High-Res Mode: Maximizing Your Camera's Potential
You may want to see also

Set the camera as a child of the car
Setting the camera as a child of the car in Unity is a straightforward process that can be achieved through a few different methods, depending on your specific requirements. Here's a step-by-step guide on how to set up a camera as a child of a car in Unity:
Method 1: Parenting an Empty Game Object
- Create an empty game object in your Unity project.
- Parent (or attach) this empty game object to your car object in the hierarchy.
- Add a camera component to the empty game object. This will serve as your car camera.
- Adjust the position and rotation of the camera as needed to get the desired view.
Method 2: Using Cinemachine
- Install Cinemachine from the Unity Package Manager.
- Create a new virtual camera in your scene by selecting "Cinemachine" > "Create Virtual Camera" from the menu.
- Set the "Follow Target" of the virtual camera to your car object.
- Adjust the "Body Properties" of the virtual camera to define how it will move relative to the car. For example, you can use the "Transposer" profile for basic camera movement.
- Fine-tune the camera settings, such as damping values, to get the desired camera behaviour.
Method 3: Using Scripting
- Create a new C# script and attach it to your camera object.
- In the script, define a public variable to reference the car object (e.g., "public GameObject car;").
- In the "Start" function, calculate and store the offset between the camera and the car's position (e.g., "offset = transform.position - car.transform.position;").
- In the "LateUpdate" function, set the camera's position relative to the car's position using the calculated offset (e.g., "transform.position = car.transform.position + offset;").
By using any of these methods, you can effectively set the camera as a child of the car in Unity, allowing the camera to follow the car's movements and rotations. Remember to adjust the camera settings and positioning to get the desired view for your game.
How to Extend Your Camera's Battery Life
You may want to see also

Use the 'Smooth Follow' script
To use the Smooth Follow script for a car camera in Unity, you can follow these steps:
Firstly, understand the basic concepts: you will need three variables, namely "target", which is the object the camera will follow; "offset", which is the distance between the camera and the target; and "smoothSpeed", which is the speed at which the camera will follow the target. There is also an optional "isCustomOffset" variable, which is useful when you want to specify a custom offset from the inspector window.
Next, consider the execution method. It is recommended to use "LateUpdate" in camera follow scripts for a smooth following effect. This is because LateUpdate executes after both the Update and FixedUpdate functions, ensuring that the camera movement is calculated last and providing a smoother result.
Now, let's look at the logic for the camera follow. The main logic in the code to make the camera follow the target is Vector3.Lerp, also known as Linear Interpolation. This gives a smooth movement to the camera. You can adjust the "smoothSpeed" variable to control the speed of the camera's movement.
To implement the Smooth Follow script in Unity, first create a new script in your project. Copy and paste the following code into your new script:
Csharp
Using UnityEngine;
Public class CameraFollow : MonoBehaviour
{
Public Transform target;
Public bool isCustomOffset;
Public Vector3 offset;
Public float smoothSpeed = 0.1f;
Private void Start()
{
// Calculate the offset between the camera and target
If (!isCustomOffset)
{
Offset = transform.position - target.position;
}
}
Private void LateUpdate()
{
SmoothFollow();
}
Public void SmoothFollow()
{
// Calculate the target position
Vector3 targetPos = target.position + offset;
// Smoothly interpolate the camera position towards the target position
Vector3 smoothFollow = Vector3.Lerp(transform.position, targetPos, smoothSpeed);
Transform.position = smoothFollow;
// Ensure the camera is looking at the target
Transform.LookAt(target);
}
}
Now, attach this script to your Main Camera in the Unity hierarchy. You can play your game and see the camera smoothly following the car. If you want to adjust the offset between the camera and the car, you can check the "IsCustomOffset" box and specify your desired offset values in the inspector.
By following these steps and utilising the Smooth Follow script, you can achieve a seamless car camera effect in your Unity project.
Slowing Camera Movement in Blender: Walk Mode Tips
You may want to see also

Use a camera controller script
To set up a car camera in Unity, you can use a camera controller script. This will allow you to attach a script to the main camera and then drag the car player transform to the script to follow.
Firstly, you need to parent an empty game object to the car and another empty game object parented to the car for the camera to focus on. You can then use the basic camera follow and camera look-at scripts that come with the standard assets and adjust the smoothing factors to suit your game.
Alternatively, you can select your camera, go to the component menu, and under "Camera Control", select the "Smooth Follow" script. This will allow the camera to follow the car smoothly.
If you need the camera to change position dynamically, you can use iTween to alter the game objects' positions along a predefined path.
Another option is to use the Cinemachine Package, which is a built-in Unity package with a lot of useful features. Cinemachine can be used to set up a high-level camera that follows your player's vehicle.
You can also try setting the camera as a child of the car object, which will lock the camera and give it the same offsets in position and rotation as the car.
Using UnityEngine;
Using System.Collections;
Public class CameraController : MonoBehaviour
{
Public GameObject player;
Private Vector3 offset;
Void Start ()
{
Offset = transform.position - player.transform.position;
}
Void LateUpdate ()
{
Transform.position = player.transform.position + offset;
}
}
Unlocking Creative Photography with the Sports Mode
You may want to see also
Frequently asked questions
You can make a camera follow a car in Unity by attaching a script to the Main Camera and dragging the car player transform to the script to follow. You can also parent an empty game object to the camera and place it where you want the camera to end up.
The Cinemachine Package is a free package offered by Unity that allows you to control the camera for a vehicle. It has a lot of useful features and documentation to help you get started.
To install the Cinemachine Package, simply follow the steps in the package documentation microsite.


