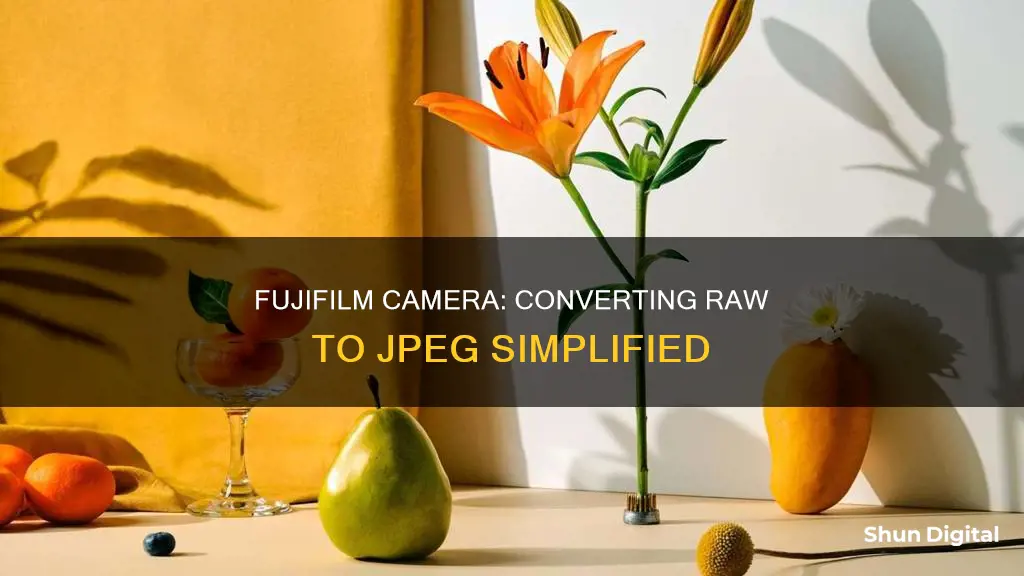
Fujifilm cameras have a unique and useful tool that allows you to convert and save JPEG versions of your RAW files right in the camera. This tool is called the RAW CONVERSION setting and can be found in the Playback Menu of every single X Series and GFX camera. This feature offers the convenience of processing your RAW images and trying out different looks right inside the camera, without having to wait until you get home. Additionally, it is particularly useful if you prefer shooting in RAW but want to share your work using the Fujifilm Camera Remote app on your phone or tablet. This way, you can select and process only the RAW files you want, instead of having a duplicate JPEG for every shot.
| Characteristics | Values |
|---|---|
| Method | In-camera RAW converter using the Q button |
| File type | JPEG (compressed), High Efficiency Image File (HEIF), or TIFF (lossless) |
| Image size | Variable |
| Image quality | Variable |
| Exposure adjustment | +3 EV, -1 or -2 EV in increments of 1/3 EV |
| Film simulation | Yes |
| White balance | Yes |
| Colour density | Yes |
| Outline sharpening/softening | Yes |
| Film grain effect | Yes |
| Colour space | sRGB or Adobe RGB |
What You'll Learn

Using the Q button to access the RAW CONVERSION setting
The Q button is a useful feature on your Fujifilm camera that gives you quick access to the RAW CONVERSION setting. Here's a step-by-step guide on how to use the Q button to convert RAW images to JPEG:
Accessing the RAW CONVERSION Setting
- Start by displaying the desired RAW picture on your camera.
- During playback, press the Q button to access the RAW CONVERSION options.
- The Q button is usually located on the back of your Fujifilm camera, and it provides quick access to important functions.
Exploring the RAW CONVERSION Options
- Once you've accessed the RAW CONVERSION options, you can highlight the desired setting using the selector pad.
- Press the selector right to select the highlighted setting.
- If you need to adjust multiple settings, repeat this step for each additional setting.
Understanding the Available Settings
- REFLECT SHOOTING COND.: This option creates a JPEG copy using the settings that were in effect when the photo was taken.
- PUSH/PULL PROCESSING: This setting allows you to adjust exposure, enhance details in highlights, simulate film effects, add a film grain effect, adjust white balance, fine-tune colour density, and more.
Saving Your JPEG Copy
- After you've made your desired adjustments, press the Q button again to preview the JPEG copy.
- Press MENU/OK to save the JPEG copy.
- The original RAW image data remains unaffected, allowing you to experiment with different settings without overwriting the original image.
The Q button is a powerful tool that gives you quick access to the RAW CONVERSION setting and allows you to create JPEG copies with various adjustments. Remember that you can always further edit the resulting JPEGs using photo editing software if needed.
Attaching Camera Battery Packs: Straps and Quick Tips
You may want to see also

Adjusting exposure, film simulation, and white balance
When converting RAW to JPEG in a Fujifilm camera, you can adjust exposure, film simulation, and white balance in the following ways:
Adjusting Exposure
You can adjust the exposure by -1 EV to +3 EV in increments of 1/3 EV. This will make your image brighter or darker.
Film Simulation
Fujifilm cameras have Film Simulation modes that mimic the colours, tones, and contrast of famous analog films. You can access these modes through the camera's main menu or the Quick Menu (by pressing the Q button). Some of the Film Simulation modes include:
- Provia: The default mode, suitable for most subjects, with faithful colour reproduction and moderate contrast and sharpness.
- Velvia: Boosts colour saturation and contrast, great for landscape and nature photography.
- Astia: Delivers vibrant colours with softer contrast, suitable for fashion, interiors, and portraits.
- Classic Chrome: Subdued colours and harder shadow contrast for a timeless, retro look.
- Pro Neg. Hi: Suitable for fashion and portrait photography, with soft skin tones and enhanced colour saturation.
- Pro Neg. Std: Delivers soft contrast and beautiful skin tones, suitable for lifestyle and street photography.
- Classic Neg.: Vintage feel with delicate contrast and deeper shadows.
- Nostalgic Neg.: Amber-tinted highlights and vibrant shadow tones for an old-school aesthetic.
- Eterna: Understated colours and flat contrast, perfect for colour grading in post-production.
- Eterna Bleach Bypass: High-contrast, low-saturation aesthetic for dramatic imagery.
- Monochrome: Black-and-white image with neutral colour reproduction.
- Acros: Black-and-white mode with fine grain and rich gradation, inspired by the NEOPAN 100 ACROS film.
- Sepia: Adds a reddish-brown colour cast to images for a vintage look.
White Balance
White Balance is the adjustment of colour temperature so that colours appear as they do to the human eye. You can access the White Balance settings in your camera's Menu. From there, you can select a specific White Balance option (such as Auto, Daylight, or Fluorescent) and then adjust the White Balance Shift to fine-tune the colour balance. The White Balance Shift can be adjusted on a grid with Red on the left and right and Blue on the top and bottom. Moving towards Red will add more Red to the image, while moving towards Blue will add more Blue. You can also combine White Balance and White Balance Shift adjustments with Film Simulation Recipes for unique looks.
The Ultimate Guide to NVR Camera Battery Replacement
You may want to see also

Enhancing details in highlights for natural contrast
When converting RAW images to JPEG on a Fujifilm camera, you can enhance the details in highlights for natural contrast by adjusting the image's brightness and contrast. Brightness and contrast settings should be made in the following order:
- Highlight
- Shadow
- Gamma
Highlights refer to the brightest areas of an image. You can adjust the brightness of the highlights by selecting the highlight point in the image and then moving the Highlight slider or entering a value in the text box. This will ensure that the highlights are not overexposed and that you have a good range of tonal data to work with during the editing process.
Shadows are the darkest areas of an image. By adjusting the shadow level, you can add richness to your photo, even if the dark areas make up a small portion of the image. Use the Shadow slider or enter a value to adjust the shadow level.
Gamma refers to the difference in contrast between the light and dark tones of an image. Adjusting the gamma setting can bring out details that are hidden in the shadows or highlights. Use the Gamma slider or enter a value to adjust the gamma level.
It is important to note that you should adjust the brightness and contrast before adjusting the image's colour. Additionally, different cameras will have different dynamic ranges, so understanding how your Fujifilm camera works in various lighting situations will help you capture the best images possible.
Crafting Camera Batteries: A Step-by-Step Guide
You may want to see also

Simulating effects of different film types
Fujifilm's Film Simulations are a unique feature, drawing on the company's decades of experience in colour science and analog photography. They allow photographers to mimic the look of classic colour and black-and-white films, with each simulation offering its own unique characteristics.
The Provia/Standard Film Simulation is Fujifilm's default setting and is a good general-purpose option, producing accurate colour rendition with moderate contrast and sharpness. It is based on Fujichrome Provia slide film.
For more saturated colours, the Velvia/Vivid Film Simulation offers a boost in colour saturation and contrast, making it a popular choice for landscape and nature photography.
The Astia/Soft Film Simulation is the inverse of Velvia, with gentle contrast, soft colours, and faithful skin-tone reproduction, making it a favourite among portrait photographers.
Classic Chrome is designed to evoke the look of mid-century magazine journalism, with low saturation and hard shadow contrast.
Pro Neg comes in two varieties: Pro Neg Hi, which has dynamic contrast and harder shadows, and Pro Neg Std, which has a flatter profile that lends itself well to editing.
Classic Neg is based on Fujifilm's Superia film stock and delivers a fairly muted colour palette that is brilliant for urban shooting, with plenty of latitude in shadows and highlights.
Eterna is a video-first profile, offering understated colours, flat contrast, and broad dynamic range, making it ideal for colour grading in post-production.
Eterna Bleach Bypass skips the bleaching part of the film development process, resulting in reduced saturation and exposure latitude, but heightened contrast and grain.
Acros is Fujifilm's monochrome profile, delivering beautiful clarity in black-and-white images with its super-fine grain.
The Monochrome Film Simulation is a straightforward black-and-white mode, essentially a monochromatic version of the default Provia setting.
Finally, the Sepia Film Simulation adds a brownish tint to the standard Monochrome look.
Charging the Polaroid Snap Touch: A Step-by-Step Guide
You may want to see also

Adjusting colour density and sharpening/softening outlines
To adjust colour density and sharpen or soften outlines, follow these steps:
- Display the desired picture.
- Highlight "RAW CONVERSION" in the playback menu and press "MENU/OK" to display the RAW conversion options. Alternatively, you can press the Q button during playback to display these options.
- Press the selector up or down to highlight the "RAW CONVERSION" setting, then press the selector right to select it.
- Press the selector up or down to highlight "ADJUST COLOUR DENSITY", then press MENU/OK to select and adjust the setting. Choose from nine options between +4 and -4 to adjust colour density. Higher values will increase saturation, while lower values will reduce it.
- Repeat the previous step to adjust outlines. Choose from nine options between +4 and -4 to sharpen or soften outlines. Higher values will result in sharper outlines, while lower values will make them softer.
- Once you have made your adjustments, press the Q button to preview the JPEG copy, and then press MENU/OK to save your changes.
These steps will allow you to adjust colour density and sharpen or soften outlines when converting RAW images to JPEG on your Fujifilm camera.
The Power of Charge-Coupled Cameras: Capturing Light, Creating Images
You may want to see also
Frequently asked questions
Press the Q button during playback to access the RAW CONVERSION settings. From there, you can highlight the RAW image you want to convert and press MENU/OK to display the RAW conversion options. After making your desired adjustments, press the Q button to preview the JPEG copy and then press MENU/OK to save.
During the conversion, you can adjust exposure, apply a different film simulation or white balance, increase highlight and shadow tone, adjust colour, noise reduction, dynamic range, and shadow tone, or apply a different colour space.
The main benefit of using the in-camera RAW CONVERSION tool is that you can process your RAW images and try out different looks right inside the camera without having to wait until you get home.


