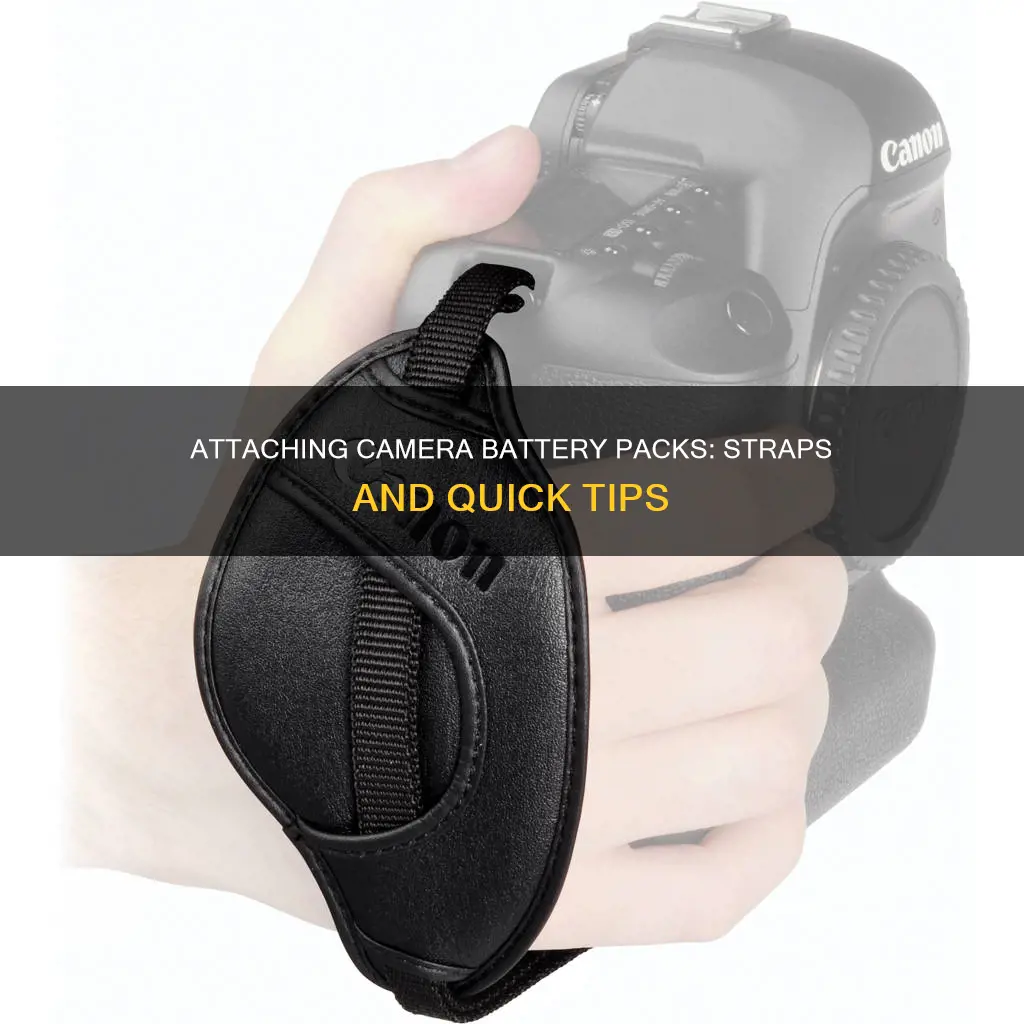
Attaching a camera battery pack to a strap is a convenient way to keep your camera gear organised and accessible. The OP/TECH USA Battery Holster, for instance, is a compact case that can hold a standard SLR battery, AA batteries, or other accessories. It features a loop attachment that easily slides onto a camera strap or belt, keeping your battery securely in place.
To attach the OP/TECH USA Battery Holster to your camera strap, simply thread the strap through the loop attachment, ensuring a tight fit to prevent accidental slips. This way, you can have easy access to your spare battery whenever you need it.
Other similar products on the market include the King Ma Small DSLR Camera Battery Bag and the POWRIG DSLR Battery Pack Case, which also offer convenient ways to carry extra batteries on your camera strap.
| Characteristics | Values |
|---|---|
| Camera Strap Type | Neck strap, wrist strap, shoulder strap, cross-body strap, sling strap, harness system |
| Strap Material | Nylon, leather |
| Strap Attachment Method | Loop attachment, lug attachment, quick-release attachment, split ring attachment |
| Strap Adjustment | Adjustable length to ensure comfort and balance |
| Security Features | Quick-release clips, plastic buckles, sleeves, anti-theft technology |
| Compatibility | Universal or specific to camera brands (Canon, Nikon, Sony), Fujifilm, Panasonic |
| Ease of Attachment | Quick and convenient, especially with innovative quick-release mechanisms |
| Strap Maintenance | Regularly check attachment points and straps for wear or damage |
What You'll Learn
![]()
Loop Attachment Method
The Loop Attachment Method is a straightforward and secure way to attach a camera strap to your camera. This method is commonly used for mod camera straps and leather camera straps. Here is a detailed guide on how to use the Loop Attachment Method:
Locating the Camera's Strap Lugs:
Most cameras have two strap lugs, positioned on each side of the camera body. These lugs are typically small metal loops or rings.
Threading the Strap:
Take one end of the camera strap and thread it through one of the lugs from the underside. Pull the strap through until it is evenly divided on both sides of the lug.
Creating the Loop:
Take the end of the strap that you just threaded and fold it back on itself to create a loop. Ensure that the loop is large enough to comfortably fit your hand through.
Securing the Loop:
Take the other end of the strap and thread it through the loop you just made. Pull it tight to secure the loop in its place.
Repeating the Process:
Repeat steps 2 to 4 for the other side of the camera, ensuring that the strap is threaded through the lug and securely looped.
Adjusting the Strap Length:
Once both sides of the strap are attached, adjust the strap length to your desired level of comfort. Ensure that the strap is secure and comfortable when worn around your neck or shoulder.
The Loop Attachment Method is a popular choice among photographers as it provides a secure and reliable way to attach a camera strap. It allows for easy adjustments to the strap length and ensures a comfortable fit for carrying your camera. This method also reduces the risk of accidental drops or damage by securely attaching the strap to the camera.
Charging Drift HD Camera Batteries: A Step-by-Step Guide
You may want to see also
![]()
Lug Attachment Method
The Lug Attachment Method is a straightforward process for attaching a camera strap. This method is popular due to its simplicity and security. Here is a detailed guide on how to attach a camera strap using this method:
Locate the Lugs:
Find the small metal loops or eyelets called lugs on both sides of your camera body. They are typically located near the top corners of the camera.
Choose a Camera Strap:
Select a camera strap that suits your needs. Various types of straps are available, including neck, wrist, and shoulder straps. Ensure the strap is compatible with the lugs on your camera.
Thread the Strap:
Take one end of the camera strap and carefully thread it through one of the lugs. Ensure that the strap is not twisted and that it is securely threaded through the lug to prevent accidental detachment.
Repeat for the Other Lug:
Repeat the same process for the other end of the camera strap. Thread it through the second lug securely, making sure that the strap is not twisted.
Adjust the Length:
Once both ends of the strap are attached, adjust the length according to your preference. Ensure that the strap is comfortable, secure, and not too loose or too tight.
Test the Attachment:
Before using your camera, gently tug on the strap to ensure it is securely attached to both lugs. This step is crucial for preventing accidental drops or damage to your camera.
Some camera straps feature quick-release buckles or connectors, making it easier to attach and detach the strap. Additionally, certain straps have added features like pockets and adjustable lengths for enhanced versatility.
Always refer to your camera's manual for specific instructions, as different models may have slight variations in the lug attachment method. Regularly inspect the attachment points and straps for any signs of wear or damage to ensure the safety of your camera.
Charging the Black Magic Camera: A Step-by-Step Guide
You may want to see also
![]()
Quick Release Attachment Method
To attach a camera strap using the Quick Release Attachment Method, follow these steps:
- Locate the camera's strap lugs: Most cameras have two strap lugs, one on each side of the camera body. These lugs are usually small metal loops or rings.
- Thread the strap through the lugs: Take one end of the camera strap and thread it through one of the lugs from underneath. Pull the strap through until there is an equal length of strap on both sides of the camera.
- Attach the quick-release clips: The quick-release clips usually come with the camera strap. They consist of two parts: a male and a female clip. Attach the male clip to one end of the strap by sliding it onto the strap and securing it in place.
- Connect the quick-release clips: Once the male clip is attached, connect it to the female clip. The female clip should be attached to the other end of the strap. The quick-release clips should securely lock together.
- Adjust the strap length: Adjust the length of the strap to your desired preference. Ensure that the strap is comfortable and allows you to easily access the camera controls.
The Quick Release Attachment Method offers convenience and ease of use. It allows you to quickly attach and detach the camera strap whenever needed. This method is particularly useful for photographers who frequently switch between handheld shooting and tripod use.
Additionally, some camera straps now come with innovative quick-release mechanisms that offer even more convenience. These mechanisms may include magnetic or sliding connectors, making it even easier to attach and detach the strap.
Remember to always check the camera strap's compatibility with your specific camera model before attaching it. Following the manufacturer's instructions is crucial to ensure a secure and reliable attachment.
Charging Your VGR B Car DVR Camera Radar Detector
You may want to see also
![]()
Split Ring Attachment Method
The Split Ring Method is a popular choice for attaching a camera battery pack to a strap securely and easily. This method involves using split rings, which are small metal rings easily available at most craft stores or online. Here is a detailed, step-by-step guide on how to use the Split Ring Attachment Method:
Step 1: Prepare the Camera Strap
Before starting, ensure that your camera strap is prepared correctly. Most camera straps have a nylon strap at each end, with a buckle and a loop of plastic or rubber attached. Pull the loose end of the strap through the sleeve and unbuckle it, so the plastic buckle and sleeve are still attached to the camera strap. Repeat this process for each end of the camera strap.
Step 2: Identify the Metal Loops
Locate the two small metal loops or strap lugs on either side of your camera, usually found near the top of the camera body. These metal loops are the attachment points for your camera strap.
Step 3: Thread the Split Ring
Take a split ring and thread it through the camera strap. Ensure the strap is facing the correct way, with any brand logos on the top and the padded side facing outwards. Then, thread the split ring through one of the metal loops on your camera. Repeat this process for the other side of the camera strap and the other metal loop.
Step 4: Adjust and Secure the Strap
Once both ends of the camera strap are securely attached to the metal loops, adjust the strap length to your desired size. Ensure equal amounts of the strap are on both sides and that there is ample strap feeding into the buckle on both sides to prevent slippage. Test the security of the attachment by gently tugging on the strap.
Step 5: Check for Comfort
Now that your camera strap is securely attached, it is essential to check for comfort. Place your camera on your neck or shoulder and adjust the strap to your preferred length. Ensure that the strap is comfortable and does not cause any strain or discomfort.
The Split Ring Attachment Method is a straightforward and dependable way to attach your camera battery pack to your strap. Remember to check the attachment points regularly to ensure they remain secure and tight.
Samy's Camera: Tax-Free Shopping Experience
You may want to see also
![]()
Using a Holster
Step 1: Choose the Right Holster
Select a holster that is specifically designed for camera battery packs, such as the OP/TECH USA Battery Holster. This holster is made of soft, durable neoprene, which helps protect your battery from physical damage, moisture, and dust. It also has a loop attachment that easily slides onto your camera strap or belt, keeping it securely in place. The holster should be sized to fit your battery pack snugly, with dimensions of approximately 2 3/8" x 3 3/16" (outer) and 2" x 2 3/4" (inner).
Step 2: Prepare the Holster
Before attaching the holster to your strap, ensure that the touch closure (often Velcro) is open and ready to secure your battery pack. Some holsters may have a sewn-in loop attachment, so you'll need to lift and open the hook and loop fastener first.
Step 3: Attach the Holster to Your Strap
Take your camera strap and thread it through the loop attachment on the holster. Once the strap is in place, secure the hook and loop fastener, ensuring a tight fit. The holster should now be securely attached to your camera strap, with the closure flap facing the camera strap to prevent accidental openings.
Step 4: Insert the Battery Pack
With the holster attached, you can now insert your camera battery pack into the holster. The closure flap should securely hold the battery in place while still allowing for quick and easy access when needed.
Step 5: Adjust and Check Comfort
Ensure that the holster and battery pack are not too bulky or heavy on your camera strap. Adjust the position of the holster along the strap to find the most comfortable placement. Check that the holster and battery pack don't restrict your movement or cause discomfort when hiking or climbing.
The Ultimate Battery Pack Guide for Photographers
You may want to see also
Frequently asked questions
You can attach a camera battery pack to a strap using a compact case, such as a battery holster, which slides onto your camera strap and is secured with a touch fastener. This way, you can keep your battery pack conveniently within reach without having to fumble through a camera case or backpack.
The OP/TECH USA Battery Holster is a popular choice for attaching a camera battery pack to a strap. It features a soft, durable neoprene pouch that slides onto your camera strap and is secured with a touch fastener. It also has a full-flap closure to keep your battery secure yet easily accessible.
To attach a camera strap, locate the strap lugs on your camera body, which are usually metal loops or eyelets on either side of the camera. Take one end of the camera strap and thread it through one of the lugs, then bring it back over and thread it through the buckle or attachment point. Pull the strap tight and repeat on the other side.
It's important to read the manual and ensure your camera strap is fitted correctly. Double-check that the strap is securely attached before using your camera to prevent accidental drops or damage.
K&F Concept offers a range of camera straps, including neck straps and shoulder straps, that are compatible with various camera models.