Converting an LCD monitor into a digital photo frame is a creative and rewarding project. It involves dismantling the monitor, building a frame, and setting up the necessary hardware and software. While it may seem daunting, with careful planning and execution, anyone can achieve this transformation. This introduction will provide an overview of the process, and subsequent sections will delve into the detailed steps involved.
The first step is to source the required materials, including an LCD monitor, a suitable frame, and a mini-computer such as a Raspberry Pi. The monitor should have no buttons on the front and a flat frame to sit flush against the glass of the picture frame. Dismantling the monitor requires caution, as it may expose dangerous electrical voltages.
The next step is to build a frame that houses the LCD screen and the mini-computer. This typically involves measuring the dimensions of the LCD's viewable area and cutting the matting of the picture frame accordingly. The frame should be solidly built to reliably support the screen and computer.
Finally, the hardware and software must be configured to display the desired images. This includes installing an operating system, connecting the necessary cables, and setting up the digital photo frame software. The specific steps may vary depending on the chosen mini-computer and software, but online resources and communities are available to provide guidance.
Converting an LCD monitor into a digital photo frame offers a unique and customizable way to display cherished images. With careful planning, attention to detail, and creativity, anyone can create a high-quality digital photo frame to enjoy their favourite pictures every day.
What You'll Learn

Dismantling the LCD monitor
Dismantling an LCD monitor can be a tricky process, and one should always exercise caution when handling electrical components. Before beginning, ensure you have the necessary tools, such as a screwdriver, knife, or any other tool required to open your specific monitor model. It is also important to disconnect the monitor from any power sources to avoid electrical hazards.
The first step is to carefully remove the plastic bezel or casing of the monitor. This process can vary depending on the monitor, so it is recommended to refer to YouTube videos or guides specific to your monitor model. Some monitors may have hidden screws underneath labels or stickers, so be sure to check for those before attempting to pry anything open. Once the bezel is removed, you will be left with the bare electronics of the monitor.
For the next step, it is important to identify any protruding metal pieces that may need to be removed. In the example provided, the author used a Dremel to saw off a protruding metal piece from their ASUS monitor. Before cutting or modifying any components, it is crucial to seal all holes in the back of the display with adhesive plastic foil to prevent metal pieces from entering the internal electronics, which could cause a short circuit or damage.
After making the necessary modifications and ensuring a thorough clean-up, you can carefully slide the LCD screen into your chosen frame. Be cautious when handling the screen to avoid damaging cables, especially around the corners. Once the screen is securely in place, tighten up any necessary screws or fasteners.
The next step involves wiring the components together. For this, you will need a bent HDMI cable and a bent power supply cable for the monitor. The power supply cable will determine the distance between the frame and the wall, so it is recommended to choose a flatter model if possible. Use temperature-resistant glue to attach the Raspberry Pi case and its 5V power supply, ensuring it is one of the very flat models. Allow the glue to harden for at least 24 hours before proceeding.
Attaching Speakers to the Asus VC279 Monitor: A Guide
You may want to see also

Preparing the frame
The first step is to find a suitable LCD monitor. A 15-inch monitor is a good size, but you can go larger if you prefer. It's important to ensure that the monitor has no buttons on the front, so that they don't get pressed against the back of the glass when mounted. You will also need to make sure the monitor has a flat frame so that it sits flush against the glass of the picture frame.
Next, you will need to source a picture frame. A "shadow box" style frame without a back and with hanging brackets added works well. You will need to measure the dimensions of the LCD's viewable area and cut the matting of the picture frame so that only the LCD screen is visible.
To attach the LCD to the frame, you will need to remove the bottom mount and the plastic back cover of the monitor. You can then use tin, metal, or wood to fabricate mounting brackets, attaching them to the LCD and the frame with screws. Take your time to ensure that the LCD is square and true before tightening all the screws.
Once the LCD is securely mounted, you can move on to the wiring. You will need a bent HDMI cable and a bent power supply cable for the monitor. The power supply cable will define the distance between the frame and the wall, so it's best to find a flat model. Use temperature-resistant glue to attach the power supply and any other necessary components, such as a Raspberry Pi case if you are using one.
Finally, carefully attach the cables and fix them in place with plastic connectors or glue. Make sure that any little switches on the monitor remain accessible in case you need to adjust the picture quality later.
Finding Monitor Size: Pixel Count for Display Settings
You may want to see also

Installing the OS and software
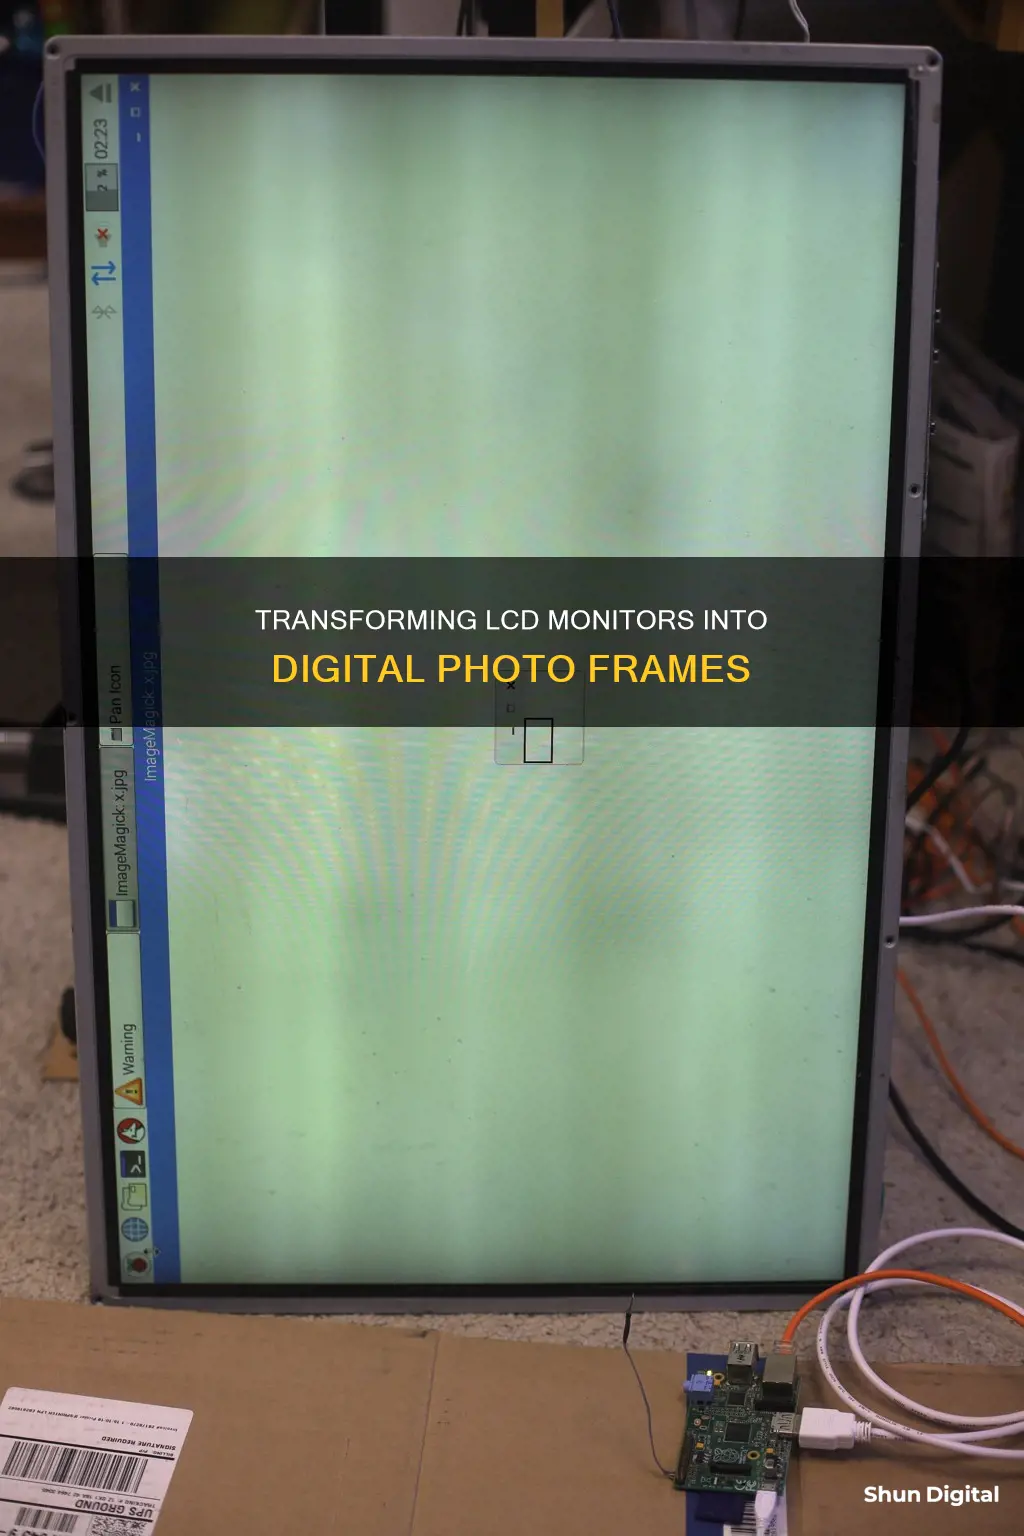
The first step is to get your Raspberry Pi working by connecting it to the monitor and testing your digital picture frame software. You can use a Raspberry Pi OS, a Linux dialect very similar to Debian. If you have never used Linux before, don't worry, as you won't need to be an expert to get it working.
You can also install the OS and software outside of the picture frame. For example, you could use an old copy of Windows 98SE, and hack it by removing the shutdown and startup screens and replacing them with custom-made ones. You can also go into Regedit to turn off your desktop (so that no icons appear) and disable/hide the taskbar.
If you want to control your picture frame remotely, you can install RealVNC. You will also need to find or create a slideshow program that suits your needs. For example, you could write your own in Visual Basic.
Troubleshooting Intel's Recognition Issue with ASUS USB Monitors
You may want to see also

Mounting the hardware
First, gather the necessary materials. You will need a hard drive, a motherboard, zip ties, sticky-backed zip tie mounts, screws, and nylock nuts. You will also need various cables, including a power cable, a hard drive cable, and an LCD signal cable.
Next, prepare the zip ties and zip tie mounts. Drill holes through the middle of the sticky-backed zip tie mounts. Then, run a screw up through the bottom of each mount (the sticky side) and tighten it with a nylock nut. Make sure you know where you want to place the zip tie mounts before peeling off the paper backing, as they are very sticky.
Now you can begin attaching the hardware. Mount the hard drive using the zip ties and zip tie mounts. Secure the hard drive cable and ensure it is connected to the other components. Then, mount the motherboard, being careful to ensure that the bottom of the board isn't touching any metal. Use the pre-drilled holes in the motherboard to secure it to the zip tie mounts with screws.
Finally, connect all the cables. This includes the power cables, the LAN cable, and the LCD signal cable. Stand back and admire your handiwork!
Some additional tips for mounting the hardware:
- Take your time and work carefully.
- Double-check that all cables are securely connected.
- Ensure that the motherboard is mounted securely and not touching any metal surfaces.
- Neatly organise any loose cables with zip ties or gaffer tape.
Privacy Concerns: Hotels Monitoring Guest Internet Activity?
You may want to see also

Wiring the electricity cable
Firstly, ensure that you have a suitable power supply cable for your monitor. The cable should be flat, as the flatter the cable, the less distance there will be between the frame and the wall. A slim power cable will help achieve a neat and professional-looking finish.
Next, attach the power supply cable to the monitor. This can be done using temperature-resistant glue or another suitable adhesive. Be careful not to obstruct any important components or access points and allow adequate time for the glue to dry before proceeding.
Once the glue is dry, carefully attach the cables and fix them in place. Plastic connectors can be used to secure the cables, or additional glue if necessary. Ensure that any loose ends are tightened and secured. It is important to note that the Raspberry Pi case should not be mounted too high, as space needs to be saved for the wall mount.
Finally, connect the picture frame to a power source and test whether the setup is working. It is crucial to exercise caution when handling electrical wiring. If you are unsure about any aspect of the wiring process, it is recommended to seek assistance from someone with electrical knowledge or experience.
By following these steps, you can effectively wire the electricity cable for your DIY digital photo frame, ensuring a neat and functional setup.
Surface Book Monitor Size: How Big Is the Display?
You may want to see also
Frequently asked questions
You can use an LCD monitor of any size, as long as it has no buttons on the front and has a flat frame on its front side.
You will need a frame, a Raspberry Pi with accessories, a power supply, and a small case.
You will need to remove the bottom mount and the plastic back cover of the monitor. You can then attach mounting brackets to the monitor and the frame using screws.


