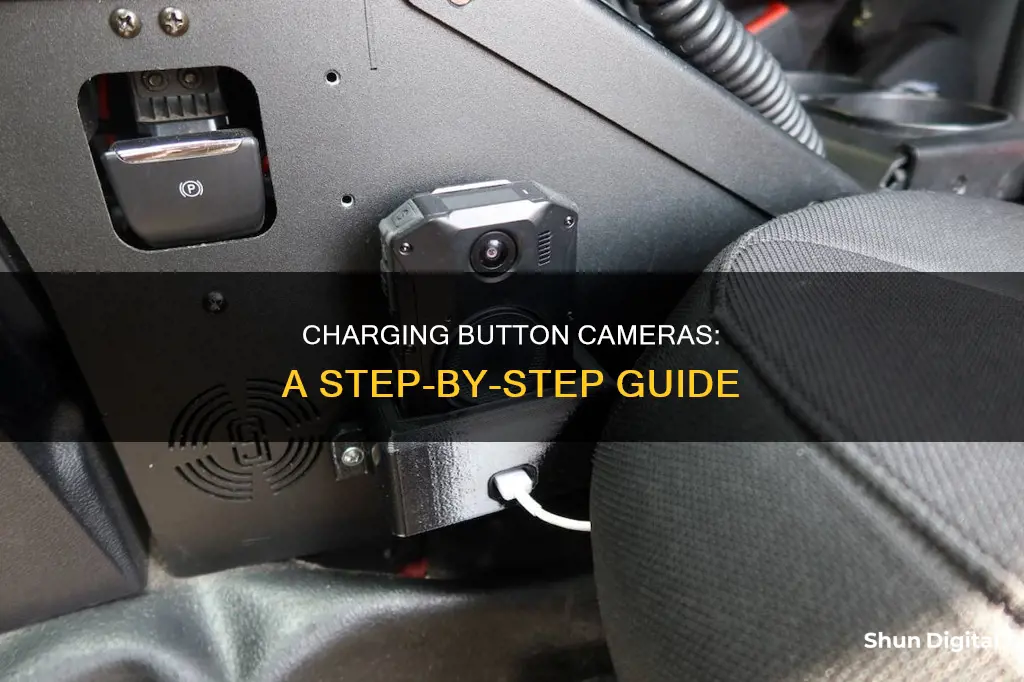
Charging a button camera can be done in a few simple steps, but the process may vary depending on the type of camera you have. Some button cameras are self-contained, with the lens, sensor, battery, and storage all in one device. Others come with a kit that includes a separate DVR for storage and power. Before charging your button camera, check which type you have and refer to the specific instructions provided by the manufacturer. In general, you can charge your button camera by connecting it to a power source such as a wall outlet, power bank, or computer using a USB cable. Make sure to check the compatibility of the power source and cable with your camera in terms of connectors, voltage range, and current. It is also important to ensure that the camera is turned off during charging. Additionally, regular maintenance of your button camera, including keeping the lens clean and ensuring sufficient storage space, is crucial for optimal performance.
| Characteristics | Values |
|---|---|
| Charging method | Connect to a computer or laptop |
| Charging indicator | Blinking light |
| Storage | Built-in or memory card |
What You'll Learn

Charging a self-contained button camera
To charge a self-contained button camera, follow these steps:
- Check the charging indicator: Before charging, connect the button camera to your computer or laptop to check if the charging indicator is blinking. If it is, let the camera charge until the indicator shows that it is fully charged.
- Ensure empty storage: In addition to checking the charge, also verify that the built-in storage or memory card has sufficient space. If it's full, be sure to empty it before using the camera.
- Connect to a power source: You can charge the camera by connecting it to a power source. Use the appropriate USB cable and ensure that it is compatible with your camera in terms of connectors, voltage range, and current. Most cameras come with a USB charging cable included in the package.
- Switch off the camera: It is important to turn off the camera before charging. Some cameras cannot charge while they are powered on.
- Attach the USB cable: Connect the USB charging cable to the camera's charging port, which is usually located inside the rubber cover that protects the ports and connectors.
- Plug into a power outlet: Attach the USB wall adapter to the USB cable and then plug it into a wall outlet.
- Wait for charging to complete: The camera or its external battery will typically have a charging indicator light. Once this light turns off, it indicates that the device is fully charged and you can unplug the cable.
By following these steps, you can ensure that your self-contained button camera is charged and ready for use. Remember to refer to the specific instructions provided by the manufacturer for your particular model, as charging methods may vary slightly between different brands and models.
Charging Camera Batteries: Enercell's Quick Guide
You may want to see also

Charging a button camera with a kit
Button cameras are a great way to record your daily life or have video evidence. They are extremely inconspicuous and can be hidden pretty much anywhere. The best option for concealment is a button camera, which looks like a regular shirt or jacket button at first glance.
If you want to use a button camera with a kit, there are a few things to keep in mind. The button camera with a kit consists of a small lens and sensor that are attached to your shirt or jacket, with a cable connecting them to a separate DVR unit. This design makes it lightweight and prevents any drag on your clothes. However, you will need to carry two devices and ensure that the cable is not easily spotted.
To use the button camera with a kit, follow these steps:
- Check if the camera needs to be stitched, glued, or attached by another method to your clothing. This varies depending on the specific camera model.
- Before attaching the camera, ensure that it is fully charged and that the storage is empty. You can do this by connecting the camera or the DVR to a computer or laptop.
- If the charging indicator is blinking, let the camera charge until it is full.
- Check the storage (built-in or memory card) and empty it if necessary.
- Attach the camera to the outermost layer of your clothing, ensuring that the view is not blocked.
- Wipe the lens to maintain a clear and sharp image quality.
- If using a separate DVR, hide it discreetly and ensure that any excess cable is not visible below your shirt or jacket.
By following these steps, you can effectively use and maintain a button camera with a kit, ensuring that you capture clear footage while remaining inconspicuous.
Street Camera Shopping: Tax Included?
You may want to see also

Attaching a button camera to clothing
Button cameras are a great way to record your daily life or have video evidence. They are extremely inconspicuous and can be hidden pretty much anywhere, but the best option is to have it attached to your clothing.
There are two main types of button cameras: self-contained and those that come with a kit. The self-contained variety has everything in one device, including the lens, sensor, battery, and storage. This type of button camera is best used when wearing a jacket or thick coat as it can cause a noticeable bulge when placed under a dress shirt. The weight of the camera can also drag the shirt downwards, making it obvious that something is attached. However, it can be placed in a front jacket pocket for a self-contained recording solution that is practically invisible.
The second type of button camera comes with a kit. This variety only has the lens and a tiny sensor attached to your shirt or jacket, with a cable connecting to a separate DVR unit that contains the storage and power. This type of button camera is more lightweight and can be used with lightweight clothing such as a dress shirt or polo shirt. The DVR unit and cable can be easily hidden in a pocket. However, you are carrying two devices and a cable that can be spotted if someone is looking for them.
To attach a button camera to your clothing, first make sure it is charged and the storage is empty. Then, check how the camera attaches to your shirt. Some may require stitching, while others may use glue or another method. Attach the camera to the outermost layer of clothing and ensure the lens is clean and clear of any obstructions. If using a camera with a separate DVR, hide the DVR and ensure there is no extra cable hanging from your clothing.
Now you're ready to go out and record your day, safe in the knowledge that your button camera is securely attached to your clothing and ready to capture any important moments!
Body-Cam Battery Life: How Long Does It Last?
You may want to see also

Setting up a button camera
Firstly, it's important to understand the two main types of button cameras: self-contained and those that come with a kit. Self-contained button cameras have everything, from the lens and sensor to the battery and storage, in a single device. This type of camera is less practical as it can be bulky and obvious, especially if worn with a thin layer of clothing. The second type, the button camera with a kit, only has the lens and a small sensor attached to your clothing, while the cable connects to a separate DVR device that contains the storage, power, and sometimes a display and Wi-Fi. This type is more lightweight and inconspicuous but requires carrying two devices and managing the connecting cable.
Once you've determined the type of button camera you have, the next step is to ensure it is properly charged and has sufficient storage space. This can be done by connecting your button camera or the DVR to a computer or laptop. Check if the charging indicator is blinking and, if so, allow it to charge fully. Also, ensure that the storage, whether built-in or a memory card, is empty.
Now, you can attach the button camera to your clothing. Check that the camera is securely attached according to the instructions provided with your specific model. Ensure the view of the lens is not blocked and give it a wipe to achieve a clear, sharp image. If using a camera with a separate DVR, carefully hide the DVR and ensure any excess cable is tucked away neatly, so it's not easily spotted.
To maintain your button camera, regularly check that the battery is fully charged, the storage is empty, and the lens is clean. A smudged lens will result in lower image quality, so it's important to keep it as clean as possible.
Lastly, always refer to the user manual or instructional guide provided with your button camera, as specific instructions may vary depending on the model.
Charging Vintage 8mm Cameras: A Step-by-Step Guide
You may want to see also

Maintaining a button camera
Battery Care:
- Keep the battery charged: Before using your button camera, ensure it is fully charged. Connect it to your computer or laptop to charge. Look out for the charging indicator to know when it's fully charged.
- Use the correct charging accessories: Use the original charging cable and adapter that came with your camera. Ensure they are compatible with your device.
- Avoid overcharging: Do not leave the camera charging overnight or continuously charge it when it's already full or nearly full. Overcharging can deteriorate battery performance.
- Store in a safe place: When not in use, remove the battery from the camera and store it in a safe place, like the original box or a proper carrying case, especially when travelling.
- Optimal charging temperature: Charge your battery at a temperature between 10°C to 30°C (50ºF to 86ºF). Charging outside this range may pause the charging process.
Storage and Device Maintenance:
- Empty storage before use: Ensure there is enough space on your device or memory card before you start recording.
- Clean the lens: Keep the lens clean and free of smudges to ensure clear, sharp images. Wipe the lens regularly, as it is easy to leave fingerprints or smudges when handling the camera.
- Handle with care: Keep the battery terminals and camera charging slot clean and dry. When replacing the battery, be gentle and avoid applying excessive force.
- Turn off the camera when replacing the battery: It is good practice to turn off the camera before powering or replacing the battery.
- Avoid extreme temperatures: Do not expose the battery or camera to extreme heat, cold, or open flames. Also, keep them away from strong magnetic fields, bright light sources, and lasers.
Additional Tips:
- Use original manufacturer accessories: Whenever possible, use the charger, cables, and adapter made by the same manufacturer as your camera and battery.
- Check the user manual: Refer to the user manual or operating instructions for model-specific information about charging and maintaining your button camera.
By following these maintenance tips, you can ensure your button camera remains in good working condition and captures high-quality recordings.
Charging Vintage Camera Gear: 1990s Battery Revival
You may want to see also
Frequently asked questions
To charge your button camera, simply connect it to your computer or laptop. Check whether the charging indicator is blinking, and if it is, let it charge.
If your camera has a separate DVR, you can also connect this to your computer or laptop to charge.
If you don't have access to a computer or laptop, you can also charge your button camera using a power bank or a wall plug.
This will depend on the model of your camera. Some will have a blinking indicator light that will change colour or turn off when the device is fully charged. You can also check the status of the charge by reconnecting your camera to your computer or laptop and checking the storage.
This will depend on the model of your camera and the method of charging. Charging times can vary from 2 hours to 10 hours.
If you don't have a charger, you can use a USB cable and a wall power net, a power bank, or a computer to charge your camera.


