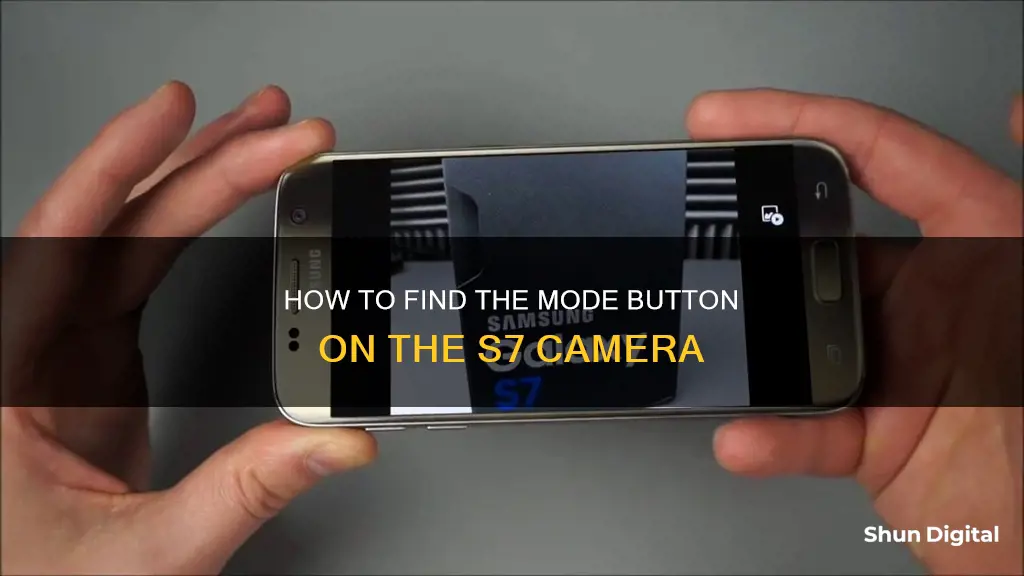
The Samsung Galaxy S7 camera has a range of modes to help you capture the perfect shot. The default mode for the rear camera is 'Auto', while for the front-facing camera, it is 'Selfie'. To access other modes, you can tap the 'Mode' button on the camera preview screen. If you can't see the 'Mode' button, try long-pressing the camera app icon, then tap 'Info', 'Clear data', 'Cache', and 'Force stop'. You can also swipe right on the camera preview screen to access some additional modes.
| Characteristics | Values |
|---|---|
| Number of pre-installed camera modes | 15 (10 for rear camera, 5 for front camera) |
| Additional downloadable camera modes | 6 |
| Total possible camera modes | More than 20 |
| Accessing camera modes | Tap the "Mode" button in the camera preview screen |
| Rear camera default mode | Auto mode |
| Front-facing camera default mode | Selfie mode |
| Camera mode selection consistency | No, the default camera mode is used each time the camera app is launched |
| Camera mode shortcut | Can be added to the home screen |
What You'll Learn
![]()
Swipe right to access camera modes
The Samsung Galaxy S7 has a range of camera modes to help you capture the perfect shot. To access these modes, simply open the Camera app and swipe right on the screen. You will then be able to scroll through the various modes available and select the one that suits your needs.
The default mode for the rear camera is Auto mode, which is usually sufficient for most users and scenarios. However, there are times when you may want to try out the other modes available. For example, if you want more control over settings like ISO, exposure, and white balance, you can use Pro mode. If you want to take a panorama photo, you can use Panorama mode. And if you want to include more people in your selfie, you can use the wide-selfie mode.
In addition to the standard modes, the Galaxy S7 and S7 edge also offer some special camera modes, including Hyperlapse, Virtual Shot, Live Broadcast, and Video Collage. To use these modes, you'll need to manually switch to them or create a shortcut on your home screen.
You can also download and install additional camera modes from the Galaxy Apps store. This gives you even more options to customise your photography experience and get the most out of your Galaxy S7 camera.
Quickly Copy Adjustments: Camera Raw Secrets
You may want to see also
![]()
Download camera modes from the Galaxy App Store
The default camera mode for the rear camera on the Samsung Galaxy S7 is Auto mode, and for the front-facing camera, it is selfie mode. While these modes are usually sufficient for most users, there are times when you may want to use other modes. For example, if you want to have more control over the ISO, exposure, and white balance, you can use Pro mode. If you want to take a panorama photo, you can use Panorama mode.
In addition to the pre-installed camera modes on the Galaxy S7, you can download additional modes from the Galaxy App Store. Here's how you can do it:
- Open the Camera app on your Galaxy S7.
- Select "Mode".
- Tap on the "Download" thumbnail.
- You will be directed to the Galaxy Apps store, where you can scroll through the various available modes. These modes are typically free and include brief descriptions.
- Once you've found a mode you want to download, follow the instructions on the Galaxy Apps store to install it.
After downloading and installing a new camera mode, it will be included among all the other modes in the Camera app. The downloaded modes will usually be designated by a small icon next to them.
Achieving Flawless Skin Tone in Camera Raw
You may want to see also
![]()
Use the Pro mode for manual control over ISO, exposure and white balance
The Pro mode on the Samsung Galaxy S7 and S7 Edge gives you DSLR-style manual controls over your smartphone camera. It is a useful mode to have when the Auto mode does not meet your requirements.
The Pro mode interface has a lot of options and can seem overwhelming at first glance. The main controls are located on the right-hand side of the interface. From top to bottom, you can adjust settings for filters, focusing, white balance, ISO, shutter speed, and exposure.
- Filters are self-explanatory.
- Focusing allows you to have greater control over zeroing in on a subject, which is useful when shooting macro close-ups.
- White balance adjusts the colours in your image to make them look more natural. There are a handful of different presets to help guide you.
- ISO dictates the level of sensitivity to available light. The higher the ISO, the less light the sensor needs to create a well-exposed image.
- Shutter speed determines how fast or how long the sensor captures light. A very fast shutter speed lets you capture fast-moving objects without motion blur, but unless the environment is very bright, the camera will need a higher ISO to compensate for the limited light.
- Exposure adjusts the brightness and contrast of your image.
The Pro mode is especially useful for night and low-light shooting, as well as for shooting action and movement. It also allows you to shoot in RAW, giving you far more control over editing and processing your images afterward.
Is Your Camera Battery Charged? Check This Way
You may want to see also
![]()
Use the Selective Focus mode to modify pictures after taking them
The Samsung Galaxy S7 camera has a range of modes that can be used to enhance your photography. The default mode for the main camera is Auto mode, which is usually sufficient for most users. However, there are times when you may want to have more control over your photos, and this is where the Selective Focus mode comes in.
The Selective Focus mode on the Samsung Galaxy S7 camera allows you to modify pictures after taking them by changing the focus. This means you can choose a specific part of your image to be in focus while blurring out the rest, adding a sense of depth and interest to your photos. This is especially useful for close-up photos and can make your shots look more professional.
To use the Selective Focus mode on the Samsung Galaxy S7, first, tap the "Mode" button on the camera preview screen to access the different camera modes. Then, select the Selective Focus mode. Once you have taken a photo, you can modify it by selecting a focal point and adjusting the amount of blur.
When using the Selective Focus mode, there are two main steps to follow. Firstly, you need to select a focal point, which is the part of the scene that you want to be in focus. You can do this by using a targeted focus mode, such as Center or Flexible Spot autofocus mode, or by using manual focus. Secondly, you need to control the amount of blur in the image. This can be done by adjusting the aperture, or f-stop, of your lens. A wider aperture will give you a shallower depth of field, resulting in more blur, while a narrower aperture will keep more of the image in focus.
The Selective Focus mode on the Samsung Galaxy S7 camera is a powerful tool that can help you create more impactful and professional-looking photos. By blurring out distracting elements and drawing attention to your chosen focal point, you can enhance the composition and overall effect of your images.
Keep Your Camera Ready: Battery Storage While Traveling
You may want to see also
![]()
Use the Panorama mode for panorama photos
To access the Panorama mode on your Samsung Galaxy S7, you must first locate the Mode button on the camera preview screen. From there, you can select the Panorama mode.
- From the home screen, open the camera app.
- Tap the "Mode" button on the camera preview screen.
- Select the "Panorama" mode from the list of available options.
- Press the capture button to begin capturing your panoramic photo.
- Slowly move your device in one direction, following the alignment box on the screen to keep the scene aligned.
- Continue moving your device until you touch the stop button or reach the maximum range.
- Your device will then automatically stitch the images together to create a single panoramic photo.
- To view your captured Panorama, simply tap the preview thumbnail.
Using the Panorama mode is a great way to capture breathtaking landscapes, cityscapes, or any wide-angle scenes that you want to include in a single photo. With this mode, you can easily capture more of the scene and create stunning panoramic images.
Additionally, you can also explore the "Motion Panorama" feature, which allows you to capture moving photos. Here's how you can use it:
- On the preview screen, tap "MODE."
- Tap the "Motion" option at the top of the screen.
- Activate the motion panorama feature by tapping "On."
- Press the camera icon to start capturing photos.
- Slowly move your device in one direction.
- Tap the "STOP" icon when you're done capturing photos.
- To view your captured motion panorama, tap the preview thumbnail on the preview screen.
- Tilt your device or swipe on the screen to rotate the captured motion panorama.
- To save the motion panorama as a video file, select "SAVE VIDEO."
With these steps, you can easily capture breathtaking panoramic photos and even create moving Panorama images to showcase wide scenes in a captivating way.
Testing Camera Batteries: Using a Multimeter
You may want to see also
Frequently asked questions
To access the mode button, open the camera app and tap "MODE" on the camera preview screen.
To access the Pro mode, tap "MODE" on the camera preview screen, then tap MORE and EDIT. The Pro mode should be in the top right corner of the following menu.
You can download and install additional camera modes through the Galaxy Apps store.
To rearrange the camera modes, enter the edit mode by tapping "MODE", then "MORE", then "EDIT". From there, tap and hold the icon of the mode you want to move, then drag it to the desired spot.
To uninstall camera modes, enter the edit mode by tapping "MODE", then "MORE", then "EDIT". Tap the "-" icon next to the mode you want to uninstall. Alternatively, go to Settings, then Application Manager to uninstall the mode from there.