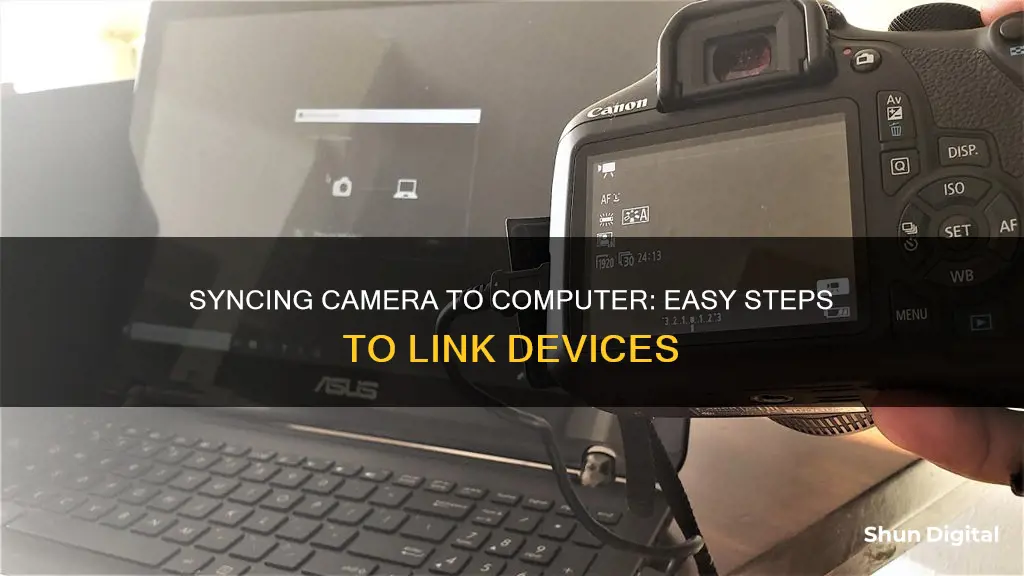
There are several ways to connect your camera to your computer. The most common method is by using a USB cable. First, ensure that your computer is on. Then, turn on your camera. Plug the smaller end of the camera's cable into the camera itself. This port may be hidden under a plastic flap. Next, plug the USB end of the cable into a USB port on your computer. The USB port may be on the side of your computer or at the back/front of the system unit. Wait for your computer to detect the camera. You may need to wait a few minutes for your camera's drivers to install. Once detected, you can access your camera's storage folder and review your photos.
| Characteristics | Values |
|---|---|
| Connection type | USB cable |
| Cable shape | One end is rectangular, the other is smaller |
| Cable use | Connect the camera to the computer |
| Camera mode | "Live View" or "Play mode" |
| Software | Windows Live Movie Maker |
| Software use | Display the picture from the camera and record the footage |
What You'll Learn

Connecting a camera to a computer using a USB cable
Connecting your camera to your computer using a USB cable is a straightforward process. First, ensure you have the correct USB cable. Most point-and-shoot cameras use mini-USB connectors, so check that your cable has the correct connector for your camera. Your camera manufacturer should have included the correct cable in the box. If not, you may need to purchase one with the correct-sized connector.
Next, locate the USB slot on your camera. This can sometimes be hidden behind a panel or door, so check your camera's user guide if you're unsure. With the USB slot located, connect the USB cable to your camera, taking care to align the connector with the slot to avoid damaging the cable or camera.
Now, connect the other end of the USB cable to your computer. The USB port will usually be on the side of your computer or CPU for desktop units. Once the cable is connected to both devices, power on your camera. You may also need to press the photo playback button—this is usually marked with a play icon.
If everything is connected correctly, your camera may display a connecting message on its LCD screen. A pop-up window should also appear on your computer screen, offering options for downloading photos. Select your preferred option and follow any on-screen instructions.
If your computer doesn't recognise your camera, you may need to install the necessary software. You can usually find this on a CD that came with your camera, or by downloading it from the manufacturer's website.
Gardepro Cameras: Where Are They Manufactured?
You may want to see also

Using a USB card reader to connect a camera to a computer
Using a USB card reader is a convenient way to transfer photos and videos from your camera to your computer without draining your camera's battery. Here's a step-by-step guide on how to connect your camera to your computer using a USB card reader:
Step 1: Install the USB Card Reader
Start by plugging the USB card reader into an available USB port on your computer. In most cases, your computer will automatically detect and install the necessary drivers for the card reader. If your computer doesn't recognise the device, you may need to manually install the drivers using a driver CD that came with the card reader.
Step 2: Insert the Media Card
Once the card reader is installed, insert your camera's media card into the appropriate slot on the card reader. Some card readers have multiple slots to support different types of cards, so ensure you're using the correct slot for your card type.
Step 3: Access the Card's Content
After inserting the media card, a window may automatically pop up on your computer, displaying the contents of the card. If not, open the "My Computer" or "This PC" folder on your computer, where you should see the card reader listed as a removable disc or flash drive, typically assigned a drive letter like "E:" or "G:". Double-click on the drive to access the card's contents.
Step 4: Transfer Files
Once you've opened the drive, you'll see the folders and files on your media card. From here, you can view, copy, or delete files as needed. You can also add new files to the media card by dragging and dropping them into the desired folder on the card.
Step 5: Check Available Space (Optional)
If you want to know how much space is available on your media card, right-click on the drive in the "My Computer" or "This PC" folder and select "Properties". This will display a pie chart showing the space used and the available space on the card.
Step 6: Format the Media Card (Optional)
If you need to erase everything on the media card, you can format it by right-clicking on the drive in the "My Computer" or "This PC" folder and selecting the "Format" option. Choose the "Quick Format" option to quickly erase all content on the card.
Using a USB card reader is generally a straightforward process, and it can be a faster alternative to connecting your camera directly to your computer via USB, especially if your camera uses a slower USB protocol like USB 1.1 or USB 1.0. Additionally, card readers are useful for avoiding battery drain during file transfers, as they draw power directly from your computer.
Understanding Camera Focus: Capturing Sharp Images
You may want to see also

Using a HDMI capture device to connect a camera to a computer
Using an HDMI capture device is a great way to connect your camera to your computer, especially if you want to use your camera as a webcam. This method can be used for streaming or just to upgrade from your device's built-in webcam.
To get started, you'll need to ensure your camera can output a clean video signal without any UI or graphical menu elements over HDMI. Most modern cameras should be able to do this, but you may need to check your camera settings or manual to confirm. Once you've confirmed your camera is set up for a clean HDMI output, you'll need to get a video capture device. These devices are often inexpensive and can be as simple as a dongle that plugs into your computer's USB port. If you're looking for something more advanced, you can opt for a PCIe card that installs into your desktop computer.
After you have your video capture device, simply connect your camera to the capture device using an HDMI cable. Then, connect the capture device to your computer. If you're using a USB dongle, your computer should recognise it automatically. If you're using a PCIe card, you may need to install drivers or software.
Once your hardware is set up, you'll need to configure your software. If you're using your camera as a webcam, open your video conferencing app and select the capture device as your video source. If you're recording video, you may need to use streaming software to capture the footage.
It's important to note that using your camera as a webcam can drain your battery quickly, so consider using an AC adapter or USB power bank to keep your camera powered on during use. Additionally, you may want to invest in a tripod or mount to position your camera correctly.
Foscam Camera Production Origins: Where Are They Made?
You may want to see also

Using Windows Live Movie Maker to connect a camera to a computer
To connect your camera to your computer using Windows Live Movie Maker, follow these steps:
Step 1: Install Windows Live Essentials
Firstly, you will need to install Windows Live Essentials on your computer. This is because importing camera video to Windows Live Movie Maker requires Windows Live Photo Gallery. You can download Windows Live Essentials from the following link: https://ssl-download.live.com/moviemaker. When installing, only select the software you want.
Step 2: Connect your camera to your computer
Depending on your camera device, do one of the following:
- Connect your digital camera to your computer using its USB cable, and then turn on the camera. If necessary, switch to VCR mode.
- Connect a video camera that records to an internal hard drive or flash memory card to your computer using a USB connection.
- Insert the flash memory card into a card reader (if you have one).
- Insert the DVD (already finalized in your DVD camcorder) into the disc drive on your computer.
Step 3: Import photos and videos
In the program, click 'Import from the device'. If the 'Photos and videos are imported into Windows Live Photo Gallery' message appears, click 'OK'. In the Import Photos and Videos window, click the device you want to import photos and videos from, and then click 'Import'. On the New photos and videos were found page, click 'Import all new items now', type a name for all the photos and videos, and then click 'Next'.
Step 4: Add photos and videos to Windows Live Movie Maker
In Photo Gallery, select the checkbox in the upper-left corner for each photo or video you want to use in your movie. On the 'Create' tab, in the 'Share' group, click 'Movie'. The selected photos and videos will now be added to the storyboard in Movie Maker.
Step 5: Edit your movie (optional)
At this step, you can choose to finish the process, or edit your movie further. If you want to edit your movie, you can do the following:
- Change the playback order: Drag clips and photos to different positions on the right pane, changing when they will play back.
- Remove bad shots or photos: Right-click on the item and choose 'Remove'.
- Add text: Your title, captions, and credits appear as black squares. Click one and start typing to add information you want to see on-screen.
- Trim clips: To trim a specific clip, click it, choose 'Edit' from the menu, and click 'Trim'. When bars appear on each end of the blue timeline, slide the bars in from the front to trim the beginning, and slide the rear bar in to trim the ending. When you are satisfied, click 'Save and Close'.
- Add visual effects: These change the colors of your video or photos. Use them sparingly.
- Add animations: Animations, also known as transitions, dictate how shots flow into each other. To add one, click 'Animations'. Rest your mouse pointer over a transition to see a preview of how the current clip will flow into the next. When you spot one you like, click it to add it to your movie.
Step 6: Save your edited movie
When you've finished editing your clips into a movie, click any icon in the 'Sharing' section of the Movie Maker toolbar. The program can save or upload your movie in various formats, including YouTube, High-Definition (1080p), DVD, and Portable Device or Mobile Phone. After you choose an option, type in a name, and click 'Save', Windows will create your movie, choosing the appropriate file size and quality for the destination you choose.
Mastering the Art of Focusing Your Red Camera
You may want to see also

Using a cable with a mini HDMI to connect a camera to a computer
To connect your camera to your computer using a mini HDMI cable, you'll need to follow a few simple steps. Firstly, ensure you have the correct equipment: a mini HDMI cable, a computer with an HDMI input port, and your camera.
Next, locate the mini HDMI port on your camera. This is usually located on the side or bottom of the camera and may be hidden behind a small flap or panel. Once you've found the port, connect one end of the mini HDMI cable to your camera.
Now, turn your attention to the computer. Locate the HDMI input port, which is usually on the back or side of the computer. Connect the other end of the mini HDMI cable to the HDMI input port on the computer.
With the cable connected to both the camera and the computer, you can now power on your devices if they aren't already. Depending on your camera model, you may need to switch it to a specific mode, such as "Live View," to establish the connection.
Finally, if you're using a Windows PC, you can use the Windows Live Movie Maker utility to display the picture from your camera and even record footage directly to your computer's hard drive.
By following these steps, you'll be able to successfully connect your camera to your computer using a mini HDMI cable and utilise the camera's live view feature or record video content directly to your computer.
GW2 Camera Modes: Which One is Best?
You may want to see also
Frequently asked questions
First, make sure your computer is on. Then, turn on your camera. Plug the small end of the camera's cable into the camera itself. Most camera models have a port shaped like the small end of the cable, which may be hidden under a plastic flap. Plug the other end of the cable into a USB port on your computer.
Camera USB cables are cheap and can be bought at most electronics stores.
Consider charging your camera before connecting it to your computer, or you risk losing data if the battery dies.
Once your camera is connected, open the "My Computer" folder, then double-click your camera's name, and finally double-click your camera's storage folder. From there, you can copy your photos to a file on your computer.


