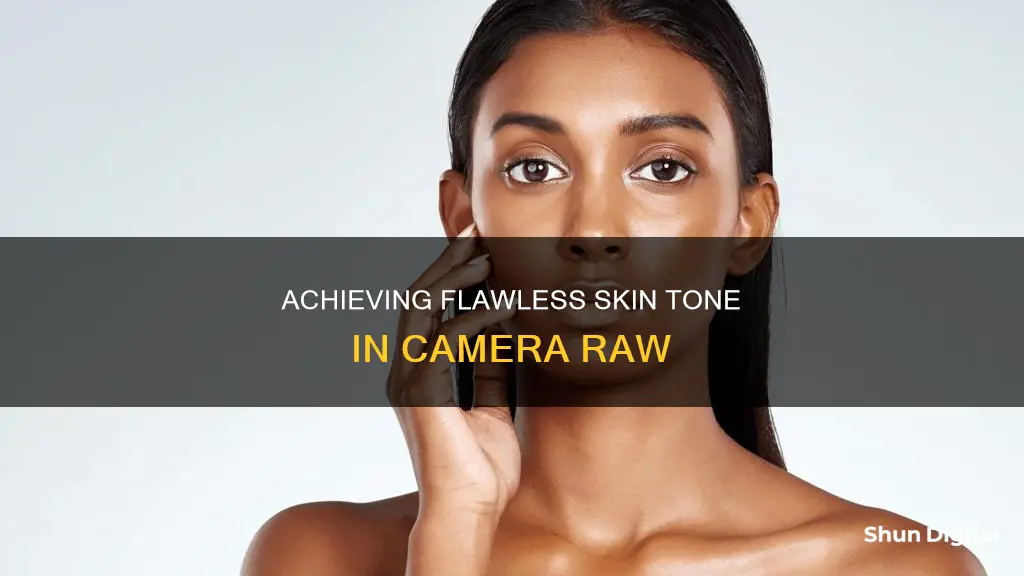
Skin tone is one of the more difficult aspects of a photograph to master. Getting the skin tone right will make your image more eye-catching and attractive. There are several ways to even out skin tone in a photograph, and one of the most popular methods is to use Adobe Camera Raw (ACR).
When trying to get great-looking skin tones, the first thing to pay attention to is the white balance. If the white balance is too cool, skin will appear grey or bluish. Conversely, if it is too warm, the skin will look yellow or orange. To see if your white balance is accurate, use the white balance targeted adjustment tool, which looks like an eye-dropper and is located at the top of the screen. Click on the dropper, then click on a white area of your photo. The whites of the eyes are a good place to start. If your image still appears too warm or cool, use the temperature slider to adjust it.
Another way to even out skin tone is to ensure you have the correct exposure. Ideally, you want your histogram to look like a smooth bell curve, with the high point in the middle. If your curve falls too far to one side, use the exposure slider to fix it.
You can also adjust skin tones using the luminance sliders. Choose the HSL panel, and then click on Luminance. Choose the orange slider and move it to the right to make the skin brighter.
Finally, you can adjust skin tones using the Color Balance sliders in Photoshop. Choose Layer, then New Adjustment Layer, and then Color Balance. Adjust the sliders to balance the hues in your photo.
| Characteristics | Values |
|---|---|
| Lighting | Natural light is best for illuminating subjects and ensuring their skin tone is true to life. |
| White balance | Correct white balance is essential for setting the stage for great skin tones. |
| Exposure | Correct exposure is important for achieving the right skin tones. |
| Camera settings | Shooting in Camera Raw allows for more freedom when processing the image. |
| Software | Photoshop, Lightroom, and Canon Digital Photo Professional can be used to adjust skin tones. |
What You'll Learn
![]()
Avoid harsh, direct light
When it comes to photography, lighting is everything. A good lighting setup can make or break your shot, and this is especially true when it comes to achieving even skin tones. Here are some tips to avoid harsh, direct light and create flattering portraits with beautiful skin tones:
Understand the Impact of Lighting:
Harsh, direct light can cast unflattering shadows on your subject's face, emphasizing skin imperfections and creating an uneven skin tone. To achieve softer, more flattering light, move your subject away from direct sunlight, especially during the midday hours when the sun is at its peak. Overcast days or gentle side lighting are ideal for portrait photography as they create soft, diffused light that flatters the skin and helps define the shape of the face and features.
Work with Natural Light:
Shooting in natural light is an excellent way to illuminate your subjects and ensure true-to-life skin tones. Aim for bright but overcast days, which provide a diffuse illumination that suits all types of skin tones. If you're shooting on a sunny day, find a spot in the shade to avoid harsh shadows and hotspots on your subject's face.
Modify Lighting with Diffusers:
If you're shooting indoors or in a studio setting, you can modify your lighting setup to avoid harsh light. Use diffusers such as softboxes or shoot-through umbrellas to soften the light and create a more flattering effect on the skin. This will help reduce the appearance of blemishes and create a more even skin tone.
Understand the "Edge of Shade" Concept:
When shooting outdoors, pay attention to the "edge of shade" concept. Move your subject to an area just outside the harsh light, where the light is softer and more diffused. This will help you achieve softer skin tones and reduce the appearance of skin imperfections.
Modify Window Light:
If you're shooting indoors near a window, be mindful of the quality of light. The light closer to the window will be harsher, while moving away from the window will provide softer light. For the most flattering skin tones, position your subject slightly away from the window to take advantage of the softer light.
Avoid Midday Sun:
The sun is at its highest and harshest during midday, resulting in unflattering shadows and hotspots on the skin. If possible, schedule your outdoor shoots during the early morning or late afternoon when the light is softer and more flattering for portraits.
By following these tips and understanding how to modify and work with available light, you can create beautiful portraits with even, flattering skin tones. Remember, soft light is generally more flattering, and by avoiding harsh, direct light, you can enhance the overall aesthetic of your images.
Momentum Camera: Battery Power Options Explored
You may want to see also
![]()
Expose different skin tones correctly
When photographing subjects with different skin tones, it's important to avoid a one-size-fits-all approach. Here are some tips to correctly expose different skin tones:
Lighting
When it comes to skin tone, the first thing to consider is lighting. Direct, harsh light can cause unflattering shadows, so it's best to opt for softer, natural light. An overcast day provides gentle, diffuse illumination that suits all skin tones. On sunny days, find some light shade to avoid harsh shadows and hotspots on faces. In a studio setting, a two-light setup can work well: one light behind the subject illuminating the backdrop, and a beauty dish in front, slightly off-centre, to light up their face.
Exposure
It's crucial to avoid overexposing lighter skin tones, as this can wash out the highlights, making it difficult to bring back texture, freckles, or makeup. When shooting darker skin tones, ensure you have enough light to highlight the features without overexposing the skin and washing out the details.
Backlighting
Backlighting can work well for mixed-race skin tones, whether it's a studio light or natural light from the sun. It brings a nice light around the sides of the face, and you can use a reflector to bounce some of that light back onto the face.
White Balance
Using the correct white balance is essential for achieving accurate skin tones. Shooting in RAW gives you the flexibility to change the white balance later in editing, but setting it correctly in-camera provides a more accurate preview. For consistent skin colours, choose a white balance preset that matches your lighting conditions or create a custom white balance. Avoid leaving it on Auto, as this can produce skin tones that are too warm (orange) or too cool (blue).
Camera Settings
Utilise the features available on your camera to enhance skin tones. For example, some cameras have a Portrait Picture Style that optimises sharpness and brightness for softer-looking skin. Experiment with the different options to find what works best for the specific skin tones you're photographing.
Activeon Action Camera: Swappable Batteries?
You may want to see also
![]()
Use the Portrait Picture Style
Capturing natural skin tones is one of the most challenging aspects of portrait photography. Jade Keshia Gordon, an award-winning fashion and beauty photographer, recommends using the Portrait Picture Style to achieve this.
The Portrait Picture Style is one of the preset Picture Style options available on Canon cameras. Each Picture Style offers a different blend of sharpness, contrast, saturation, and colour tone, and they can significantly impact skin tone in a portrait. The Portrait Picture Style is optimised for shots of people, with moderately reduced sharpness and slightly increased brightness, resulting in softer-looking skin.
According to Gordon, the Portrait setting enhances any red undertones in the image. For instance, if the subject is wearing pink, the red boost can complement a black model's skin tone without making them look too orange. However, if the default Portrait Picture Style produces skin tones that are too reddish or yellowish under specific lighting conditions, the Colour Tone slider in the Picture Style menu can be used to correct this.
The Portrait Picture Style simplifies the process of capturing perfect skin tones by automatically adjusting a range of settings. It is an excellent tool for photographers who want to reduce the amount of retouching required after the shoot.
Understanding Camera Battery Encoding
You may want to see also
![]()
Manually set the white balance
Manually setting the white balance is one of the most important edits you can make in Adobe Camera Raw (ACR) as it ensures your colours are accurate and saves you from having to deal with colour correction problems later in Photoshop.
There are three different ways to set your white balance in ACR: the Temperature and Tint sliders, the White Balance presets drop-down menu, and the White Balance tool.
Using the Temperature and Tint Sliders
The Temperature and Tint sliders let you tweak the white balance by dragging towards the colour you want. If you think your image looks a little too blue, for example, drag the Temperature slider to the right to make your image more yellow. The farther you drag to the right, the warmer your image will look. Conversely, if you drag the slider to the left, your image will look cooler.
Using the White Balance Presets
Click on the drop-down menu that says "As Shot" and start with "Auto" to see how it looks. If it doesn't look right, try each preset until you find one that does. If you can't find one that's right, choose the one closest to the look you want and use that as your starting place, tweaking with the Temperature and Tint sliders.
Using the White Balance Tool
This method allows you to try a number of different white balances quickly. Choose the White Balance tool from the toolbar (or press "I" on your keyboard), and then click on something in your image that's supposed to be grey. By telling ACR, "This area right here is supposed to be neutral grey", it removes any yellow, blue, or other tints so that area becomes grey, and this corrects all the colours in your image.
Ideally, you'd look for something that's a very light grey (not white). But if there's nothing grey in your photo, try to find a neutral-looking colour. If you click on the wrong area, you'll know instantly as your colours will look off. If that happens, just click on a different area to try again.
A Note on RAW vs JPEG
When you open a RAW image in ACR, it initially displays the white balance choice you made in-camera. However, there's a White Balance preset drop-down menu where you can pick your white balance after the fact. When you shoot in JPEG, the white balance preset you chose in your camera is baked into the image, so the only preset available in the drop-down menu will be "Auto".
Because of this, there's a myth that you can't change the white balance for JPEG images. But that's not true—you can change it using the Temperature and Tint sliders and the White Balance tool. However, it's true that white balance adjustments generally look better when performed on RAW images vs JPEG images.
The Ultimate Guide to TAC Camera Battery Options
You may want to see also
![]()
Adjust the hue and intensity of skin tones
When adjusting skin tones in Camera Raw, it's important to pay attention to the white balance, exposure, and luminance.
Firstly, correct white balance is crucial for achieving accurate skin tones. If the white balance is too cool, skin can appear grey or bluish, while an overly warm white balance can result in yellow or orange skin tones. To check and adjust the white balance, use the white balance targeted adjustment tool (the eyedropper) by clicking on a white area of your photo, such as the whites of the eyes. If further adjustment is needed, use the temperature slider to the right of your screen.
Next, ensure your exposure is correct by examining the histogram in the upper right corner. The histogram should resemble a smooth bell curve, with the high point in the middle, indicating optimal exposure. If the curve falls too far to one side, adjust the exposure slider until the majority of the curve is centred.
Finally, to add brightness to the skin tones, locate the luminance sliders by clicking on the HSL/Grayscale button and then selecting the Luminance tab. Choose the orange slider and move it to the right to increase the brightness of the skin tones.
These basic adjustments in Camera Raw can significantly improve the appearance of skin tones in your photographs, making them more balanced and visually appealing.
For further refinement, you can open your image in Photoshop and use the Camera Raw Filter to make tonal adjustments. The Color Mixer drop-down option allows you to change the hue, saturation, and luminance of individual colours. By selecting the Targeted Adjustment tool and clicking and dragging on the subject's face, you can fine-tune the hue and intensity of the skin tones.
Charging Pentax Cameras: A Quick Guide to Powering Your Device
You may want to see also
Frequently asked questions
Shoot on an overcast day or in light shade to avoid harsh, direct light.
Avoid overexposing white skin and ensure you have enough light to highlight the features of darker skin tones.
The Portrait Picture Style reduces sharpness and increases brightness to give softer-looking skin.
Choose a white balance preset that matches the lighting conditions or create your own custom white balance.
Shooting in RAW gives you more freedom to fine-tune the image later without affecting the original image data.