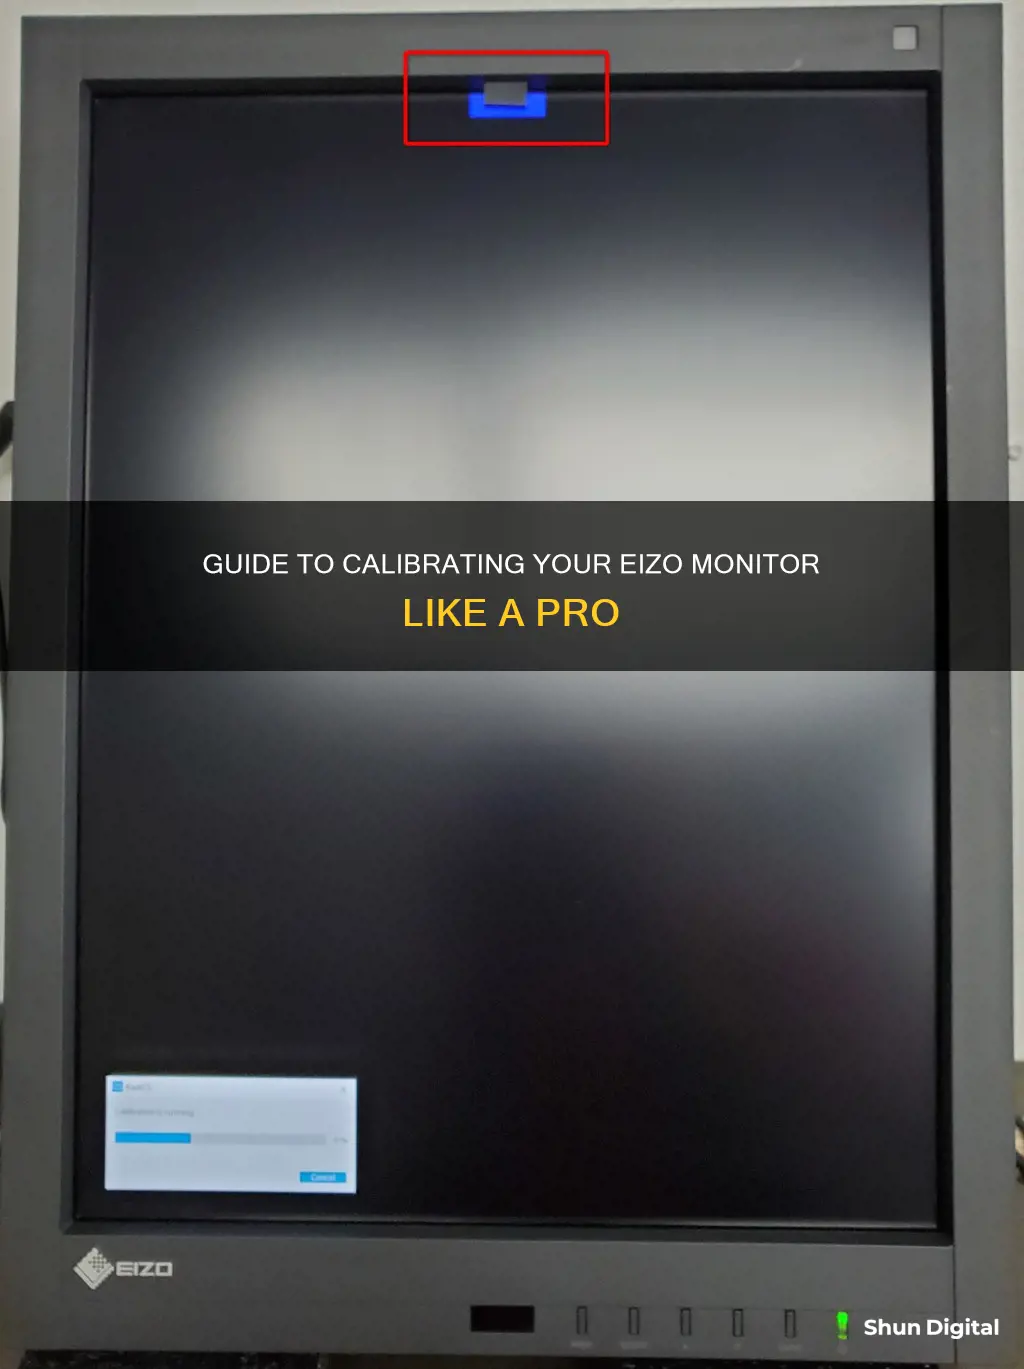
Calibration is essential for maintaining accurate colours on your Eizo monitor. Over time, a monitor's colour temperature and brightness will shift, so calibrating returns the monitor to its original state. Eizo's proprietary calibration software, ColorNavigator, simplifies this process and is compatible with a wide range of measurement devices. ColorNavigator works with Eizo's ColorEdge monitors, which include built-in calibration sensors for higher precision. The process involves connecting your monitor to a computer, installing ColorNavigator, and following the software's step-by-step guide to adjust the monitor's settings.
What You'll Learn

Connect cables and install ColorNavigator
To connect cables and install ColorNavigator, follow these steps:
Connect the cables
- Connect your EIZO ColorEdge monitor and the computer to a power source using the respective power cables.
- Connect the monitor to the computer using the monitor cable.
- Connect the monitor to the computer using the USB cable. Ensure that the upstream square tip is inserted into the ColorEdge and the downstream rectangular tip is inserted into the computer.
Install ColorNavigator to the Computer
- Ensure your computer is connected to a power source.
- Insert the EIZO LCD Utility Disc CD-ROM and choose "Install ColorNavigator." Alternatively, you can download the latest version of ColorNavigator from the EIZO website.
- After extracting the file, double-click on "Setup.exe" if you're using Windows, or "ColorNavigator 6.pkg" if you're using a Mac, to begin the installation.
ColorNavigator is now installed on your computer and should be ready to use.
Calibrating Your Monitor: Brighter Colors, Better Viewing
You may want to see also

Prepare the monitor for calibration
Before you begin calibrating your Eizo monitor, there are several preparatory steps to take. These include connecting the necessary cables, installing the ColorNavigator software, and connecting the calibration sensor.
First, connect your Eizo ColorEdge monitor to a power source using the power cable. Then, connect the monitor to your computer via the monitor cable and the USB cable. When connecting the USB cable, ensure that the upstream square tip is inserted into the ColorEdge and the downstream rectangular tip is inserted into the computer.
Next, install the ColorNavigator software on your computer. You can either insert the EIZO LCD Utility Disc CD-ROM and choose "Install ColorNavigator" or download the latest version of ColorNavigator from the EIZO website. After extracting the file, double-click on "Setup.exe" if you're using Windows, or "ColorNavigator 6.pkg" if you're using a Mac, to begin the installation.
Finally, connect the calibration sensor. If you're using an external calibration sensor, connect it to the downstream port of your ColorEdge monitor. If you have a CG Series model, you don't need to connect an external sensor as these models come equipped with an internal sensor.
Now that your monitor is prepared, you can move on to the next steps of the calibration process.
Calibration Software
The Eizo-developed ColorNavigator software simplifies the calibration process and produces predictable color results. It works with a wide range of measurement devices and utilizes the Look-Up Table of ColorEdge monitors for accurate and reliable calibration. With ColorNavigator, you can calibrate to preset or user-assigned values. Preset values for web content, photography, and printing are available, and you can also assign your own values for brightness, white point, and gamma if you're an experienced user.
Calibration Process
Once your monitor is prepared and the software is installed, you can proceed with the calibration process. This typically involves selecting an adjustment target, choosing a calibration sensor, and proceeding with the calibration. After calibration, you can display the results and confirm that there are no significant deviations from the target values.
Calibration Frequency
It's important to note that monitor calibration is not a one-time process. Monitors can drift over time, and colors can vary among individual monitors. Therefore, it is recommended to calibrate your monitor regularly, typically about once a month, to maintain color accuracy. You can set up reminders and automate the calibration process with certain Eizo models that have built-in sensors.
Restarting Your ASUS Monitor: A Simple Guide
You may want to see also

Proceed with calibration
Now that you have prepared your monitor for calibration, you can proceed with the calibration process.
First, select the "Proceed" button, which will initiate the calibration process. The built-in calibration sensor will then begin to adjust your monitor. Place the sensor on the screen, and tilt the monitor upwards to fix the sensor in place. This will make it easier to take colour measurements.
If you are using an external calibration sensor, ensure that it is connected to the downstream port of your EIZO monitor.
Calibration will take a few minutes, so now is a good time to take a short break. Once calibration is complete, you will be presented with a results screen.
It is important to review the results to ensure that the calibration was successful. Confirm that there are no major gaps between the target values and the results. If there are significant discrepancies, you may need to repeat the calibration process or troubleshoot any issues with your equipment.
After a successful calibration, your monitor will be adjusted to the specified settings, and you can proceed to use it for your desired tasks, such as graphics work or colour-sensitive applications.
Remember that monitors can drift over time, so it is essential to perform regular calibrations to maintain colour accuracy. You can set up reminders or automate the calibration process on select EIZO models with built-in sensors. Aim to calibrate your monitor about once a month to ensure consistent and accurate colour reproduction.
RF Monitor Buying Guide: Where to Purchase
You may want to see also

Display the results
Once you have calibrated your Eizo monitor, the adjustment process is complete. The results of the adjustment will be displayed on the screen, and you should confirm that there are no major gaps between the target values and the results.
If you are calibrating your monitor to match the colours of your photo prints, you can now open your photos in your retouching software and print them out. It is important to adjust the settings of your retouching software and printer properly.
To confirm that the whites match, display a white screen, magnify it to the same size as your paper, and compare your screen side by side with the paper. When comparing the colours, it is important that the sizes match, as different sizes can prevent an accurate comparison.
If you are using the Eizo ColorNavigator software, you can use a test pattern screen to confirm the calibration results or make more accurate manual adjustments. The test pattern screen will show a full grayscale ramp, as well as just the low tones (blacks), high tones (whites), gamma values, and the Eizo and ColorNavigator logo areas. You can make adjustments to the brightness, white point, and gamma on the screen, and the results will be immediately reflected on the test pattern screen.
Display Arduino Serial Monitor Data on LCD Screen
You may want to see also

Confirm the results
Confirming the calibration results is an important step in the process. It is necessary to validate the calibration to ensure that the monitor is displaying colours accurately and that the target values have been met.
Firstly, you should check that the calibration results are close to your target values. You can do this by referring to the results screen at the end of the calibration process. The target values for white point, brightness and gamma should be met with only minor deviations.
Next, you can visually inspect the monitor. Display a white screen and compare it side by side with a piece of white printer paper. The colours should match. It is important that the sizes of the screen and paper are the same, as differences in size can prevent an accurate comparison.
You can also use a test pattern screen to confirm the results. This will display a full grayscale ramp, as well as blacks, whites, gamma values, and the EIZO and ColorNavigator logo areas. You can manually adjust the brightness, white point and gamma on the test pattern screen and immediately see the results.
If you are calibrating multiple monitors, it is important to validate the results on each monitor. You can use the Delta-E variation graph to compare the Delta-E value of the monitor's profile with the actual displayed values of the monitor. This will help you identify any deviations and ensure that all monitors are displaying colours consistently.
Removing BMW X5's On-Board Monitor: Step-by-Step Guide
You may want to see also
Frequently asked questions
Eizo's ColorNavigator software makes calibration simple and can be done in a few steps. First, connect your ColorEdge to a power source and your computer using the appropriate cables. Then, install ColorNavigator on your computer by inserting the EIZO LCD Utility Disc CD-ROM or by downloading the latest version from the EIZO website. Next, connect the calibration sensor and launch ColorNavigator. Select the "Printing" option as your adjustment target and proceed with the calibration.
Monitors drift over time, so it is recommended to calibrate your monitor regularly. Eizo's ColorNavigator includes a recalibration reminder that will appear after a certain number of user-determined hours. You can also automate this process if you have a model with a built-in sensor. It is suggested to calibrate about once a month.
Calibration is important to maintain colour accuracy and return the monitor to its original state. It helps to adjust colours to uniform levels and absorb individual differences among monitors. Calibration is especially useful for those who work in graphics and need stable colours.


