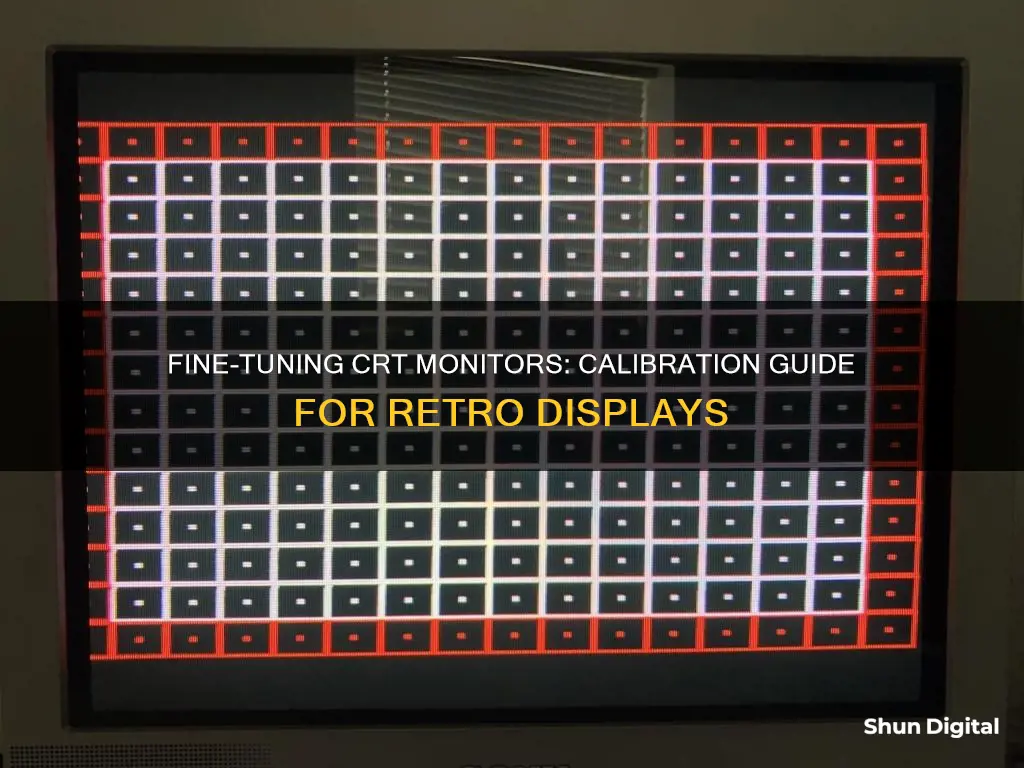
Calibrating a CRT monitor is a process that ensures the device displays images accurately. It involves adjusting various settings such as brightness, contrast, colour, and hue to achieve optimal performance. While some people may tweak these settings manually, others use specialised software or hardware tools for a more precise calibration. The environment in which the calibration takes place is also important, as lighting conditions can impact the accuracy of the process. This is a complex task that requires technical expertise and a good understanding of the equipment involved.
| Characteristics | Values |
|---|---|
| Room Lighting | Dark room |
| Test Patterns | Blue colour filter, white and RGB screens, colour bars |
| Calibration Tools | 240p Test Suite, SNES ROM, Matrox G550 software, Powerstrip, QuickGamma, QuickMonitorProfile |
| Calibration Techniques | Lower brightness, raise screen, lower contrast |
| Calibration Precautions | Test and comparison patches should abut, calibration patches should occupy a small fraction of the screen |
What You'll Learn

Adjusting colour temperature
Adjusting the colour temperature of your CRT monitor is a practical method for matching monitors for gaming, browsing, and office work.
First, you will need to download a gamma calibration target, such as the one available at http://www.photoscientia.co.uk/Gamma.htm. You can then use these gamma targets to match the gamma settings on your monitor. Software such as Matrox G550 provides a tool for adjusting gamma, and other software is available.
Once the gamma is matched, you can adjust the colour temperature using the monitor controls. If necessary, use a white background to fine-tune the colour temperature. A setting of 6500K is recommended.
It is important to note that real calibration requires a hardware device. However, adjusting the colour temperature and gamma can be a good method for matching monitors without the need for specialised equipment.
Uninstalling HP Device Monitoring Framework: A Step-by-Step Guide
You may want to see also

Using a test pattern
Calibrating a CRT monitor can be done by eye using a test pattern, but for more accurate results, you can use a calibration tool or a colourimeter.
To calibrate a CRT monitor using a test pattern, you will need to download a test suite. The 240p Test Suite is one such example, which can be run on a SNES ROM. This suite contains several different test patterns that make calibrating a CRT by eye possible.
Firstly, ensure you are in a dark room as you won't be able to achieve proper black levels in broad daylight.
Before making any adjustments, you should put your CRT monitor in as close to neutral as possible. If your CRT has knobs for adjustments, the neutral position is usually the middle of the knob's rotation. If your CRT has digital adjustments, the neutral position is usually the middle of the adjustment range. If your CRT has an "Aperture" adjustment, turn it all the way down.
You can then use the test patterns to adjust the settings of your monitor. One example is the "White and RGB Screens" test, which displays a solid green screen. You can use this to check your CRT's purity and identify any issues with discolouration. If you see any areas that are discoloured, you will need to degauss your CRT.
Another test pattern is the "Color Bars" test, which displays three important colour bars (Red, Green, Blue) and their combination, White. This test can be used to adjust the CRT's brightness. You will want to slowly raise the brightness until you start to see a fuzzy grey instead of black in the background of the colour bars. Once you see raster lines appear, slowly lower the brightness until you get a nice black level with no lines or fuzz.
You can also use the "Color Bars" test to adjust the contrast. Look at the top row of letters and numbers. When a CRT has good contrast, the difference in brightness from "C" to "F" should be nearly indistinguishable. If the bars beyond "C" still look the same brightness, or if you can see a clear falloff in brightness between "C" and "F", you will need to adjust the contrast.
Using a Calibration Tool
For a more accurate calibration, you can use a calibration tool such as a Colormunki Display or an Eye-one display 2/LT. These tools can be used with calibration software such as HCFR to fine-tune your monitor's settings.
Using a Colourimeter
A colourimeter, such as a Minolta color analyzer, can be used to calibrate the grayscale of your CRT monitor. This involves pulling up shades of grey and adjusting the high and low blues and reds until they are as close to 100% across the three colours for each 10% luminance interval.
LCD vs Flat Monitors: Which Screen is Superior?
You may want to see also

Calibration tools
Colorimeters
A colorimeter is a hardware device that can be attached to your monitor to accurately calibrate and profile it. Colorimeters are more accurate than manual calibration and are now available for under £200. The GretagMacbeth Eye-One Display Colorimeter is one such device, which can be used in conjunction with the Eye-One Match 2 software to guide you through the calibration process.
Blue Filter
If you are calibrating an NTSC monitor, a blue filter (or "blue switch" on professional monitors) is needed in conjunction with a SMPTE test pattern.
240p Test Suite
The 240p Test Suite is a downloadable suite of test patterns that can be used to calibrate a CRT monitor by eye. It can be run on a SNES, PS1, or X-Station.
DVD Player
A DVD player can be used to display test patterns for calibration.
Monitoring Children's Internet Usage: A Guide for Parents
You may want to see also

Contrast and brightness
To calibrate the brightness, you should first reset the monitor to its neutral settings. This will usually mean setting knobs to the middle of their rotation, or digital adjustments to the middle of their range. You should also ensure that you are in a dark room, as you won't be able to achieve proper black levels in broad daylight.
Once you've done this, you can adjust the brightness. You want to slowly raise the brightness until you start to see a fuzzy grey in the background of a colour bars test image. At this point, you will also see 'raster lines' in the black background. Raster lines are an indication that the screen is too bright, so you should slowly turn down the brightness until these disappear, and you are left with a nice black level.
To calibrate the contrast, you should look at the top row of letters and numbers in the colour bars test image. When a CRT monitor has good contrast, the difference in brightness from 'C' to 'F' should be nearly indistinguishable. If the bars beyond 'C' still look the same brightness, or if you can see a clear falloff in brightness between 'C' and 'F', you need to adjust the contrast.
It is recommended that you set the contrast to 50% or lower. This will extend the life of your monitor, as it will have the 'juice' to increase brightness in the future as the monitor ages and dims.
You can also use a human face to test the contrast setting. You should be able to see variations in skin texture, including pores and stretch lines. If the face appears as a flat beige surface, then the contrast is too high.
Choosing Studio Monitors: Finding Your Perfect Setup
You may want to see also

Calibration techniques
Before calibrating a CRT monitor, it is important to ensure that you are in a dark room as you won't be able to achieve proper black levels in broad daylight. It is also important to note that you should not play with any settings that you do not understand. Always write down any numerical values or make note of potentiometer orientation before making any adjustments.
One simple calibration technique that works well on older CRTs is to "lower brightness, raise screen, lower contrast". First, set the brightness as low as it goes. Then, increase the screen setting to get the black levels correct. Finally, lower the contrast until the peak white is just about to turn grey.
Another technique is to use a test pattern with a blue colour filter. This can be used for basic calibration of brightness, contrast, colour and hue.
For a more advanced calibration, you can download a 240p Test Suite which contains several different test patterns that make calibrating a CRT by eye possible. This will allow you to calibrate the brightness, sub-brightness, and contrast of your CRT. If your CRT has any areas of discoloration on the sides or corners, this is a purity issue. To check this, display a solid green screen and look for any areas of the monitor with an inconsistent green colour. If discolouration is present, you will need to degauss your CRT.
Finally, if you are calibrating two monitors for the same use, adjusting the colour temperature and gamma is a practical method for matching their settings.
Muting Speaker Monitors While Recording in FL Studio
You may want to see also
Frequently asked questions
You can calibrate a CRT monitor by adjusting the settings for brightness, contrast, colour, and hue. This can be done by eye, or using a photometer.
The best way to calibrate a CRT monitor is to use a test pattern with a blue colour filter. This will allow you to adjust the settings for brightness, contrast, colour, and hue accurately.
The correct order for calibrating a CRT monitor is to first reset the monitor to "neutral". Then, adjust the sub-controls, followed by the customer controls. Finally, adjust the RGB drive/bias using a colour bars test.
One common issue with calibrating a CRT monitor is discoloration on the sides or corners of the screen. This is usually caused by a magnetic field developing in the mask/grille, which pulls the wrong colour electron beam into the mask holes. This can be corrected by degaussing the CRT or adjusting the colour purity rings on the yoke.


