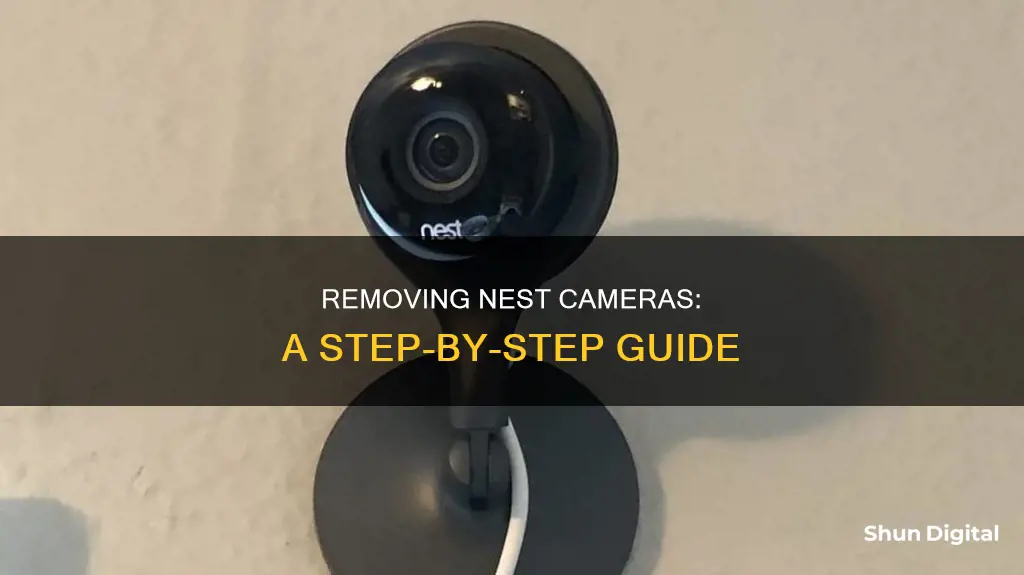
Removing a Nest camera from your account can be a straightforward process, but there are a few things to keep in mind. Firstly, it's important to consider the security implications as removing the camera will leave your home temporarily vulnerable. Ensure you have alternative security measures in place, such as additional cameras or alarms. Additionally, review the warranty and return policy of your Nest camera as removing it incorrectly may void your warranty. If you are not comfortable with the removal process, seeking professional help is advisable.
Now, to remove a Nest camera from your account, you will need to follow specific steps depending on the app you used to set it up. For older cameras set up with the Nest app, you will need to log into your account, select the camera you want to remove, tap the Settings icon, and then select Remove [camera name]. Newer Nest cameras set up with the Google Home app can be removed by opening the app, touching and holding the device listed on the Device tab, tapping Settings, Remove Device, and then Remove. It's important to note that removing a camera from your account will permanently delete all recorded video history.
What You'll Learn

Removing a Nest camera from the Nest app
To remove a Nest camera from your Nest app, you must first ensure that you have disconnected the camera from your Wi-Fi and performed a factory reset. This will ensure that all personal data is wiped from the device.
Steps to Remove a Nest Camera from the Nest App:
- Log in to the Nest app.
- If you have multiple homes set up on your account, tap "Menu" on the app home screen and select the home with the camera you want to remove.
- On the app home screen, tap the "Settings" icon.
- Tap on the camera you wish to remove.
- Scroll down and select "Remove [product name]."
- Confirm your choice when prompted.
Performing a Factory Reset:
- For the Nest Cam Indoor and Outdoor: Grasp the camera and pull it away from the metal plate it is attached to.
- For the Nest Cam IQ Indoor: If attached to a wall mount, gently twist the camera until the screws become loose. If it is resting on a flat surface, no action is needed as the camera stand and base cannot be separated.
Important Considerations:
- Removing your Nest camera from your account will permanently delete all recorded video history associated with that camera.
- If you intend to sell or give away your Nest camera, it is important to perform a factory reset first to protect your privacy.
- You can cancel the Nest Aware subscription for your camera even after removing it from your account.
Unlocking Dahua Camera Access on Your Mobile Device
You may want to see also

Removing a Nest camera from the Home app
To remove a Nest camera from your account on the Home app, you will need to follow a few steps. Firstly, open your Google Home app. You should then see a list of devices. Touch and hold the specific Nest camera device you want to remove. This will bring up a menu with a few options. Tap "Settings", followed by "Remove device", and then "Remove". This will disconnect the Nest camera from your account.
It is important to note that if you remove a camera from your account, it will permanently delete all the recorded video history from that camera. Therefore, if you want to preserve any video footage, be sure to create video clips or timelapses and save the files to your phone or computer before initiating the removal process.
Additionally, if you are not going to use your Nest camera again, it is recommended to perform a factory reset. This will ensure that all data and settings are cleared from the device. The process for performing a factory reset may vary depending on your specific Nest camera model, so be sure to refer to the official Nest camera support page for detailed instructions on how to perform a factory reset for your particular model.
Furthermore, if you have multiple homes set up on your account, you will need to select the specific home that has the Nest camera you want to remove. This can be done by tapping the "Menu" option on the app home screen and then selecting the appropriate home.
By following these steps, you will be able to successfully remove a Nest camera from your account using the Home app.
Accessing Geeni Cameras on PC: A Step-by-Step Guide
You may want to see also

Removing a Nest camera from a previous owner's account
If you've bought a house with a Nest camera already installed, you'll need to take a few steps to remove it from the previous owner's account and set it up on your own account.
Firstly, it's important to note that Nest products can't be set up with a new owner or home unless they are first removed from the original owner's account. This is to prevent stolen devices from being reused. Therefore, the easiest way to remove a Nest camera from a previous owner's account is to ask them to remove it themselves.
If you are unable to contact the previous owner, or they are unresponsive, you can contact Nest support. If you provide them with sufficient information, they may be able to remove the camera from the previous owner's account.
Alternatively, you can try performing a factory reset on the camera. This will clear the camera's settings and data, allowing you to set it up as a new device on your own account. To do this, you can try leaving the camera unplugged from the power source for 48 hours to clear the stored video data. After this, you may be able to set it up on your own account.
If you do manage to remove the camera from the previous owner's account, it's important to note that removing a camera from your Nest account will permanently delete all of the camera's recorded video history. Make sure to have a backup before you remove the camera.
Best TV Brands With Built-In Cameras
You may want to see also

Removing a Nest camera from a merged account
To remove a Nest camera from a merged account, you will need to follow a few steps. Firstly, it is important to note that older cameras are only compatible with the Nest app, while newer Nest cameras can be managed with the Google Home App.
If you are using the Nest app, start by logging into your account. If you have multiple homes set up, select the home that has the Nest camera you want to remove. Then, choose the camera you wish to remove. Tap the Settings icon, which is usually in the upper right corner, and select "Remove [product name]" at the bottom of the menu. Confirm your choice when prompted.
If you are using the Google Home App, open the app and tap the "Device" tab. Touch and hold the device you want to remove, then tap "Settings", "Remove Device", and finally, "Remove".
Additionally, if you are removing a Nest camera from your account, it is important to note that all recorded video history will be permanently deleted. If you have a Nest Aware subscription, you may want to cancel it before removing the camera.
Finally, it is recommended to perform a factory reset on your Nest camera after removing it from your account. This will ensure that all data and settings are cleared, and the camera is returned to its default state.
Stream Geeni Cameras on Your TV: A Quick Guide
You may want to see also

Removing a Nest camera from the Google Home app
To remove a Nest camera from your Google Home app, you must first open the app and ensure you are signed in to your Google account.
Removing the Camera from the App
- Open the Google Home app.
- Touch and hold the device listed on the Device tab.
- Tap "Settings".
- Tap "Remove device".
- Tap "Remove".
Removing the Camera from Your Account
- Sign in to the Nest app.
- If you have multiple homes, tap "Menu" on the app home screen and select the home that has the camera you want to remove.
- Tap "Settings".
- Tap the camera you want to remove.
- Scroll down and select "Remove [camera name]".
- Confirm your choice when prompted.
Factory Reset
It is recommended that you factory reset your Nest camera after removing it from your account. To do this, follow the instructions provided by the manufacturer.
Please note that factory resetting your camera will permanently delete all stored data and settings. Google recommends trying other troubleshooting options and restarting your camera before resorting to this step.
Smart TV Cameras: A Privacy Concern or Feature?
You may want to see also


