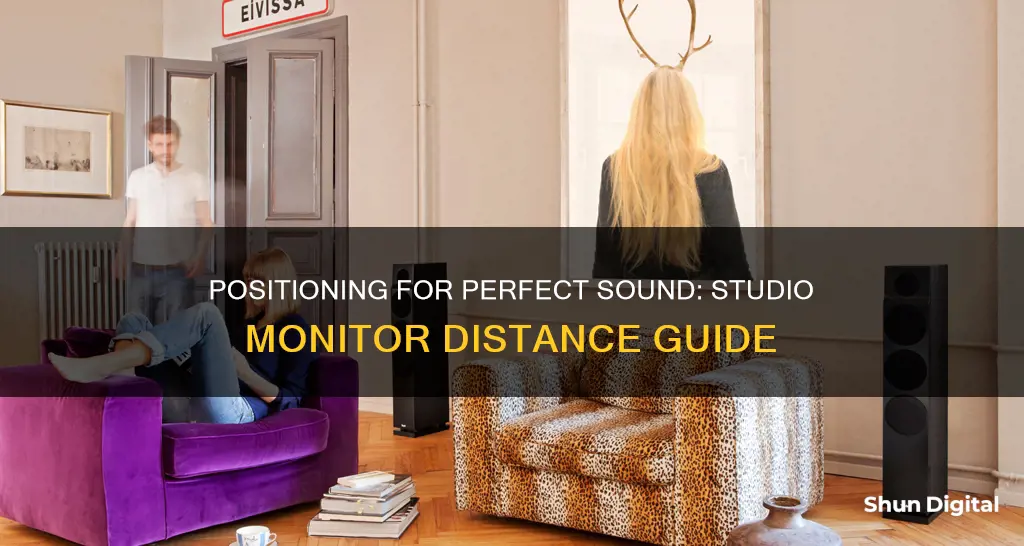
The placement of your studio monitors can make a huge difference to the quality of sound you experience. The ideal listening position, or sweet spot, is generally agreed to be at the point where your head and the two monitors form an equilateral triangle. This means that the distance between the left and right speakers and the distance from each speaker to the back of your head should be equal. The speakers should be placed slightly above or below the midpoint between the floor and ceiling, and tilted slightly to aim the tweeter at your ear.
| Characteristics | Values |
|---|---|
| Ideal listening position | Between 30% and 40% of the distance between the front and back walls, midway between the side walls |
| Speaker placement | An equilateral triangle with the listener |
| Speaker height | At ear level, typically about 47-55 inches (120-140 cm) from the floor |
| Speaker angle | Tilted slightly towards the listener |
| Speaker distance from the wall | 6-10 inches away from the wall; 2-3 feet is better |
What You'll Learn

The ideal listening position
To achieve the ideal listening position, it is essential to consider the dimensions of the room. In most cases, the listening position should be centred between the sidewalls to achieve a balanced stereo image. Additionally, it is recommended to position the workstation along the short wall of the room to ensure that reflections from the sidewalls reach the listening position simultaneously, enhancing the stereo image.
The distance between the listener and the monitors is also critical. For near-field monitors, the listening distance typically ranges from two to five feet. It is generally recommended to maintain a minimum distance of three feet from large, professional-grade systems to prevent hearing damage. The height of the monitors should be adjusted so that the tweeters are at ear level when the listener is seated, typically about 47-55 inches (120-140 cm) from the floor. If the monitors are placed on a desk, they should be positioned as close to the front edge as possible and tilted slightly downward to minimise early reflections from the desktop.
To summarise, achieving the ideal listening position involves creating an equilateral triangle with the monitors, centring the listening position between the sidewalls, adjusting the height of the monitors to ear level, and maintaining an appropriate distance from the monitors, depending on their type and the room dimensions.
Monitor Gamma: How to Spot Excessive Settings
You may want to see also

Speaker placement and geometry
The placement of your studio monitors in the room is crucial to achieving a balanced, non-distorted sound experience. The ideal setup for correct stereo imaging is for the listening position and monitor placements to form an equilateral triangle, with the monitors turned in to aim towards the ears at approximately a 30-degree angle to the centre line. The distance between the two speakers should be the same as the distance between each speaker and your head. This setup ensures a natural stereo "sweet spot" that lets you move around a bit and even allows for a collaborator to sit next to you.
The height of the monitors is also important. Ideally, the tweeters should be at the same height as your ears when seated, typically about 47-55 inches (120-140 cm) from the floor. Speakers can be placed slightly higher and tilted down towards you if necessary, but care must be taken to avoid the speakers toppling over.
To avoid unwanted early reflections, the monitors should be placed behind the console or desktop on secure, decoupled stands. If this is not possible, place the monitors as close to the front edge of the desk as possible and on foam blocks to minimise coupling with the desk.
The distance of the monitors from the rear and side walls will also affect the sound quality. It is recommended to keep the back and side wall distances uneven to cut down on reflections and distortion. Place the monitors as far away from the walls as possible, ideally a minimum of 6 to 10 inches away, or 2-3 feet if possible, to minimise bass buildup from the front wall.
Speakers and LCD Monitors: Can They Coexist?
You may want to see also

The equilateral triangle setup
The key to achieving a good stereo image and sound stage is to have the same distance from the left speaker to the left ear as from the right speaker to the right ear, allowing the sounds to arrive in phase and at the same intensity. However, the equilateral triangle setup is not a rigid rule and can be adjusted to better suit the room and personal preferences.
The recommended distance between the monitors and the listener is around 49-50 inches, with the monitors angled at approximately 30 degrees (toed-in) towards the listener. This angle can be adjusted between 25 and 35 degrees to optimise the results. The height of the monitors should also be considered, with the ideal height placing the tweeters at ear level when seated, typically about 47-55 inches from the floor.
It is important to note that the equilateral triangle setup may not always be practical or optimal, especially in smaller rooms. The placement of the monitors and listening position should be adjusted to find the best spots within the room. The distance between the monitors can be changed, as long as it remains within a reasonable range, to accommodate the size and shape of the room.
Additionally, the equilateral triangle setup does not take into account the room acoustics and reflections, which can significantly impact the sound. It is recommended to place the monitors close to the front wall or at least 43 inches away to minimise phase cancellation issues and bass response exaggeration.
In summary, the equilateral triangle setup is a useful starting point for studio monitor placement, but it should be adjusted to optimise the sound within the specific room and to suit individual preferences.
Choosing the Right Studio Monitors: A Buyer's Guide
You may want to see also

Speaker isolation
There are several ways to achieve speaker isolation. One common method is to use speaker isolation pads, which are placed between the speakers and the surface they are resting on. These pads are typically made from dense foam, rubber, or a combination of materials, and they help to absorb vibrations before they can transfer to the desk or stands. Isolation pads can also provide height and tilt adjustments, allowing for optimal speaker placement. Some examples of isolation pads include the Auralex MoPads, Primacoustic RX7, and Ultimate Support MS-80.
In addition to isolation pads, another technique for speaker isolation is to use speaker stands. By placing the speakers on stands, you can create some distance between the speakers and the surface, reducing the impact of vibrations. Stands also provide more flexibility in positioning the speakers to achieve the desired sound.
It is also important to consider the placement of the speakers within the room. The distance from the speakers to the walls, as well as the angle and height of the speakers, can affect the sound quality. For example, placing speakers too close to a wall can result in an increase in bass frequencies, while placing them too far from the wall can cause phase cancellation issues. Finding the right balance and fine-tuning the speaker placement is crucial for optimal sound.
By combining isolation pads or stands with careful speaker placement, you can effectively minimise vibrations and room acoustics interferences, resulting in more accurate and reliable sound from your studio monitors.
Tightening Your ASUS VG248 Monitor Board: A Step-by-Step Guide
You may want to see also

Acoustic treatments
Acoustic treatment is essential to ensure that your room does not colour the sound produced by your studio monitors. Without it, you may end up making poor mixing and mastering decisions, and your mixes may not translate well to other playback systems.
There are several types of acoustic treatment:
- Absorption: Absorbers convert sound energy into heat. Dense, porous materials work well as absorbers, with sound entering through the pores and getting trapped inside. Porous absorbers are great for high frequencies, while panel and volume absorbers are more suited for low frequencies.
- Reflection/Diffusion: When sound comes into contact with a reflective material, its energy is redirected. Hard, organic materials like wood are good reflectors. Reflectors often have jagged designs to diffuse sound throughout the room.
- Decoupling and Coupling: Decoupling involves reducing the amplitude of vibrations that pass from your floor to your speakers using damping pads or feet. Coupling, on the other hand, joins your speakers to your floor using speaker spikes and is used for dense floors made of materials like concrete.
There are four critical zones in your studio that require acoustic treatment:
- Ceiling and side walls: The direct sound from your speakers will arrive at your ears first, followed by early reflections from the ceiling and side walls, and then the reverberant field. Use absorbers to create a clear distinction between the direct sound and early reflections, reducing comb filtering.
- Corners of the room: Room modes, or standing waves, end up in corners, so this is where bass builds up. Placing bass traps in the corners will convert this low-end energy into heat.
- Parallel walls at the rear of the room: Exposed parallel walls can cause flutter echo. Installing reflectors/diffusors will scatter the sound and prevent flutter echo.
- Back wall of the studio: The back wall is another potential source of flutter echo and standing waves. Thick hybrid acoustic treatment, such as bass traps, can be applied to reduce the adverse effects.
When applying acoustic treatment, it is important to use the right materials. Black foam acoustic panels, egg cartons, and moving blankets are largely ineffective for mid to low-end frequency absorption. Instead, use dense, porous materials like Rockwool or Owens Corning 703. Spacing these materials a few inches from the wall will make them more effective at low frequencies.
Finally, after applying acoustic treatment, use room analysis software to refine your setup. Room EQ Wizard (REW) is a good free option that provides tons of acoustic-focused modules.
Speck Air Quality Monitor: Where to Buy?
You may want to see also
Frequently asked questions
The ideal listening position is typically three to five feet from the monitors. You should be able to form an equilateral triangle with your listening position and the two monitors, with the distance between the left and right speakers and the distance from each speaker to the back of your head being equal.
The distance you place your studio monitors from the rear wall can dramatically alter the quality of sound. To avoid phase cancellation, move your speakers far away from the rear wall so that the reflected bass frequency doesn't blend with the direct bass frequency.
Your position should never exceed halfway across your room's length since it can cause standing waves. Smaller rooms tend to do well with the short (wide) wall area, giving you more wiggle room.
Ideally, the tweeters should be at the same height as your ears when you are seated, typically about 47-55 inches (120-140 cm) from the floor.


