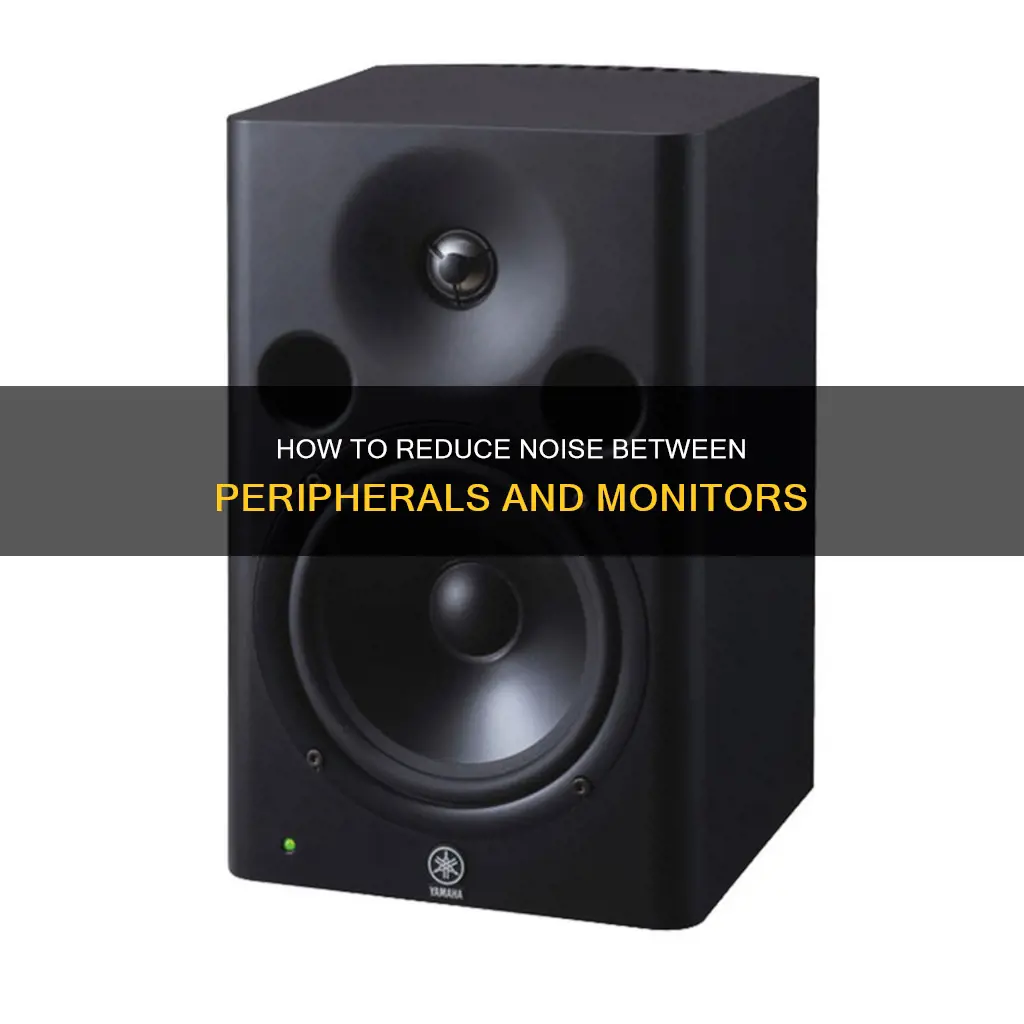
Studio monitors are designed to provide clear and accurate audio for recording and mixing music. However, in some cases, users may experience unwanted noise or interference coming from their studio monitors. This noise can range from a barely audible hiss to a loud buzzing or grinding sound, which can be extremely frustrating for musicians and audio engineers. There are several potential causes for this noise, including electrical interference, over-amplification, and insufficient power. In some cases, the noise may be caused by a faulty studio monitor or a problem with the audio interface or cables. To troubleshoot the issue, it is important to identify the type of noise and then isolate the source of the problem. This may involve trying different power sources, adjusting gain settings, using balanced cables, or updating software or drivers.
| Characteristics | Values |
|---|---|
| Cause of noise | Electrical interference, over-amplification, insufficient power, faulty equipment, feedback loop, digital distortion, ground loop, Bluetooth/wireless interference, compression effects, power spikes/surges |
| Solutions | Use balanced cables, separate power sources, power conditioners/voltage regulators, adjust gain/compression settings, use headphones, move microphone further from speakers, check drivers/software, use different equipment, check cables |
What You'll Learn

Electrical interference from unbalanced cables
Electrical interference is an issue that plagues everyone in the music industry, from musicians to audio tech geeks and live sound engineers. It occurs when an audio signal is interrupted, altered, or bombarded by an outside electrical source.
One way to reduce electrical interference is by using balanced cables, which are designed to reject outside noise and contiguous crosstalk. A true, balanced signal is formed by a three-wired connection, with the audio signal sent along an in-phase (hot) wire and an out-of-phase (cold) wire. The polarity of the signals is opposite, so they cancel each other out. The receiving balanced channel then flips the inverted signal back into phase, cancelling out any electrical noise that was picked up during the transfer. This process is known as common mode rejection.
Balanced cables are also designed to reduce the amount of noise per distance, allowing for longer cable runs without severe audio degradation or electrical interference. They are particularly useful for monitors and are the standard for live and studio applications.
However, it's important to note that not all studio monitors are created equal, and some may still suffer from electrical interference even when using a balanced connection. Additionally, while unbalanced cables can induce excess noise if not used correctly, they are not inherently bad. Unbalanced cables are typically used for electrical instruments, such as electric guitars, and if the shielding and length are good, they can serve their purpose well.
To reduce electrical interference from unbalanced cables, it is recommended to keep the cables as short as possible, usually under 15 feet, as longer cables can act like antennas and pick up more interference. Additionally, managing the placement of the cables can help minimise noise; for example, by ensuring that power and audio cables only cross perpendicularly rather than running side by side.
In summary, while balanced cables are generally more effective at reducing electrical interference, it is important to consider the specific application and equipment being used. In some cases, unbalanced cables may be more suitable, especially for electrical instruments with strong signals that can overpower any interference.
Colleges Monitoring Student Online Activity: Is Privacy Invasive?
You may want to see also

Over-amplification of equipment
To address this problem, it is important to check the levels of your interface, software, and speakers to ensure that nothing is being over-amplified. This includes checking the gain settings on your microphone, as highly sensitive microphones can pick up ambient noise that may not be audible to you but will be captured by the microphone.
Additionally, digital distortion, characterised by "grinding" or "buzzing" sounds, can also be a result of over-amplification. This type of noise is usually caused by an issue with the audio interface or by the monitors sharing the same power source as the computer. To resolve this, ensure that your monitors are connected to a separate power source from your computer and other digital hardware.
It is also worth noting that the use of compression effects can make the noise floor more prominent. To minimise this effect, adjust the settings of your compressor by setting a higher threshold and a lower ratio.
By following these steps and being mindful of the levels and gain settings on your equipment, you can help reduce the issues caused by over-amplification and improve the overall sound quality of your studio setup.
Best 1440p Monitors: Elevate Your Viewing Experience
You may want to see also

Insufficient power for audio equipment
A weak or inadequate power supply can hinder your plans for system expansion. While some systems are designed with robust power supplies, others start with insufficient power supplies and cannot adequately service power-hungry add-ons.
The wattage rating can be misleading. While all 300-watt supplies have the same rating, they are not all created equal. Some power supplies are under-engineered and barely meet their specifications, while others far exceed them.
Cheap power supplies may provide the rated power, but they can also introduce noise and distortion. Under-engineered power supplies can also run hot, causing the system to overheat. This can lead to premature failure of solid-state components and a shortened lifespan for the entire PC.
To prevent overheating, ensure adequate airflow to cool the hottest items in the system. If your processor has a heatsink, make sure it has a steady stream of air. If it has its own fan, this is less of a concern. Space out boards in your system to allow airflow between them, and ensure the hardest-working boards are closest to ventilation holes.
If you experience intermittent issues that you suspect are related to overheating, consider upgrading to a higher-capacity power supply or one with additional cooling fan capacity.
CPU-mounted fans are an effective spot-cooling solution for newer, hotter-running processors. They provide a cooling effect by blowing air directly over the processor, keeping temperatures down.
Always ensure you are using a power supply that meets the power requirements of your equipment to avoid issues and damage caused by insufficient power.
Connecting Your Xbox to an Acer Monitor: A Simple Guide
You may want to see also

Ground loop issues
Ground loops are a common issue when connecting peripheral devices to a computer. They can cause unwanted hum or buzz in the audio signal, which can be challenging to troubleshoot. Here are some detailed instructions to help you identify and resolve ground loop issues:
Identifying the Issue
Start by identifying the source of the noise. Disconnect all peripheral devices from your main device, such as your computer, mixer, or audio interface. Leave the amplifier and/or speakers connected. Monitor your audio signal from the headphones output of your device. If the noise disappears, it's likely that one of your peripheral devices is causing the ground loop.
Troubleshooting Steps
- Use balanced cables: Balanced cables are less susceptible to environmental interference and can maintain signal integrity over longer distances. They typically come in the form of 1/4" TRS or XLR connections.
- Isolating power sources: Ensure that all devices are connected to the same power outlet or power strip. This includes your computer, speakers, and any other peripherals. However, separate polarized plugs (two-prong) from grounded plugs (three-prong) by connecting them to separate circuits.
- Ground lift: If you've identified the device causing the ground loop, consider performing a ground lift of the audio connection. Do not lift the ground of the power connection. Consult the manufacturer to ensure your device supports ground lifting. Some devices may require a modified audio cable or a DI-Box.
- Power supply unit: A low-quality power supply unit, especially on laptops, can contribute to ground loop noise. Try disconnecting your computer from the power supply and running it on battery power to see if the issue persists. If you need to replace the power supply unit, ensure the new one meets the specifications of your computer.
- Nearby electrical devices: Electrical devices nearby, such as refrigerators, heaters, fans, or dimmer switches, can also contribute to ground loop issues. Try disconnecting these devices one by one to identify if any of them are causing the issue.
- DI boxes: If the above steps don't resolve the issue, consider using DI boxes between the connections of your audio devices, mixer, and/or active loudspeakers. This will break the ground of the audio connection. Most DI boxes feature a Ground Lift switch.
- Consult an electrician: If you've tried all the above steps and the issue persists, it may be a good idea to consult an electrician to ensure that the electrical system in your home or studio is properly grounded.
Mounting an ASUS Monitor: A Creative Solution for Hole-less Designs
You may want to see also

Feedback loops
To resolve feedback loops, it is recommended to use headphones during recording or tracking instead of speakers. This way, the microphone will not pick up any audio from the speakers, ensuring a clean signal. Another solution is to record further away from the speakers, so that feedback does not occur, or to turn down the gain for the microphone.
In addition to feedback loops, there are other types of noise that can occur with studio monitors, such as digital distortion, white noise, and crackling or popping sounds. Digital distortion is often caused by issues with the audio interface or by connecting the monitors to the same power source as the computer. White noise can be caused by amplification being turned up too high, and crackling or popping sounds can be due to software setup and configuration issues.
To troubleshoot noise issues, it is important to identify the type of noise and then isolate the source. Using balanced cables, connecting speakers to a separate power source, and avoiding over-amplification can also help reduce noise and interference.
Setting Up DisplayPort Monitors: A Comprehensive Guide
You may want to see also
Frequently asked questions
If the noise persists when the studio monitors are not connected to anything, it is likely an internal issue with the monitor itself. Try plugging the monitor into a separate power outlet and using a different power cable. If the noise continues, you may need to get the monitor repaired or replaced.
Balanced cables have three lines: two identical transmission lines as a twisted pair, and a third shield. They are much less susceptible to environmental interference and can carry a signal with high integrity over a longer length than unbalanced cables. Unbalanced cables have two lines: one carries the signal, and the other is a shield that carries the ground. If interference interrupts the signal, there is no way to eliminate it.
Ensure your monitors/playback solutions are connected to a separate power source from your computer and other digital hardware. Use "balanced" cables to connect your interface to your monitors if possible. Check with the support for your particular interface for information on possible driver issues, fixes, and optimizations.
White noise is a constant, high-frequency "hiss" resembling rushing air or a dead TV channel. It is often caused by the gain or amplification being turned up too high on the monitor, in software, or from the audio interface. To avoid white noise, check the levels of your interface, software, and speakers to ensure nothing is being over-amplified.
Digital distortion is an unnatural "grinding" or "buzzing" sound that follows the processes of the computer being used. It is usually caused by an issue with the audio interface or the monitors being connected to the same power source as the computer. To fix digital distortion, ensure your monitors are connected to a separate power source from your computer and other digital hardware. Check with the support for your particular interface for information on possible driver issues, fixes, and optimizations.


