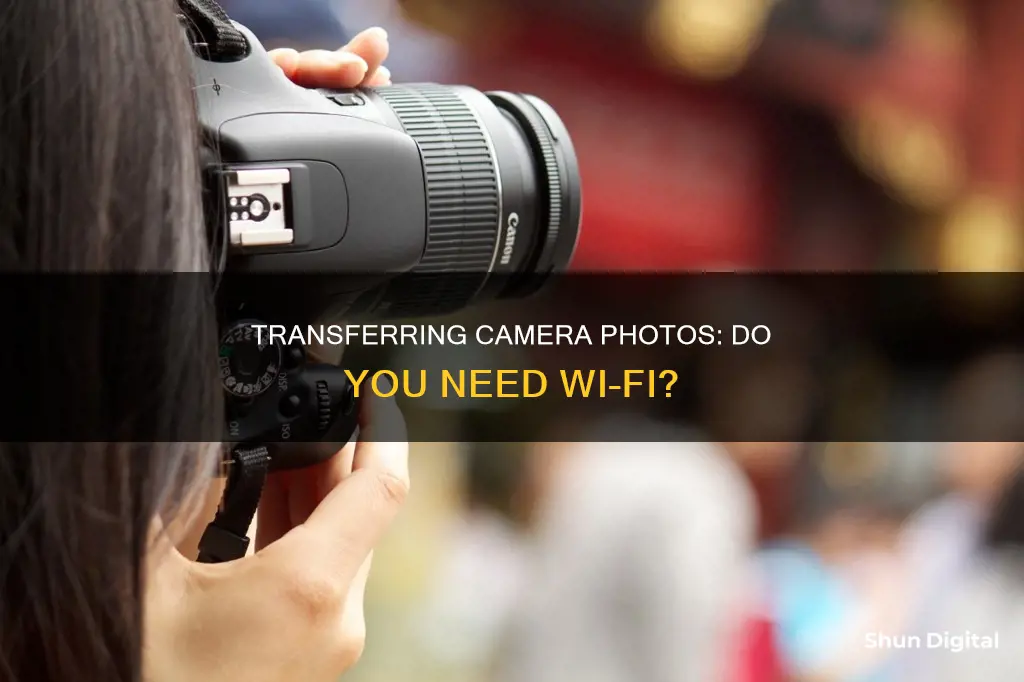
Transferring photos from a camera to a computer can be done in several ways, with or without WiFi. If you have a camera with built-in WiFi, you can transfer photos wirelessly without the need for cables or SD cards. For cameras without built-in WiFi, you can purchase a WiFi-enabled SD card, such as Eye-Fi, Toshiba FlashAir, Transcend Wi-Fi, or EZ Share SD Card. These cards allow you to wirelessly transfer photos to your computer, tablet, or other devices. Alternatively, you can use a USB cable to connect your camera directly to your computer and transfer photos using the File Explorer or the Photos app, depending on your operating system. Another option is to remove the SD card from your camera and insert it into your computer's card reader, if available, or use an external SD card reader. From there, you can drag and drop the photos to your desired location on your computer.
| Characteristics | Values |
|---|---|
| Wireless transfer of photos from camera to computer | Possible |
| Wireless transfer of photos from camera to phone | Possible |
| Devices required for wireless transfer | Wi-Fi enabled SD card, Wi-Fi enabled camera, or Eye-Fi card |
| Wi-Fi enabled SD card brands | Eye-Fi, Toshiba FlashAir, Transcend Wi-Fi, EZ Share SD Card |
| Wi-Fi enabled camera brands | Canon, Nikon, Olympus, Samsung |
| Eye-Fi card price range | $31-$175 |
| Eye-Fi card storage capacity | 8GB, 16GB, 32GB |
What You'll Learn
![]()
Wi-Fi-enabled SD cards
There are two main types of Eye-Fi cards: the less expensive Mobi line and the Pro line. The Mobi line is designed to instantly transfer photos from your camera to your phone or tablet, making it easier to share photos online and ideal for those who don't do any editing. On the other hand, the Pro line allows you to wirelessly transfer photos directly from your camera to your computer, and it can even handle RAW file formats.
To use a Wi-Fi-enabled SD card, you'll need to insert it into your camera and set up the card using the manufacturer's instructions. In some cases, you may need to connect the card to your computer for the initial setup. Once the card is configured, you can turn on your camera, and it will automatically start transferring photos to your device as long as it's within range of your Wi-Fi network.
It's important to note that while Wi-Fi-enabled SD cards offer convenience, they may also increase battery usage, so it's a good idea to keep that in mind when using them. Additionally, some cards may have slower transfer speeds, so be sure to check the specifications before purchasing.
Other options for wireless transfer include using a camera with built-in Wi-Fi capabilities or a specific Wi-Fi dongle designed for your camera model.
Charging Your JVC GR-D850U Camera: Alternative Methods
You may want to see also
![]()
Wi-Fi-capable cameras
Many modern cameras are Wi-Fi-capable, meaning they can transfer photos to your computer wirelessly. However, this is usually tied to a specific application provided by the camera manufacturer, which may be upgraded from time to time.
If you're looking for a camera that can transfer photos to your computer without the need for a cable, look for one that supports SDHC cards. You can add an Eye-Fi or Flash Air card to these cameras, which are memory cards that also provide wireless capabilities. These cards can send images immediately as they are captured, and depending on the model, you may be able to connect to a router or transfer photos without one.
Several major camera brands, including Canon, Nikon, and Sony, offer Wi-Fi-capable cameras. For example, the Canon EOS Rebel T7 DSLR Camera features built-in Wi-Fi, a 24.1 MP CMOS sensor, and a DIGIC 4+ image processor for full HD videos. Alternatively, you can consider a 5K Digital Camera for Photography, which offers Wi-Fi, autofocus, a 3.5" screen, and a 16x digital zoom.
When purchasing a Wi-Fi-capable camera, be sure to check the manufacturer's specifications and compatible devices to ensure it meets your specific needs.
Understanding Lorex Camera's Backlight Mode
You may want to see also
![]()
Transferring photos without Wi-Fi
There are several ways to transfer photos without Wi-Fi.
Using a USB Cable
Connect your camera to your computer using the USB cable that came with your camera. If you don't have this cable, you must purchase a replacement that fits your camera model. Once connected, turn on your camera. You may need to switch it to Review mode to connect to your computer. Then, open the relevant software on your computer, such as the Photos app on a Mac, and select the photos you want to transfer. Finally, drag and drop the selected photos to a new location on your computer, such as the Pictures folder.
Using an SD Card
Remove the SD card from your camera and insert it into your computer's SD card reader, if it has one. If your computer doesn't have a built-in card reader, you can purchase an external SD card reader that connects via USB. Once your computer recognises the SD card, open the relevant software, such as the File Explorer on Windows or the Finder on a Mac. Select the photos you want to transfer, then drag and drop them to a new location on your computer.
Using Third-Party Apps
There are several third-party apps that allow you to transfer photos without Wi-Fi. For example, SHAREit is an application that can be installed on different devices with different operating systems like iOS, Android, and Windows. It uses a Wi-Fi technology called SoftAP to create a personal network, allowing the transfer of files between devices without an internet connection.
Another option is to use a Wi-Fi-enabled SD card, such as Eye-Fi. These cards have both photo storage and a tiny Wi-Fi radio built-in, allowing you to wirelessly transfer photos from your camera to your computer or device. However, they tend to be significantly more expensive than regular SD cards and may drain your camera battery faster.
The Demise of Kodak's Disposable Cameras
You may want to see also
![]()
Using a USB cable
- Turn on your computer. Ensure you're using Windows 11, 10, 8, or earlier.
- Connect your camera to the computer using the USB cable that came with your camera. If you don't have the cable, you'll need to purchase a replacement that fits your camera model.
- Turn on your camera. Your computer should recognize it immediately. You may need to switch your camera to Review mode for the connection to be established.
- The AutoPlay window should pop up. Click on the "AutoPlay" box in the bottom-right corner.
- Select "Open folder to view files." This will open the File Explorer, where you can navigate to your camera's files.
- Click on the "DCIM" folder. This is where your photos are typically stored.
- Select the photos you want to transfer. You can choose individual photos or press CTRL + A to select all images in the folder.
- Drag and drop the selected pictures to your desired location on your computer, such as the Pictures folder or a new folder you create.
- Once the transfer is complete, you can delete the photos from your camera's SD card if desired. Return to the SD card's folder, select all photos, right-click, and then click "Delete."
- Eject your camera before disconnecting it from the computer. Click the arrow in the bottom-right corner of the taskbar, click the device icon, and then click "Eject."
- Turn on your computer, ensuring it's running macOS Ventura, Monterey, or earlier.
- Connect your camera to the computer using the USB cable provided with your camera or a compatible replacement.
- Open the Photos app, which looks like a multi-colored flower.
- Turn on your camera. Like with Windows, you may need to switch your camera to Review mode for the connection to be established.
- Select the photos you want to transfer by clicking on each photo. You can also drag your cursor to select multiple photos at once.
- Click "Import Selected" to initiate the transfer. If you want to import all new photos, click "Import All New Photos" in the top-right corner.
- Imported photos will be saved to "All Photos." If you prefer a different location, change the save location by clicking the drop-down menu next to "Import to."
- Eject your camera before disconnecting it. Open the Finder, locate the camera in the left sidebar, and then click the up-arrow icon to eject it safely.
HDR Mode: Capturing Stunning Photos with Your S8 Camera
You may want to see also
![]()
Using an SD card reader
Transferring photos from your camera to your computer using an SD card reader is a straightforward process. Here's a step-by-step guide:
Step 1: Remove the SD Card from Your Camera
Gently unlock and remove the SD card from your camera. The SD card is usually located behind a small panel or flap on your camera. Make sure to press the card in before releasing it to avoid accidentally damaging the card or the camera.
Step 2: Insert the SD Card into the Card Reader
If your computer has a built-in SD card reader, insert the SD card into the card reader slot. The card reader is typically located on the side or front of the computer. If your computer doesn't have a built-in card reader, you can purchase an external USB card reader. Simply plug the card reader into an available USB port on your computer.
Step 3: Access the SD Card on Your Computer
On a Windows computer, open the File Explorer by right-clicking the Start menu and selecting "File Explorer." Locate your SD card in the left panel. If you don't see it, click the arrow on the left of "This PC" to expand the options. Double-click the DCIM folder if you don't see the photos immediately.
On a Mac, open the Finder, typically located on the dock. Click on your SD card in the left panel of the Finder window. If you don't see the photos, double-click the DCIM folder.
Step 4: Select the Pictures You Want to Transfer
You can select individual photos or press "Ctrl + A" (on Windows) or "Cmd + A" (on Mac) to select all the photos in the folder. To select multiple photos, hold "Ctrl" (Windows) or "Cmd" (Mac) and click each photo.
Step 5: Drag and Drop the Pictures to a Folder on Your Computer
Create a new folder on your computer or use an existing one, such as the Pictures folder. Drag and drop the selected photos into the desired folder. The transfer time will depend on the number of files and your computer's specifications.
Step 6: Eject the SD Card (Optional)
Once the transfer is complete, you can eject the SD card. On Windows, click the arrow in the bottom-right corner of the taskbar, then click the flash drive icon and select "Eject." On Mac, find the SD card in the left panel of the Finder, then click the up-arrow symbol to eject it safely.
Now you can safely insert the SD card back into your camera, and your photos will be stored on your computer.
Focusing on Dahua Cameras: A Step-by-Step Guide
You may want to see also
Frequently asked questions
No, you can purchase a Wi-Fi-enabled SD card and insert it into your camera to transfer photos wirelessly.
Connect your camera to your computer using the USB cable. Turn on your camera and select Review mode. Open the AutoPlay window and select "Open folder to view files". Select the photos you want to transfer and drag them to a new location on your computer.
Remove the SD card from your camera and insert it into your computer's card reader. Open the File Explorer and click on your SD card. Select the photos you want to transfer and drag them to a new location on your computer.
Using a Wi-Fi-enabled camera or SD card saves you time by automatically transferring photos wirelessly to your computer, tablet, or other devices. You also don't need to worry about manually dumping photos when your SD card fills up.