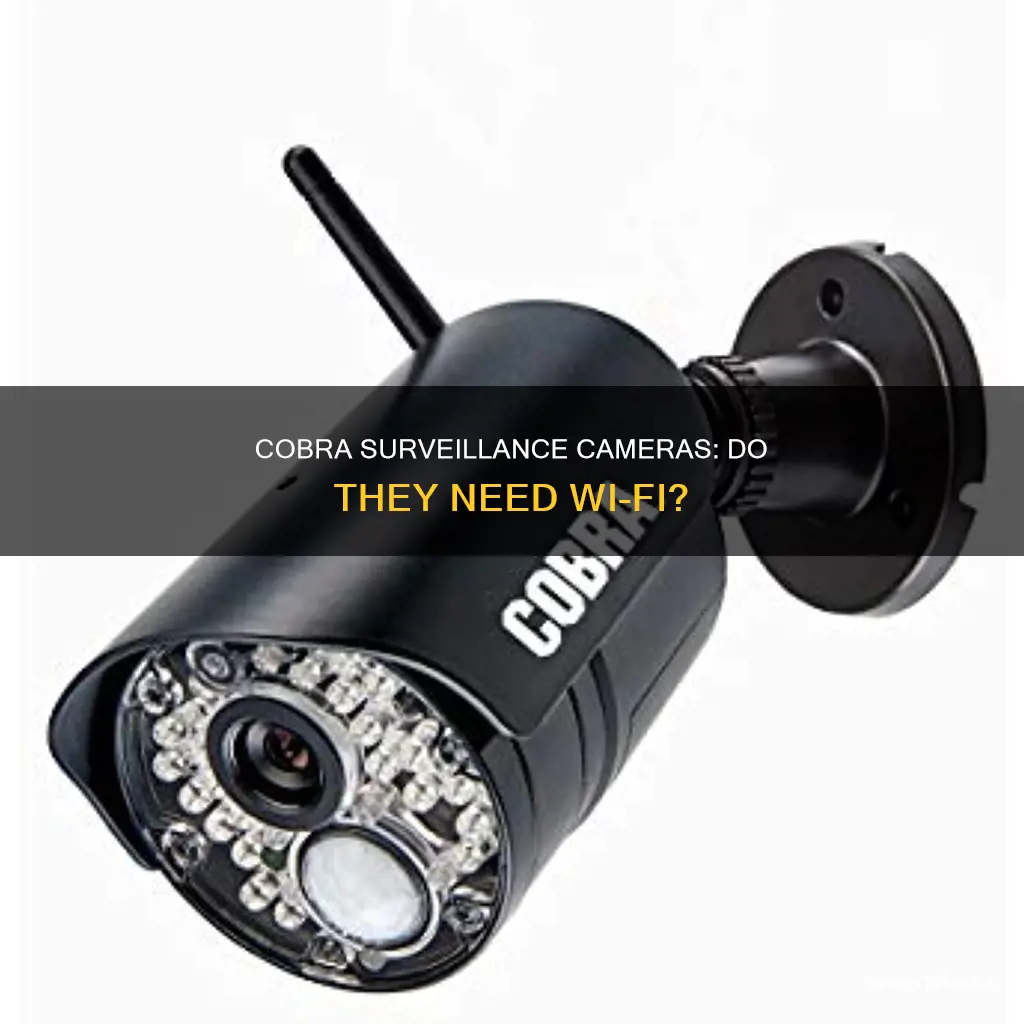
Cobra surveillance cameras are a popular choice for home and office security. The cameras can be set up to work with Wi-Fi, allowing for remote viewing and monitoring. While some Cobra cameras are Wi-Fi-enabled, others may require a wired connection or an Ethernet cable to function. Additionally, the specific setup process and requirements may vary depending on the Cobra camera model. It is always recommended to refer to the manufacturer's instructions and user manual for the most accurate and up-to-date information.
| Characteristics | Values |
|---|---|
| Wi-Fi Requirement | Cobra cameras require Wi-Fi for remote viewing and monitoring. |
| Connection Process | Connect to a power source, use a mobile app or computer to access settings, select Wi-Fi network, and enter password. |
| Compatibility | Check camera compatibility with Wi-Fi frequency and security protocols. |
| Firmware | Ensure camera firmware is up to date for improved performance and compatibility. |
| Signal Strength | Place the camera within range of the Wi-Fi router for a strong signal. |
| Troubleshooting | Reset the camera to factory settings, check Wi-Fi credentials, and ensure other devices can connect. |
What You'll Learn
![]()
Cobra surveillance cameras and Wi-Fi compatibility
The compatibility of Cobra surveillance cameras with Wi-Fi depends on several factors, including the specific model and brand of the camera, the Wi-Fi frequency, and the security protocols used by your network. While some Cobra surveillance cameras are Wi-Fi compatible, others may require a wired connection or have different connectivity requirements.
To determine if your Cobra surveillance camera is Wi-Fi compatible, you should consult the camera's specifications, user manual, or the manufacturer's instructions. Generally, to connect a Cobra surveillance camera to a Wi-Fi network, you need to follow the manufacturer's setup instructions. This typically involves connecting the camera to a power source, accessing the camera's settings through a mobile app or web interface, and then selecting your Wi-Fi network from the available options and entering the password.
It is worth noting that some Cobra surveillance cameras may have simplified setup processes, such as QR code scanning and automatic network detection, making the connection process more user-friendly. Additionally, ensuring that your camera's firmware is up to date can improve its performance and compatibility with different networks.
In terms of specific models, the COBRA® 1080p Indoor/Outdoor Add-On Wi-Fi Security Camera is designed to work with the COBRA® 1080p Wi-Fi Security System with 1 TB Storage. This camera can be used both indoors and outdoors, offering all-weather durability, exceptional night vision, and remote viewing capabilities from smartphones or tablets.
However, it is important to note that even with Wi-Fi-compatible Cobra surveillance cameras, certain steps may be required to view the camera feed remotely when away from home. This may involve setting up a VPN into your home network or ensuring that your router supports uPNP for seamless remote access.
NYC Congestion Charge Cameras: Where Are They?
You may want to see also
![]()
Steps to connect Cobra cameras to Wi-Fi
Cobra surveillance cameras do require WiFi for remote monitoring, but they can also be connected to a DVR or NVR system for local viewing.
Step 1: Preparing for the Installation
Before you begin, ensure you have the following items ready:
- The Cobra security camera
- A power adapter and cable
- A smartphone or computer with WiFi capabilities
- Your WiFi network name (SSID) and password
Step 2: Powering on the Camera
Connect the power adapter to the camera and plug it into a power outlet. Wait for the camera to initialize, which is usually indicated by a blinking LED light and takes about a minute or two.
Step 3: Connecting the Camera to Your Router
Use an Ethernet cable to connect the camera directly to your router's LAN port. Ensure that your smartphone or computer is connected to the WiFi network you want to link to the camera.
Step 4: Accessing the Camera's Settings
Launch a web browser on your device and enter the default IP address of your Cobra camera, which is usually mentioned in the user manual. Log in using the camera's username and password, which can also be found in the user manual.
Once logged in, navigate to the camera's settings menu and look for the network settings or WiFi setup option.
Step 5: Selecting the WiFi Network and Entering Password
Select your WiFi network from the list of available networks. Enter your WiFi network password and click "Save" or "Apply" to confirm the changes.
Step 6: Disconnecting the Ethernet Cable
Once your Cobra security camera is successfully connected to your WiFi network, you can remove the Ethernet cable. The camera will now rely solely on the wireless connection.
Step 7: Verifying and Adjusting Camera Placement
Check the camera's field of view to ensure it covers the desired area, taking into account any potential obstructions. Adjust the camera's angle and position as needed.
Also, ensure that the camera's WiFi signal strength is strong enough for a stable connection. If necessary, consider using WiFi range extenders or repositioning your router to improve signal strength.
Step 8: Accessing the Camera Remotely
To access the camera's live feed remotely, download and install the relevant mobile app or software for your Cobra security camera model. Launch the app or software and sign in using your camera's credentials.
Once logged in, you should be able to view the camera's live feed, adjust settings, and receive notifications on your device from anywhere, anytime.
Understanding PTP Mode: How Does It Work in Cameras?
You may want to see also
![]()
Troubleshooting Wi-Fi signal and interference issues
Cobra surveillance cameras do require WiFi. The 1080p Cobra Wi-Fi Security Camera captures video with enhanced night vision technology, and footage can be viewed remotely from a smartphone or tablet.
Positioning of the Wireless Router
The position of your wireless router can significantly impact the strength and range of your Wi-Fi signal. Here are some tips for optimal placement:
- Place the router in the middle of the space where it will be used. If it's placed off to the side, the signal may not be evenly distributed.
- Ensure that the router antenna is vertical. Many antennas are adjustable, but the straight-up position usually provides the best signal strength.
- Put the router on an elevated surface, such as a desk, rather than on the floor. This will improve reception.
- Avoid placing the router near physical obstacles like walls, floors, or furniture, as these can interfere with the signal.
- Pay attention to the materials near the router. Concrete, brick, and metal can make it more difficult for the signal to travel, leading to slower network speeds.
Interference from Wireless Devices
Other wireless devices in your home or office may be operating on the same frequencies as your Wi-Fi network, causing interference. Some common culprits include:
- Bluetooth devices
- Baby monitors
- Cordless phones
- Microwave ovens
- Other Wi-Fi networks in close proximity
To troubleshoot interference from wireless devices:
- Try turning off or unplugging electronic devices one by one to see if it improves the interference issue.
- If a specific device is causing the problem, check if it offers options to switch Wi-Fi channels. Switching to the 5GHz frequency may provide a more robust connection.
- Upgrade to a router with better radio wave noise shielding if possible.
- Change the channel on your Wi-Fi router. The channel can typically be set from 1 to 11 for the broadcast frequency.
Interference from Nearby Wi-Fi Networks
If you live in a densely populated area, such as a large apartment building, nearby Wi-Fi networks may be using the same frequency channel as your network, leading to interference. To address this issue:
- Enable channel auto-switching on your Wi-Fi router if it has this feature. Refer to the user manual for instructions.
- If auto-switching doesn't improve speed, try manually setting up the channel and perform a speed test to find the fastest option.
- Consider using a tool like NetSpot to find the least busy Wi-Fi channel in your area.
Other Interference Sources
Some other factors that can affect your Wi-Fi performance include:
- Hearing aids can cause signal disruption when in close proximity to wireless devices.
- Power lines, power stations, and electric railway tracks may interfere with your Wi-Fi signal, especially if your router is not well-shielded.
- The way you hold your handheld devices can affect Wi-Fi reception. For example, laying your tablet on a pillow or the way you grip your cellphone can impact signal strength.
Additional Tips
- Add a Wi-Fi extender to your network to boost the signal and improve coverage, especially in larger spaces with thick walls.
- Use Powerline adapters, which use your existing electrical wiring, to extend your Wi-Fi connection to remote areas of your home or office.
- If you have a combination router/modem provided by your Internet Service Provider (ISP), it may be a cheaper, refurbished model that is more prone to connection issues. Consider buying your own separate modem and router to improve performance.
Charging Your Camp Snap Camera: A Quick Guide
You may want to see also
![]()
Using the RXCamView app for Cobra cameras
The RXCamView app is a surveillance software that can be used with Cobra cameras. It is available on both the Apple App Store and Google Play Store. The app allows users to remotely view real-time surveillance video anytime, anywhere, and also offers video playback, video remote playback, snapshots, and PTZ control.
To use the RXCamView app with Cobra cameras, you can follow these steps:
- Install the RXCamView app on your smartphone or tablet by downloading it from the relevant app store.
- Set up your Cobra cameras by connecting them to a power source and positioning them as per your requirements. Ensure that your cameras are properly mounted and secured.
- Configure the RXCamView app by opening it on your device. You may need to create an account, log in, or connect to your camera system.
- Connect the app to your Cobra cameras. This may involve scanning a QR code, entering device information, or following on-screen instructions provided by the app.
- Test the connection by attempting to view the camera feed on your device. Ensure that you are connected to a stable internet connection, preferably through Wi-Fi.
Once the app is set up, you can utilise its various features. For example, you can receive alarm notifications when motion, human form, or sound is detected, and you can also customise the detection area and sensitivity. The app also allows for two-way audio, enabling you to communicate with people at the camera's location.
It is worth noting that some users have reported connectivity issues with the RXCamView app. These issues may include difficulties connecting to the cameras, frequent disconnections, or problems receiving push notifications. However, for many users, the app works well, providing remote access to their Cobra camera systems.
If you encounter any problems, you may need to restart your camera system or app, check your internet connection, or refer to the app's support or troubleshooting section for further guidance.
Updating Camera Raw: CS5 Edition
You may want to see also
![]()
Cobra camera setup using iSpy or Agent DVR applications
Cobra cameras can be efficiently configured with the top-rated iSpy or Agent DVR applications. These free surveillance software applications include a dedicated wizard tailored for Cobra models, simplifying the entire setup process. The Cobra camera setup process is straightforward and user-friendly, ensuring reliable and secure monitoring solutions for home security or office surveillance.
To begin setting up your Cobra camera with iSpy, follow these steps:
- Download and install the iSpy software on your computer.
- Connect your USB camera to your computer. Ensure it is not in use by another application, as iSpy will not be able to access it otherwise.
- Run the iSpy software and select your USB camera from the drop-down menu. Click OK to add it to iSpy.
- If you have multiple USB cameras from the same manufacturer, consider using cameras from different manufacturers or installing iSpyServer on other computers to access the duplicate cameras.
- For IP cameras, use the iSpyConnect website's wizard to find the right URL for your camera. Alternatively, use Fiddler or WireShark to find the URL by accessing your IP camera through a web browser and observing the traffic.
- Use the URL obtained in the previous step in iSpy as either a JPEG, MJPEG, or VLC feed.
- Follow the on-screen instructions in iSpy to complete the camera setup process.
For Agent DVR:
- Download and install the Agent DVR software on your device.
- Follow the installation instructions provided by Agent DVR to set up your Cobra camera with the software.
- Agent DVR supports unlimited cameras and simplifies remote access without the need for port forwarding.
- Utilize the user-friendly interface to access real-time detection of people, vehicles, and objects, enhancing your property's security.
By following these steps, you can effectively configure your Cobra camera with either iSpy or Agent DVR, taking advantage of their robust features for reliable surveillance solutions.
Understanding Raw Camera Format for Photography
You may want to see also
Frequently asked questions
Cobra surveillance cameras can be used with or without WiFi. Some models, like the Cobra 8 Channel Surveillance DVR with 4 HD Cameras, do not require WiFi and can be connected directly to a power source and TV for viewing. Other models, like the COBRA® 1080p Wi-Fi Security System, do require WiFi and a separate mobile app or computer for configuration and remote viewing.
First, check that your camera is compatible with your WiFi network by checking the camera's specifications or user manual. Next, power on the camera and access its settings through the mobile app or web interface. Locate the WiFi setup option and select your WiFi network from the list, entering the password when prompted. Wait for the camera to connect and then test the connection by accessing the live feed.
If you're having trouble connecting your Cobra surveillance camera to WiFi, try the following:
- Ensure your camera's firmware is up to date by checking for updates on the manufacturer's website.
- Place the camera within range of your WiFi router and ensure it is powered on and in setup mode.
- Double-check the WiFi credentials (network name and password) you entered during the setup process.
- If the above steps don't work, reset the camera to its factory settings and repeat the setup process.