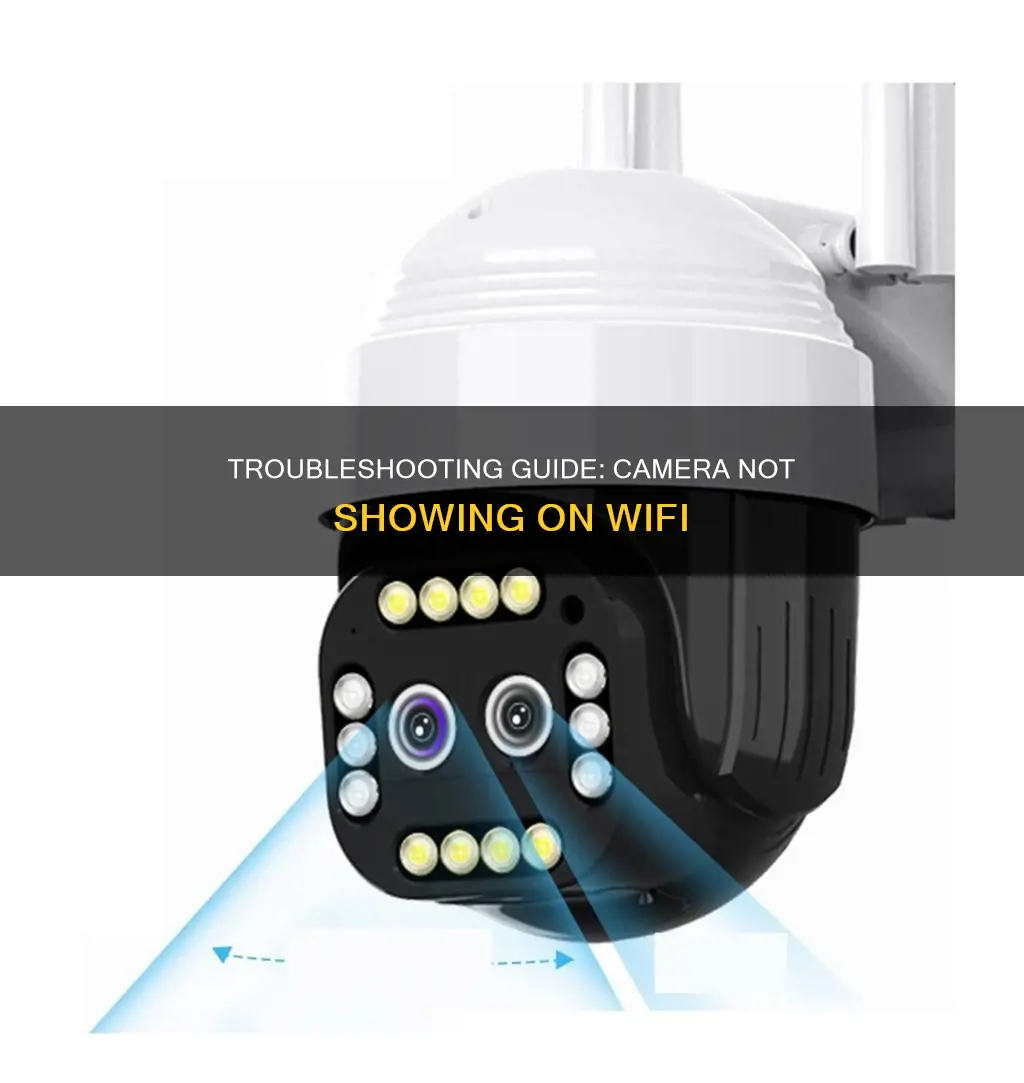
There are many reasons why a camera may not be connecting to a Wi-Fi network. Some common issues include incorrect Wi-Fi router placement and Wi-Fi settings, signal interference, outdated firmware, and compatibility problems. If you are experiencing difficulties connecting your camera to Wi-Fi, there are several troubleshooting steps you can take. Firstly, check that the camera is powered on and that there is no issue with the power supply. Next, ensure that you are entering the correct Wi-Fi password. If you are setting up a new camera, make sure that the network name is not hidden, as this may prevent the camera from finding the network. Additionally, check that the camera is within an appropriate range of the router and that there are no physical obstacles causing interference. If you are still experiencing issues, try updating the camera's firmware or software to the latest version. If all else fails, you may need to contact the camera manufacturer's support team for further assistance.
What You'll Learn

Check the antennas are fixed and tightened
If you're having issues with your IP camera and WiFi, it's a good idea to check that the antennas are fixed and tightened. This is because loose antennas are a common cause of poor signal and connection issues.
When you purchase a wireless IP camera, the antennas are usually not connected to the camera. You need to manually install and tighten them. If you have a camera with detachable antennas, you can replace them with larger antennas or use a short extension cable to move the antenna to avoid interference. You can also purchase antenna extension cables to help improve the signal.
Point-to-point antennas are recommended for commercial-grade wireless transmission as they offer a greater range and more reliable connection than Wi-Fi routers. They can send and receive large amounts of video data over a long distance without signal interference or data loss.
If you're experiencing issues with your Wi-Fi signal, it's worth checking that the antennas on your camera are fixed and tightened securely. This simple step can often resolve connection problems and improve your Wi-Fi signal.
Maya Camera Viewport: A Guide to Seeing Through
You may want to see also

Ensure the camera is powered on
If you're having trouble connecting your wireless IP camera to your Wi-Fi, it may be that the camera is not powered on. Here are some detailed steps to ensure your camera is powered on:
Check the Power Supply
First, check that the power supply for your wireless IP camera is working correctly. Power outages can cause connection issues, so make sure the power adapter is plugged into a functioning socket. If you're using a battery-powered camera, check the battery and replace or recharge it if necessary.
Inspect the Power Cables
Ensure that all power cables connected to your camera are securely plugged in and that none are loose or damaged. This includes both the power cable connecting the camera to its power source and any internal cables within the camera itself.
Verify the Power Outlet
Confirm that the power outlet you're using is working properly. You can do this by plugging in another device, such as a phone charger, and checking if it receives power. If the outlet isn't working, try a different one.
Check for Status Lights
Many wireless IP cameras have status LED lights that indicate whether the camera is receiving power. Check if these lights are on to ensure your camera is powered up.
Power Cycle the Camera
If your camera is plugged into a power source but isn't turning on, try power cycling it. Unplug the camera from its power source, wait 10 seconds, then plug it back in. This can sometimes reset any minor glitches that may be causing issues.
Consult the Camera Manual
If you're still having issues, refer to your camera's user manual or support website for further troubleshooting steps specific to your camera model.
Exploring Python's Camera Vision: Access and Control
You may want to see also

Check the WiFi password is correct
If you're having trouble connecting your security camera to your WiFi, it may be because you've entered the wrong password. Here are some tips to help you check that you have the correct password:
- Check your password list: If you have multiple passwords, it's easy to mix them up. Refer to your password list and double-check that you're entering the right password for your WiFi.
- Verify your WiFi key: Make sure that your WiFi key is correct and that the IP address is compatible.
- Avoid special characters: If your WiFi password contains special characters or spaces, this may cause issues. Try setting a new WiFi password that only contains alphanumeric characters without special symbols.
- Adjust encryption type: Some routers struggle with WPA and WPA2, so you may need to switch to WEP or upgrade to a better router.
If you've confirmed that you have the correct password and are still experiencing issues, there may be another reason why your camera isn't connecting to your WiFi.
Viewing 8mm Tapes: Alternative Methods Without a Camera
You may want to see also

Check the SSID in WiFi settings
If you're having trouble connecting your IP camera to your Wi-Fi, incorrect SSID settings may be the culprit. SSID stands for "Service Set Identifier" and is simply the name of your Wi-Fi network.
To check the SSID in your Wi-Fi settings, follow these steps:
On a Windows Device:
- Click on the network icon (the little globe symbol) in the taskbar on the left-hand side.
- At the top left of the popup menu, click the arrow next to the Wi-Fi icon to see the list of available networks. Your SSID will be listed there.
On a Mac:
- Look for the Wi-Fi icon (a series of curved bars or a fan-like symbol) in the upper right corner of your screen.
- Click on the Wi-Fi icon once.
- A dropdown menu will appear, showing a list of available Wi-Fi networks. If you are connected to a network, it will be indicated by a blue checkmark and a blue Wi-Fi icon next to its name. This is your SSID.
On an Android Device:
- Open your Settings.
- Tap on "Network & Internet."
- Tap on "Wi-Fi."
- The list of Wi-Fi networks will be displayed. The SSID of the network you are connected to will be shown above "Connected."
On an iOS Device:
- Open your Settings.
- Tap on "Wi-Fi."
- The list of available Wi-Fi networks will be displayed. The SSID of the network you are connected to will be listed with a checkmark next to it.
On a Linux System:
You can use the Network Manager GUI or the command line (nmcli or iwconfig) to find the SSID.
Using the Network Manager GUI:
- Open the Network Manager GUI by clicking on the network icon in the top right corner of the screen.
- Click on the "Wi-Fi" tab.
- The list of available Wi-Fi networks will be displayed, and the SSID of the network you are connected to will be highlighted.
Using the nmcli Command:
Open a terminal and enter the following command:
Nmcli -t -f active,ssid dev wifi
This will output a list of all active Wi-Fi networks, with the SSID of the current network as the first entry.
Using the iwconfig Command:
Open a terminal and enter the following command:
Iwconfig
This will output a list of all network interfaces, and the SSID of the current Wi-Fi network will be displayed in the ESSID field.
On Your Router:
- Check the sticker on the bottom or side of your router. This usually contains the default SSID and password.
- If the sticker doesn't help, connect your router to a computer via an Ethernet cable and log into its web interface.
- Enter your router's IP address into a web browser and log in with the admin username and password.
- Look for the Wi-Fi settings section, where the SSID will be listed.
Remember, to ensure a successful connection, your IP camera's SSID must match that of your router.
Golf TV Arc: Capturing the Perfect Swing
You may want to see also

Make sure there is no signal interference
If you are experiencing WiFi signal interference with your wireless security camera, there are several ways to troubleshoot the problem.
Firstly, check the distance between your IP camera and router. If your camera is too far from the router, it may not be able to find the WiFi signal. In this case, you can move the camera closer to the router, or alternatively, purchase a WiFi booster or extender to boost the signal and extend the range.
Secondly, consider whether there are any physical barriers between the camera and the router, such as walls or building materials, which could be causing the signal to weaken. Try to limit the number of barriers between the camera and router, and consider moving the router to a more central location in your house, such as the living room. Additionally, ensure that your router is elevated away from the floor and that its antenna is positioned vertically and straight.
Thirdly, if you are using a 2.4 GHz frequency band, it may be suffering from interference due to overcrowding of the channels. Many appliances, such as phones, tablets, and microwave ovens, use this frequency band, so you may want to switch to a 5 GHz (5.8 GHz) band to reduce interference and increase the data transmission rate.
Finally, you can use a WiFi explorer or scanner to see if WiFi signal interference is occurring and to find the ideal network for your camera to use.
Transform Your Camera into a TV: A Step-by-Step Guide
You may want to see also


