Adobe Camera Raw (ACR) is a powerful image editing plugin for Photoshop that allows photographers to work with raw digital negatives and achieve their desired results with greater artistic control and flexibility. ACR was originally designed to process raw image files, but it has since expanded to support JPEG and TIFF images as well. ACR is available as a plugin for Adobe Photoshop and is also built into Adobe Lightroom. Users can download and install presets for ACR, which provide specific settings for editing images. The latest version of ACR is 16.5 for macOS, Windows x64, and Windows ARM64, and it is frequently updated to support more cameras and include new features.
| Characteristics | Values |
|---|---|
| What is it? | A powerful image editing plugin for Photoshop |
| What does it do? | Provides fast and easy access to raw image formats produced by leading professional digital cameras |
| Who is it for? | Professional photographers |
| What are the benefits? | More artistic control and flexibility while maintaining the original files |
| What file formats does it support? | Raw, JPEG, TIFF, DNG |
| What software is it available with? | Adobe Photoshop, Adobe Lightroom |
| What is the latest version? | Adobe Camera Raw 16.5 |
What You'll Learn
![]()
Adobe Camera Raw (ACR) presets on Windows
Adobe Camera Raw (ACR) presets are a game-changer for photographers, offering a streamlined photo editing process and consistent results. ACR presets are pre-configured settings that allow you to adjust various aspects of your photos, such as exposure, colour balance, and sharpness, with just a few clicks. This is how you can install and use them on a Windows PC.
Installing ACR Presets on a PC using Photoshop
Firstly, launch Adobe Photoshop on your PC. Then, open any RAW file in Photoshop, which will automatically launch the Camera RAW interface. Now, click on the 'Presets' icon on the right-hand side of the Camera RAW window. In the Presets panel, click on the three-dot menu at the top and select 'Import Profiles & Presets'. Find where your presets are saved, select the .xmp files you want to import, and click 'Open'. The presets should now be visible in the Presets panel within Adobe Camera RAW.
Installing Presets Manually on a PC
To install presets manually, you need to locate the ACR Presets Folder on your PC. This is usually found at 'C:\Users\[Username]\AppData\Roaming\Adobe\CameraRaw\Settings'. Once you've located the folder, copy the .xmp files of your presets into it. Finally, close and reopen Photoshop to refresh the list of presets in Adobe Camera RAW.
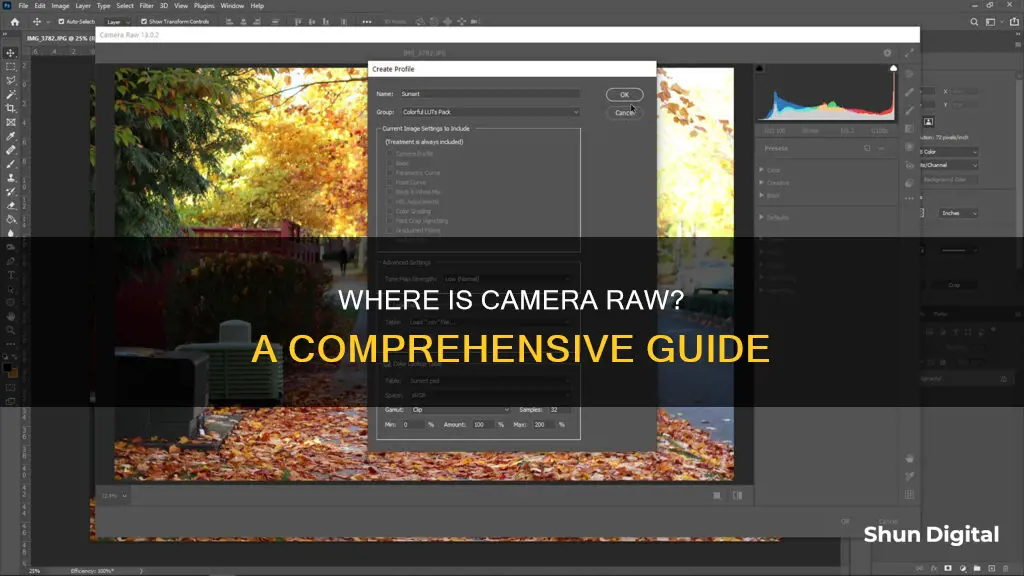
Installing Lightroom Presets Directly in ACR
Firstly, download your new Pretty Presets zip file. Then, open a photo in Photoshop. In the menus at the top, choose Filter > Camera Raw Filter. Next, click on the presets icon on the right of Camera Raw (two interlocking circles). Then, click on the three dots at the top of the Presets Panel and select "Import Profiles and Presets". Find the ZIPPED preset file you downloaded, highlight it, and click "Import".
Tips for Managing ACR Presets
- Keep your presets well-organized by naming them clearly and categorizing them into folders.
- Regularly back up your presets to avoid losing them during software updates or system crashes.
- Experiment with adjustments: don't be afraid to tweak the settings of a preset to perfect the look for your image.
Coolpix Cameras: CMOS Battery Power Source?
You may want to see also
![]()
ACR presets on Mac
Adobe Camera Raw (ACR) is a powerful tool for photographers and digital artists, allowing them to enhance their photos efficiently. ACR presets are pre-configured settings that can adjust various aspects of your photos, such as exposure, colour balance, and sharpness. Installing and using these presets on your Mac can streamline your photo editing process, making it faster and more consistent, especially when working with multiple images.
To install ACR presets on your Mac, you must first download and unzip the presets. You can then follow one of two methods: installing presets via the application or manually installing presets.
Installing Presets via The Application:
- Open Adobe Bridge on your Mac.
- Navigate to Camera RAW Preferences by clicking on 'Adobe Bridge' and then 'Camera Raw Preferences'.
- Access the Presets Tab by selecting the 'Presets' tab in the dialog box.
- Load Presets by clicking on the 'Load Settings' button, locating your preset files, selecting them, and clicking 'Open'.
- Verify Installation by checking the Presets panel in Adobe Camera RAW to see your new presets.
Manually Installing Presets:
- Locate the ACR Presets Folder: Open Finder and go to '/ Users / [Username] / Library / Application Support / Adobe / CameraRaw / Settings'. If the Library menu is hidden, hold the Option key while selecting "Go" in the Finder.
- Copy Preset Files: Drag and drop your .xmp preset files into the 'Settings' folder. Make sure you only copy the .xmp files, as folders are not supported in Camera Raw.
- Restart Adobe Bridge: Quit and reopen Adobe Bridge to update the presets available in Camera RAW.
Once you have installed the presets, you can open Photoshop and load an image. In the top menu, go to Filter > Camera RAW Filter to open the ACR window. Select the Presets icon in the right sidebar, and you will be able to apply the desired preset to your image.
Benz-Gant Camera: Battery-Operated or Not?
You may want to see also
![]()
How to open images into Camera Raw
Adobe Camera Raw is a file format that contains information about how a photo was taken, including exposure, white balance, and other settings. It is a powerful image-editing plugin that can be used to open and edit raw image files, JPEGs, and TIFFs.
How to Open Images in Camera Raw
Using Adobe Bridge
The best way to open images into Camera Raw is by using Adobe Bridge. To open Adobe Bridge from within Photoshop, go to the File menu in Photoshop and choose "Browse in Bridge". In Adobe Bridge, navigate to the folder that holds your images. Then, follow these steps depending on your file type:
- Raw Files: Double-click on the raw file's thumbnail in Bridge.
- JPEG Files: Click on the JPEG file's thumbnail to select it, then go to the File menu and choose "Open in Camera Raw". Alternatively, you can right-click on the JPEG file's thumbnail and choose "Open in Camera Raw" from the menu.
- TIFF Files: Click on the TIFF file's thumbnail to select it, then go to the File menu and choose "Open in Camera Raw". Alternatively, you can right-click on the TIFF file's thumbnail and choose "Open in Camera Raw" from the menu.
Using Photoshop
If you want to open an image in Camera Raw without using Adobe Bridge, you can do so directly from Photoshop. Here's how:
- In Photoshop, select "File | Open" from the Photoshop menu. This will display the Open File dialog.
- Select the file you want to open and click the "Open" button. If the file is a RAW file, it will open in Camera Raw. If not, continue to the next step.
- With the image open in Photoshop, click the Filter menu and select "Camera Raw Filter..." near the top of the menu. This will open the image in Adobe Camera Raw.
You can also use keyboard shortcuts to open images in Camera Raw:
- On a Mac, press Shift + Cmd + A.
- On a PC, press Shift + Ctrl + A.
Uncover Camera Raw's Masking Magic
You may want to see also
![]()
Camera Raw plug-in installer
The Camera Raw plug-in installer is a free tool that allows users to import, edit, and enhance RAW camera image files in Adobe Photoshop. RAW image files contain unprocessed data from a camera's image sensor, offering greater flexibility and control in editing than JPEGs. The Camera Raw plug-in is compatible with a wide range of camera models and lens types, including Canon, Nikon, Sony, and more.
To install the Camera Raw plug-in, follow these steps:
- Ensure you have the latest version of Adobe Photoshop installed.
- Visit Adobe.com or access the download via your Creative Cloud desktop app.
- Download the appropriate file for your operating system (Windows or macOS).
- Quit all Adobe applications.
- Unzip the downloaded file. On Windows, double-click the .zip file, while on macOS, click the .dmg file.
- Double-click the resulting file (.exe for Windows or .pkg for macOS) to start the installer.
- Follow the onscreen instructions to complete the installation.
- Restart your Adobe applications.
Once installed, you can access the Camera Raw plug-in by opening a RAW image file in Photoshop. This will automatically launch the Camera Raw plug-in, allowing you to adjust image settings, apply filters and effects, and perform batch processing on multiple RAW images.
The Camera Raw plug-in is a valuable tool for photographers and photography enthusiasts, providing enhanced control and flexibility when editing their images.
Best Cameras for RAW Photography Enthusiasts
You may want to see also
![]()
Camera Raw converter functionality in Adobe Photoshop
The Camera Raw converter functionality in Adobe Photoshop is a powerful tool for professional photographers. It allows users to work with raw "digital negative" image formats from leading professional digital cameras. This provides greater artistic control and flexibility while maintaining the original files.
The Camera Raw plug-in has been frequently updated to support more camera models and include more features. It is available as part of Adobe Photoshop and can be used to open and edit raw image files. When you shoot in raw format with your camera, you have greater control over the processing of your images compared to shooting in JPEG or TIFF formats, as the raw format does not lock you into the in-camera processing.
Adobe's Camera Raw software is included as a plug-in with Adobe Photoshop, Adobe After Effects, and Adobe Bridge. It enables these applications to import and work with raw image files. In addition to raw files, Camera Raw also supports the editing of JPEG and TIFF files.
The Camera Raw converter offers a range of adjustments and corrections, including white balance, exposure, highlights, shadows, sharpening, noise reduction, lens corrections, and retouching. You can also perform straightening and cropping without altering the original camera raw data, as the adjustments are stored separately.
The Camera Raw plug-in also supports the Digital Negative (DNG) format, a publicly available archival format for raw files. DNG is supported by hundreds of software manufacturers, including Apple and Google, and respected camera manufacturers like Leica and Casio. Adobe provides the free Adobe DNG Converter to easily convert camera-specific raw files to the more universal DNG format, which can be useful for long-term archival and sharing across complex workflows.
Mastering the Art of Scaling Down in Camera Raw
You may want to see also
Frequently asked questions
Camera Raw is a powerful image editing plugin for Photoshop that was originally designed to process raw image files captured using a camera's raw image file format.
Camera Raw provides greater artistic control and flexibility when editing images, as well as the ability to restore the original, unedited version of an image at any time.
The best way to open images in Camera Raw is by using Adobe Bridge. Simply navigate to the folder containing your images, select the desired image, and choose "Open in Camera Raw" from the File menu or right-click menu.
Yes, you can install and use Camera Raw presets on both Windows and Mac computers. After downloading and unzipping the presets, copy the desired preset folder(s) containing the XMP file(s) into the "Settings" folder located in the Adobe Camera Raw directory.
To install the Camera Raw plugin, download the appropriate file for your operating system and Adobe application version. Quit all Adobe applications, unzip the downloaded file, and double-click the resulting file to start the installer. Follow the onscreen instructions and restart your Adobe applications.