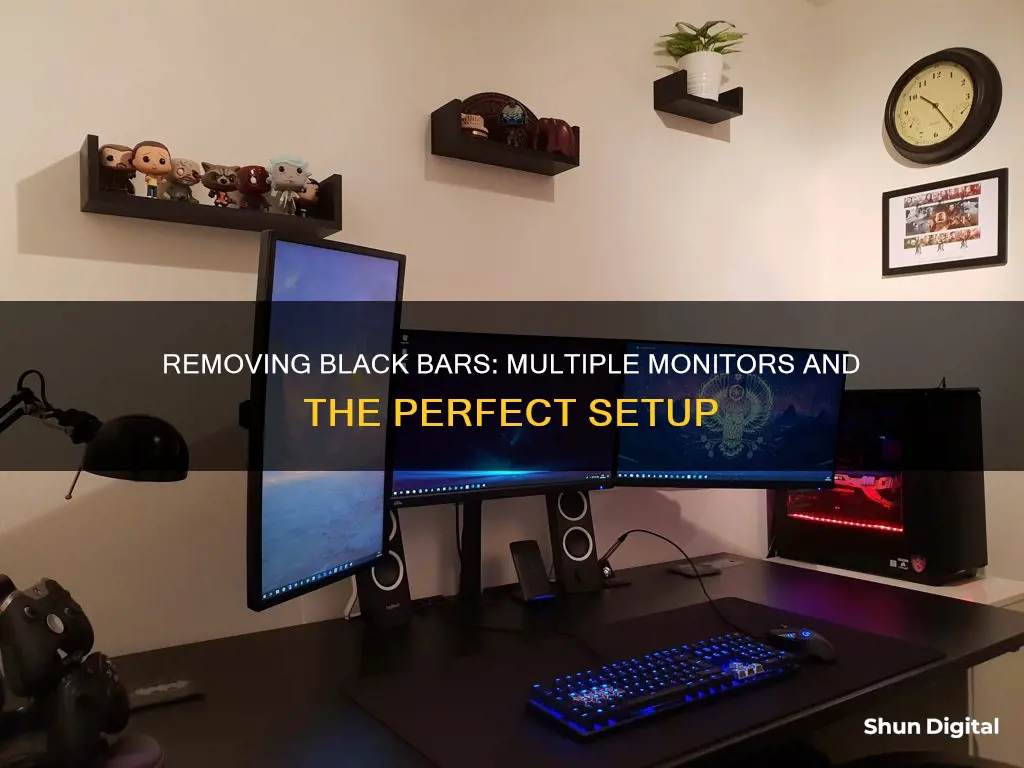
Black bars on the sides, top, or bottom of a display are often due to a mismatch in resolution. This can be caused by incorrect drivers or settings, or by media set to be viewed at a specific aspect ratio. For example, most movies are filmed with a 21:9 aspect ratio, but most widescreen monitors are 16:9, resulting in black bars at the top and bottom of the screen. To remove these black bars, you can adjust the display settings to the recommended screen resolution, update or roll back display drivers, or perform a clean boot to isolate any problematic apps. Additionally, calibrating your monitor, stretching your wallpaper, or adjusting scaling options may also help remove black bars.
| Characteristics | Values |
|---|---|
| Cause of black bars | Mismatch in resolution, incorrect drivers or settings, media set to be viewed at a specific aspect ratio |
| Monitor type | LCD (Liquid-Crystal Display), LED (Light-Emitting Diode), OLED (Organic Light-Emitting Diode) |
| Aspect ratio of most widescreen monitors | 16:9 |
| Aspect ratio of most movies | 21:9 |
| Resolution | Change resolution to the recommended setting for your monitor |
| Scaling | Change scaling options/overscan settings |
| Wallpaper | Stretch your wallpaper to fit the screen |
| Display adapter | Update display adapter drivers |
| Display drivers | Roll back to the previous version if the issue started after an update |
| Clean boot | Perform a clean boot to isolate any recently-installed apps that may be causing the issue |
| Monitor settings | Reset monitor to factory settings |
What You'll Learn

Use the recommended display resolution
When using multiple monitors, it is important to set the correct display resolution to ensure optimal viewing and functionality. Here are some detailed instructions on how to use the recommended display resolution for each monitor in a multi-monitor setup:
Identifying Your Monitors
Before adjusting any settings, it is crucial to identify your monitors and understand how they are arranged on your desktop.
For Windows users, right-click on your desktop and select "Display Settings". In the "Display" tab, click the Identify link at the bottom of the detected displays. This will help you identify each monitor and how they are positioned relative to each other.
For Mac users, go to "System Settings" and choose the "Displays" option from the sidebar to view a pop-up menu. Here, you can also identify your displays and how they are arranged.
Adjusting Display Resolution
Once you have identified your monitors, it's time to adjust the resolution.
For Windows users, in the "Display Settings", scroll down to the Advanced Display Settings screen. Here, you will be able to select each monitor individually and adjust its settings. Click on the monitor you want to adjust, then scroll down to "Display Resolution" and select the recommended (or higher) resolution from the dropdown box.
For Mac users, in the "Displays" menu, you can adjust the display resolution by clicking on the Advanced button in the bottom right corner of the pop-up window. This will give you access to more granular controls over the size of items on your screen.
Keeping Changes
After adjusting the resolution for each monitor, make sure to save your changes.
For Windows users, click the Keep Changes button, followed by the "X" in the top right corner to close the page.
For Mac users, click on the Done button after making the necessary adjustments.
Additional Tips
- Line Up the Displays: Ensure your monitors are physically aligned by adjusting each monitor's stand so they line up perfectly. This will provide a seamless visual experience when moving between screens.
- Match Your Monitors: If you have monitors with different resolutions, try to match their settings as closely as possible. Adjust the resolution and scaling of each monitor so that windows appear the same size on each screen. You can also tweak the brightness and color settings to achieve a consistent look.
- Taskbar Customization: By default, Windows will extend your taskbar to all monitors. You can customize this by right-clicking on the taskbar and choosing "Taskbar Settings". Here, you can choose to disable the taskbar on secondary monitors or decide where individual icons and app buttons appear.
- Laptop Settings: If you are using a laptop with external monitors, you can run your laptop with the lid closed. In Windows, search for "lid" in the Start menu and change the power options so that closing the lid does nothing when plugged in. For Macs, set the "Low Power Mode" option to "Never" in "System Settings" > "Battery".
Monitoring Home Wi-Fi Data Usage: Tips for Beginners
You may want to see also

Update display drivers
Black bars on the sides of a monitor are often the result of a mismatch in resolution. This can occur due to incorrect drivers, settings, or media being set to be viewed at a specific aspect ratio. To resolve this, ensure that you have the latest video drivers installed and verify that the operating system's settings match the native resolution of your display.
It is recommended to update your display drivers regularly to ensure optimal performance and visual quality. Outdated drivers can cause sluggish performance, glitches, and even security risks.
Use Windows Device Manager
Windows Device Manager is a built-in tool that allows you to update your display drivers manually. Here's how to do it:
- Create a system recovery point: Right-click on "Computer" on your desktop, select "Properties", click on "System Protection", and follow the instructions to create a backup of your current drivers.
- Open Device Manager: Open the Windows Start menu and search for "Device Manager".
- Locate your display adapter: Click on "Display adapters" to view the installed adapters.
- Update the driver: Right-click on your display adapter (e.g., Intel HD Graphics, NVIDIA, or AMD), and select "Update Driver".
- Search for updates: Choose "Search automatically for updated driver software". If Windows finds a newer version, it will install the update.
- Use Windows Update
Windows Update is another built-in tool that can be used to update display drivers. This method provides fine-tuned and stable drivers that are certified by the Windows Hardware Quality Labs (WHQL). Here's how:
- Open Windows Settings: Open the Start menu and click on "Settings".
- Check for updates: Select "Windows Update" and click on "Check for updates".
- Install updates: All available Windows updates, including display drivers, will be installed automatically.
- Download from the GPU Manufacturer's Website
If you know the make and model of your graphics card, you can usually download the latest display drivers directly from the manufacturer's website. Here's how to do it for Nvidia and AMD, two of the most popular brands:
Nvidia:
- Go to the Nvidia homepage and click on "Drivers" in the top-right menu.
- Select the relevant specifications from the dropdown lists and click "Search" to find the latest driver updates for your GPU.
- Check compatibility and download: Ensure that the recommended download is compatible with your hardware and operating system, then click "Download".
- Run the setup wizard: Once the download is complete, click on the downloaded file to launch the setup wizard and follow the installation instructions.
AMD:
- Go to the AMD homepage and select "Downloads & Support" from the top menu.
- Click on "Drivers" under the "Radeon Graphics & AMD Chipsets" heading.
- Select your GPU model: Choose your specific GPU model from the product list and click "Submit".
- Download the compatible driver: Select your operating system from the list to find the compatible driver version, then click "Download".
- Run the AMD graphics card driver update: After the download completes, click on the downloaded file to launch the update and follow the installation instructions.
- Use a Specialized Tool
There are specialized tools available that can automatically scan your system, detect outdated or malfunctioning drivers, and install the latest drivers for you. Examples of such tools include Avast Driver Updater and AVG Driver Updater. These tools offer free trials and are compatible with Windows 11, 10, 8, and 7, as well as various GPU brands.
By following these steps, you can ensure that your display drivers are up to date, which can improve performance, fix bugs, unlock new features, and enhance your overall computing experience.
Cleaning an LCD Monitor: Tips and Tricks
You may want to see also

Rollback display drivers
If you are experiencing issues with your display, such as black bars on the sides of your monitor, there are several troubleshooting steps you can take. Firstly, ensure that you have the latest video drivers installed on your device. This is important because outdated or incorrect drivers can cause display issues.
If you are using a Windows operating system, you can roll back your display drivers by following these steps:
- Open the Device Manager. This can be done by simultaneously pressing the Windows + X keys on your keyboard and selecting Device Manager from the menu.
- Expand the "Display Adapters" section by clicking on it.
- Double-click on your display device. This will open the properties window for your display adapter.
- Select the "Driver" tab.
- Click on the "Roll Back Driver" button. This will restore the previous version of the driver.
- If the "Roll Back Driver" option is greyed out, it means that your computer has not had a previous driver installed for that device or it did not retain the driver files from the original version installed. In this case, you will need to install the previous version of the driver manually by downloading it from the manufacturer's website or from the Windows Download Center.
- After rolling back the driver, restart your computer for the changes to take effect.
It is important to note that the Roll Back Driver feature is only available for hardware devices managed within Device Manager and it only allows you to roll back a driver once. Windows only keeps a copy of the last driver installed and does not store an archive of all previous versions.
If rolling back the display driver does not resolve the black bars issue, there are a few other potential solutions:
- Adjust your display settings: Ensure that the resolution and aspect ratio settings on your computer match the native resolution and aspect ratio of your display. You can usually find the recommended resolution and aspect ratio for your display in the user manual or by searching for your display model online.
- Update your display driver: In some cases, updating to the latest version of the display driver can fix display issues. You can do this by opening the Device Manager, right-clicking on your display adapter, and selecting "Update Driver". Then, follow the prompts to install the latest driver.
- Adjust your monitor settings: If you are using an external monitor, you can adjust the settings using the On-Screen Display (OSD) menu. This can usually be accessed by pressing a button on the front, bottom, or side of the monitor. Check for any settings that allow you to stretch or zoom the display to remove the black bars. If no adjustments can be made, try resetting the display to the factory default settings.
Monitoring Data Usage: Netgear Routers and Devices
You may want to see also

Perform a clean boot
To perform a clean boot, you must first sign in to your monitor as an administrator. Then, type "MSConfig" in the Start Search box to access the System Configuration utility. From the General tab, select "Selective startup".
Next, you will need to remove the checkmark from the "Load Startup Items" option and check the "Load System Services" and "Use Original Boot Configuration" options. Following this, navigate to the Services tab and select the "Hide All Microsoft Services" checkbox. Finally, click "Disable all" and then "Apply/OK". This will restart your computer in a Clean Boot State.
To exit the Clean Boot State and restore Windows to its default startup configuration, simply reverse the changes you made.
Performing a clean boot can be helpful in diagnosing whether a recently installed program is causing issues with your monitor setup.
Removing Grid Lines from Your Monitor: A Simple Guide
You may want to see also

Reset Windows
Resetting your Windows PC can be a useful way to improve your device's performance, security, and browsing experience. Here are four to six paragraphs with detailed instructions on how to reset Windows, depending on your specific version of Windows and the issues you are facing.
If you're using Windows 11 or Windows 10, go to Start > Settings > System > Recovery. Next to "Reset this PC," select "Reset PC." Then, you'll be given several options to choose from:
- Keep my files: This option reinstalls Windows but keeps your personal files, removes apps you installed, and restores any apps that came with your PC.
- Keep my files with cloud download: This option reinstalls Windows, keeps your personal files, and uses cloud download to restore apps that came with your PC.
- Remove everything: This option reinstalls Windows, removes your personal files, apps, and any changes you made to settings. It also gives you the choice to either quickly remove files or fully clean the drive, which takes longer but is more secure.
If you're using a version of Windows 10 before 2004, the reset feature was called "Fresh Start." To use it, go to Start > Settings > Update & Security > Windows Defender > Device Performance & Health. Under "Fresh Start," select "Additional info > Get Started." This option will remove most of your apps, including Microsoft Office, third-party antivirus software, and pre-installed desktop apps. You will need to manually reinstall these apps afterward.
For Windows 8.1 or Windows RT 8.1, you can reset your PC by going to Settings > Update & Security > Recovery > Reset this PC > Get Started. From there, you'll be given the same options as Windows 10 and 11: "Keep my files," "Remove everything," and the choice to either quickly remove files or fully clean the drive.
If you're using Windows 8, the process is similar to Windows 8.1. Go to Settings > Update & Security > Recovery > Reset this PC > Get Started. However, please note that if your PC has a Windows 8 recovery partition, resetting it will restore Windows 8. You'll need to upgrade to Windows 8.1 after the reset is finished.
For Windows 7, the process is a bit different. You can reset your PC by going to Settings > Update & Security > Recovery. Under "Remove everything and reinstall Windows," tap or select "Get started." This will remove all your personal files, settings, and apps. Only the apps that came with your PC will be reinstalled.
Important Considerations:
Before performing a reset, it's important to back up your important data and files to an external hard drive or cloud storage. Additionally, resetting your PC may result in the removal of digital licenses and digital content associated with certain apps, which could impact your ability to use those apps or access paid content. Always ensure that you have your BitLocker recovery key handy if you've encrypted your device, as you'll need it during the reset process.
Enhancing Bass on Your ASUS Monitor Speakers
You may want to see also
Frequently asked questions
Black bars on the sides, top and bottom, or all around a display's image are often a mismatch in resolution. This can be caused by incorrect drivers or settings, or the media may be set to be viewed using a specific aspect ratio.
First, check your display resolution. If it is higher than what your monitor can handle, change your resolution settings to the recommended setting.
You can try updating your display drivers. If this doesn't work, you can roll back to the previous version of the display drivers.
You can try performing a clean boot. This will allow you to isolate any recently-installed apps that may be causing the issue.
You may need to reset your monitor to its factory settings.


