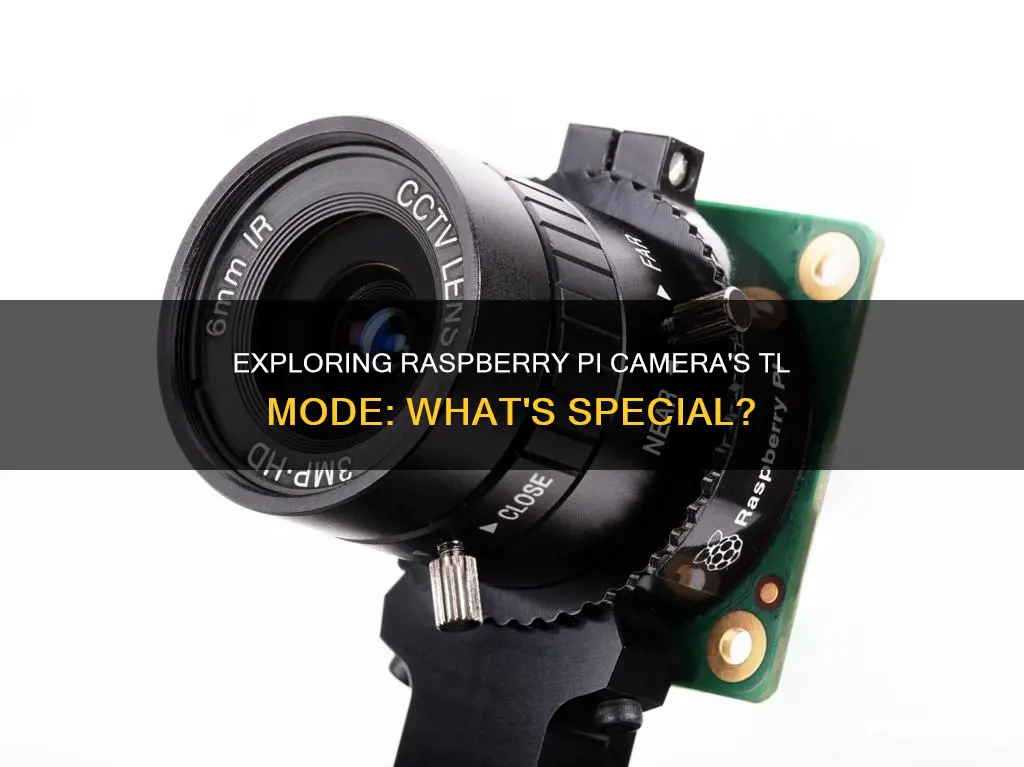
The Raspberry Pi Camera Module is a small, 5-megapixel camera board that can be used for taking photos and high-definition 1080p video. It connects to the Raspberry Pi's Camera Serial Interface (CSI) connector with a ribbon cable. The latest version of the camera is the 12-megapixel Camera Module 3, which was released in 2023. The camera has a rolling shutter, meaning it scans the image it's capturing line-by-line. This can cause distortion effects in some settings, such as when photographing rotating propeller blades. To avoid this, the Global Shutter Camera Module can be used, which captures light from every pixel in the scene at once.
| Characteristics | Values |
|---|---|
| Camera Module | 5-megapixel, 8-megapixel, 12-megapixel, 12-megapixel High Quality, Global Shutter |
| Resolution | 2592 x 1944 pixels |
| Video Resolution | 1920 x 1080p, 1280 x 720p, 640 x 480p |
| Frames Per Second | 30fps |
| Size | 25mm by 20mm |
| Connection | Raspberry Pi's Camera Serial Interface (CSI) |
| Infra-Red Filter | Yes |
| Utilities | Raspistill, Raspivid, Raspiyuv |
| Night Setting | Yes |
| Image Formats | jpeg, bmp, gif, png |
| Preview | Yes |
| Image Effects | negative, solarise, sketch, denoise, emboss, oilpaint, hatch, gpen, pastel, watercolour, film, blur, saturation, colourswap, washedout, posterise, colourpoint, colourbalance, cartoon |
| Exposure Modes | auto, night, nightpreview, backlight, spotlight, sports, snow, beach, verylong, fixedfps, antishake, fireworks |
| AWB Modes | off, auto, sun, cloud, shade, tungsten, fluorescent, incandescent, flash, horizon |
What You'll Learn
- Raspberry Pi Camera Modules: The original 5-megapixel model was released in 2013, followed by an 8-megapixel Camera Module 2 in 2016, and the latest 12-megapixel Camera Module 3 in 2023
- Camera Features: The Raspberry Pi camera offers various features such as different modes (auto exposure, long exposure, sport, snow, etc.), adjustable brightness, sharpness, contrast, saturation, and exposure settings, and both still image and video capture capabilities
- Software Control: The Raspberry Pi camera can be controlled programmatically and via specific software, such as Raspistill, Raspivid, and Raspiyuv, or through Python using the Picamera library
- Hardware Requirements: The Raspberry Pi camera connects to the Raspberry Pi's Camera Serial Interface (CSI) and requires the latest version of the Raspbian operating system to function
- Use Cases: The Raspberry Pi camera has been used for various projects, including wildlife conservation, astronomy, and high-altitude balloon photography
![]()
Raspberry Pi Camera Modules: The original 5-megapixel model was released in 2013, followed by an 8-megapixel Camera Module 2 in 2016, and the latest 12-megapixel Camera Module 3 in 2023
The Raspberry Pi Camera Modules are compatible with all Raspberry Pi computers with CSI connectors, except for the Raspberry Pi 400 and the 2016 launch version of the Zero. The original 5-megapixel model was released in 2013, followed by the 8-megapixel Camera Module 2 in 2016, and the latest 12-megapixel Camera Module 3 in 2023. The original 5MP model is no longer available from Raspberry Pi.
The Camera Module 2 features a Sony IMX219 8-megapixel sensor, a resolution upgrade from the 5-megapixel OmniVision OV5647 sensor of the original camera. It supports 1080p30, 720p60 and VGA90 video modes, as well as still capture. The Camera Module 2 can be accessed through the MMAL and V4L APIs, and there are numerous third-party libraries built for it, including the Picamera Python library.
The Camera Module 3 features an improved 12MP IMX708 Quad Bayer sensor and a High Dynamic Range mode, making it the highest-quality Camera Module so far. It also features ultra-fast autofocus as standard and a rich library of software commands that allow for total control over what you focus on and how you do it. The Camera Module 3 can record full HD video at 50fps, with higher frame rates available at lower resolutions. It has a diagonal field of view of 75 degrees (120 degrees for the wide-angle version) and a resolution of 4608 x 2592 pixels.
Focus Camera: Tax-Free Shopping?
You may want to see also
![]()
Camera Features: The Raspberry Pi camera offers various features such as different modes (auto exposure, long exposure, sport, snow, etc.), adjustable brightness, sharpness, contrast, saturation, and exposure settings, and both still image and video capture capabilities
The Raspberry Pi camera offers a range of features and settings for users to capture images and videos. The camera has both automatic and manual controls, allowing for customisation to suit different needs and environments.
The camera has various modes that users can select depending on the shooting conditions. These include auto exposure, long exposure, sport, and snow modes. These modes adjust settings such as shutter speed, ISO, and aperture to optimise the camera for the specific scenario. For example, the sport mode is designed to capture fast-moving objects with minimal blur, while the snow mode adjusts the camera to perform well in bright, snowy environments.
In addition to these preset modes, the camera also offers manual controls for brightness, sharpness, contrast, saturation, and exposure. Users can adjust these settings to fine-tune the image or video to their liking. The brightness setting allows users to make the image darker or lighter, while the sharpness setting enhances the edges within the frame to make the image appear sharper. The contrast setting adjusts the difference between light and dark areas, making the image appear more or less stark. The saturation setting controls the intensity of colours in the image, and the exposure setting determines how much light the camera sensor is exposed to, affecting how light or dark the final image appears.
The Raspberry Pi camera is also capable of capturing both still images and videos. This versatility allows users to choose the best format for their needs, whether they require a single image or a continuous recording.
The camera's features and settings provide users with a range of options to capture the desired content. With its various modes, adjustable settings, and ability to capture both images and videos, the Raspberry Pi camera offers a flexible tool for users to work with.
Tasco Trail Camera: Loading Batteries for Optimum Performance
You may want to see also
![]()
Software Control: The Raspberry Pi camera can be controlled programmatically and via specific software, such as Raspistill, Raspivid, and Raspiyuv, or through Python using the Picamera library
The Raspberry Pi camera can be controlled programmatically and via specific software, such as Raspistill, Raspivid, and Raspiyuv, or through Python using the Picamera library.
Raspistill, Raspivid, and Raspiyuv are command-line applications provided by Raspberry Pi for capturing images and videos. They are written to take advantage of the MMAL API, which runs over OpenMAX and provides an easier-to-use system than OpenMAX alone. These applications use up to four OpenMAX (MMAL) components: camera, preview, encoder, and null_sink. While all applications use the camera component, each has a specific use for the remaining components. For example, Raspistill uses the Image Encode component, while Raspivid uses the Video Encode component. The preview display is optional but can be used full-screen or directed to a specific rectangular area on the display.
Raspistill and Raspiyuv are very similar and are intended for capturing images, while Raspivid and Raspvidyuv are for capturing video.
The Picamera library provides a pure Python interface to the Raspberry Pi camera module for Python 2.7 (or above) or Python 3.2 (or above). The source code can be obtained from GitHub, which also hosts the bug tracker. The documentation, which includes installation, quick-start examples, and code recipes, can be read on ReadTheDocs. Packages can be downloaded from PyPI, but reading the installation instructions is recommended.
Charging Your Polaroid Z2300: A Quick Guide
You may want to see also
![]()
Hardware Requirements: The Raspberry Pi camera connects to the Raspberry Pi's Camera Serial Interface (CSI) and requires the latest version of the Raspbian operating system to function
The Raspberry Pi camera connects to the Raspberry Pi's Camera Serial Interface (CSI) and requires the latest version of the Raspbian operating system to function. The camera module is compatible with all Raspberry Pi computers with CSI connectors, which includes all models except the Raspberry Pi 400 and the 2016 launch version of the Raspberry Pi Zero.
The Raspberry Pi camera comes in several models, with the latest being the 12-megapixel Camera Module 3, released in 2023. This camera is built around the IMX708 and has a 6.3mm diagonal active sensing area. The camera module is available in both visible light and infrared versions, with the latter being known as the NoIR model. The NoIR model has the IR filter removed, increasing the camera's sensitivity to infrared light.
The Raspberry Pi Camera Module 3 is thicker than previous versions, measuring 11.5mm for the standard model and 12.4mm for the wide-angle model. This may cause issues with existing cases and mounts. The camera module also lacks a mechanism to lock the camera in place, which can make positioning the lens challenging.
To use the Raspberry Pi camera, you need to ensure your kernel, GPU firmware, and applications are up to date. You will also need to follow the setup instructions for the libcamera software stack and the Picamera2 Python library.
In terms of power requirements, the Raspberry Pi camera requires a reliable power source. When using a Raspberry Pi 4, for example, you may need to use the official Raspberry Pi USB charger or another power source that provides at least 3 amps and 5 volts to avoid screen blanking when taking images.
Charging BP-511A Camera Batteries: Picking the Right Charger
You may want to see also
![]()
Use Cases: The Raspberry Pi camera has been used for various projects, including wildlife conservation, astronomy, and high-altitude balloon photography
The Raspberry Pi camera has been used for a variety of projects, including wildlife conservation, astronomy, and high-altitude balloon photography.
For wildlife conservation, the Raspberry Pi camera can be used to create motion-activated wildlife cameras that are remote and affordable. The small size of the Raspberry Pi, along with its built-in Wi-Fi and Bluetooth capabilities, makes it ideal for creating compact and portable wildlife camera setups. The camera can be triggered to capture still images or videos when motion is detected, making it a useful tool for monitoring and studying wildlife without disturbing them.
In the field of astronomy, the Raspberry Pi High-Quality (HQ) Camera has gained popularity for astrophotography. The camera can be easily mounted on a telescope using a C-mount adapter, and its compatibility with different lenses makes it versatile for capturing images of celestial objects. The Raspberry Pi's portability and low cost make it an attractive option for astrophotography enthusiasts.
Raspberry Pi cameras have also been used in high-altitude balloon photography projects. The lightweight and compact nature of the Raspberry Pi, coupled with its camera module, makes it suitable for capturing images from great heights. David Akerman, a high-altitude ballooning enthusiast, has successfully used the Raspberry Pi camera and computer setup to capture photographs from weather balloons, providing unique perspectives of the Earth and atmosphere.
Additionally, the Raspberry Pi camera has been utilised in various other projects, such as creating wildlife cameras with Python, OpenCV, and TensorFlow for monitoring gardens or building simple camera traps using food containers. The versatility, affordability, and ease of use of the Raspberry Pi camera continue to fuel creativity and innovation in a wide range of applications.
Editing in Camera Raw: A Pre-Lightroom Must-Do?
You may want to see also
Frequently asked questions
The Raspberry Pi Camera Module is a 5-megapixel add-on board that can be used for taking photos and high-definition 1080p video. The latest version of the Camera Module, the Camera Module 3, was released in 2023 and comes in four different variants. The Raspberry Pi High Quality Camera, on the other hand, is a 12-megapixel camera that was released in 2020 and comes in CS- or M12-mount variants for use with external lenses.
The Raspberry Pi Camera Module uses a rolling shutter, which means it scans the image it is capturing line-by-line. The Raspberry Pi Global Shutter Camera, on the other hand, captures the light from every pixel in the scene at once, which can reduce distortion when capturing fast-moving objects or stereo images. The Global Shutter Camera also has a larger pixel size and can collect more light, making it useful for machine-vision applications.
First, make sure your system is up to date by running the commands "sudo apt-get update" and "sudo apt-get upgrade". Then, select "Interfacing Options" and "Camera" in the Raspberry Pi configuration menu and reboot. You may also need to enable the camera with the command "sudo raspi-config".