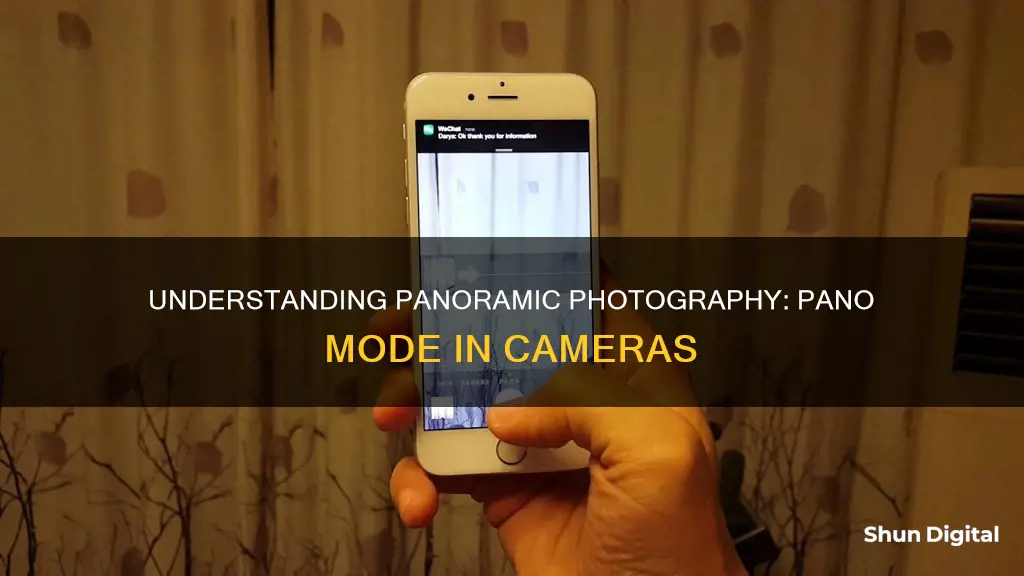
Panoramic photos are images that capture a wide and unbroken view of a scene, giving the viewer a wide-angle field of view and a more realistic perspective of the place. Pano mode, or panorama mode, is a setting on many modern smartphone cameras that allows you to capture panoramic photos by combining or stitching multiple images into one elongated photo. This mode helps you carefully align each shot with the previous one and maintain the exposure so that the final panoramic image has an even exposure.
| Characteristics | Values |
|---|---|
| Purpose | Captures more of a scene by combining images to create a panoramic photo |
| Field of View | Horizontally elongated |
| Aspect Ratio | 2:1 or larger |
| Image Type | Wide strip |
| Image Ratio | Up to 10:1 |
| Image Coverage | Up to 360 degrees |
| Image Stitching | Done by camera or third-party apps |
| Camera Movement | Slow and steady |
| Camera Angle | Vertical or horizontal |
| Camera Direction | Left or right |
| Camera Alignment | Alignment box provided for guidance |
| Camera Focus | On the subject of the panorama |
| Camera Exposure | Locked |
| Camera Lens | "Normal" lens, i.e. between wide-angle and telephoto |
What You'll Learn
![]()
How to use pano mode
Pano mode, or Panorama mode, allows you to capture more of a scene by combining multiple images to create a panoramic photo. This is especially useful when you want to photograph a wide landscape or include a large group of people in a single shot.
- Open your camera app and select Pano mode from the shooting modes.
- Plan your shot by doing a "dry run" without actually taking a photo. Pan your camera across the scene to decide where you want the photo to start and end.
- Set the exposure by pointing your camera at an area of medium brightness in the scene and tapping the screen to lock the exposure.
- Set the panning direction by tapping the arrow to ensure it is pointing in the correct direction.
- Press the shutter button to start shooting.
- Slowly move your device in one direction, keeping the arrow on the line displayed on the screen. Try to maintain a steady, continuous movement.
- When you reach your end position, stop the procedure by either pressing the shutter button again or reversing the panning direction for a short way in the opposite direction.
- View your captured panorama by selecting the preview thumbnail.
Note that you can also take vertical panoramic photos by holding your device in landscape orientation and panning vertically.
Additionally, some devices offer a Motion Panorama feature, which allows you to take videos in the Panorama format.
How to Find Your Camera Raw Version
You may want to see also
![]()
The history of panoramic photography
The earliest panoramic photographs were created by taking two or more images and placing them side by side. An 1851 image of San Francisco illustrates this technique. The original image used 11 plates, but the only version of the photograph still in existence was made using five plates.
In the 1840s, specialised panoramic camera designs were patented and manufactured. The earliest "true" photographic panoramas used a specialised rotating lens camera and a curved daguerreotype plate. An Austrian patent exists from 1843 for such a camera, and there are 11 large panoramic daguerreotype plates of Paris that can be attributed to Frederick Martens' patented panoramic camera of 1845. Another early example of a panoramic camera was the Megaskop, invented by Friedrich von Martens in 1844. His camera used curved plates and added the crucial feature of set gears, offering a relatively steady panning speed.
In 1898, the first mass-produced panoramic camera became available. This was called the Al-Vista. It was followed shortly after by the Kodak #4 Kodak Panoram. This relatively inexpensive camera enabled amateur photographers to try their hand at panoramic landscapes and cityscapes.
In 1904, the Cirkut camera was introduced. This camera was based on the principles that had been established in the 1840s. It became a popular format for commercial photographers and was used to make large group portraits and city scenes. It used large film that ranged from 5” to 16” wide and could be as long as 20 feet! Both the camera and the film rotated and the view could be as wide as 360°.
Today, panoramic photography is still popular, although modern photographers are more likely to use a digital camera or the panoramic mode on their iPhone camera.
Understanding Camera Settings: Raw Buffer Size Explained
You may want to see also
![]()
Tips for taking the perfect pano
Panorama mode, or 'Pano mode', allows you to capture more of a scene by combining images to create a panoramic photo. Here are some tips for taking the perfect pano:
Keep your phone steady and move at a continuous, fluid pace
The trickiest part of taking panoramic photos is keeping your phone steady and moving at the right pace. Incorrect movements can result in jagged, black sections that make the edges of your panorama look torn. The goal is a continuous, fluid movement. If you move too slowly, your photos can overlap in odd ways, and if you move too quickly, you’ll probably veer off course or end up with a blurry photo.
Do a test run
Before you shoot, try doing a test run. Cue up your pano, but don’t press the shutter button, and watch what you’re capturing as you move. This will help you figure out the start and endpoints for your photo, and identify any potential issues, like moving objects, strangers standing next to you, or your finger in the shot.
Use a tripod
A tripod can make all the difference in keeping your phone steady. You can pick one up from online retailers without spending a lot of money.
Shoot in portrait orientation
Shooting in portrait orientation maximises the information in the verticals of your shot. Because you will be stitching together multiple images, you will still get a wide view of your scene, with the sky and foreground intact.
Overlap your shots
Be generous with the amount of overlap from one image to the next. This will give you more leeway in the stitching process and will result in better final images.
Exploring the E-M10 Mark II: Does It Offer RAW Photography?
You may want to see also
![]()
Common panoramic scenes
Panoramic photography is a technique that captures images with horizontally elongated fields of view, often known as wide-format photography. This technique allows photographers to capture more of a particular scene, resulting in a larger-scale image that offers a wide-angle field of view and a more realistic perspective.
- Views of the shore
- Indoor and outdoor architecture
- Cityscapes and skylines
- Mountain ranges and mountaintops
- Busy streets and marketplaces
- Human subjects at social gatherings
These scenes are ideal for panoramic photography as they often feature wide, breathtaking views that cannot be captured in a single frame. By using the panorama mode, photographers can combine multiple images to create a single, seamless panoramic photo that captures the full scope of the scene.
Understanding the Power of Raw Max on Camera
You may want to see also
![]()
Pano mode on different devices
Panorama mode, or Pano mode, allows you to capture a wider view of a scene by combining multiple images to create a panoramic photo. This mode is available on various devices, including smartphones and tablets, and can be accessed through the built-in camera app or third-party applications. Here's a guide to using Pano mode on different devices:
IPhone
To take a panoramic photo with your iPhone, open the Camera app and tap the Shutter button. Then, pan slowly in the direction of the arrow, ensuring that it stays on the centre line. Tap the Shutter button again to finish capturing the panorama. You can also tap the arrow to pan in the opposite direction or rotate your iPhone to landscape orientation for a vertical panorama.
Samsung Devices
On Samsung devices, you can access Pano mode by going to the home screen, choosing Apps, and then selecting Mode or swiping across the screen to choose the panorama mode. Once selected, press the capture button and slowly move the device in one direction. When you're done or have reached the maximum range, your device will stitch the images together to form a panoramic photo.
Google Pixel Phones
Google Pixel phones, such as the Pixel 4a, also support Pano mode. To access it, open the camera app and tap "Mode" on the right side of the bottom menu. Then, select "Panorama" from the pop-up menu. Hold the phone in portrait orientation for a horizontal panorama or landscape orientation for a vertical panorama. Tap the Capture button to begin capturing the images, and press the Stop button when you're finished.
Third-Party Apps
If your device doesn't have a built-in Pano mode, you can download third-party apps that offer this functionality. One popular option is the Open Camera app, which supports both vertical and horizontal panoramas. Another dedicated app for taking panoramas is Panorama 360, which provides a similar experience to the Pixel phones and also includes the ability to discard and retake the last photo.
Numbering Images in Camera Raw: A Beginner's Guide
You may want to see also
Frequently asked questions
Pano mode, or Panorama mode, allows you to capture more of a scene by combining multiple images to create a panoramic photo.
To use Pano mode, you will need to access it from your camera app. Depending on your device, you can do this by choosing "Mode" or swiping across the screen to select panorama mode. Once you have selected Pano mode, press the capture button to start taking your photo. Slowly move your device in one direction, following any alignment boxes or guides on the screen to keep the scene aligned. When you have finished capturing your scene, press the stop button or return to your starting point. Your device will then stitch the images together to form one panoramic photo.
Here are some tips for taking good panoramic photos:
- Use a tripod to stabilize your device and minimize distortions.
- Plan your shot in advance to determine the start and end points, and experiment with different compositions.
- Be patient and take your time when capturing your scene. Move too quickly and your photos may be blurry or out of alignment.
- Overlapping your photos can help prevent lens flaring and distortion and make it easier to stitch the images together.
- Keep your camera level to minimize distortions and capture all parts of your scene from the same vantage point.