Dashboard cameras, or dashcams, are small, in-car cameras that are typically mounted onto the windscreen, recording the view through the front window and sometimes the rear or other windows. Dashcams can be attached to the interior windscreen, rear-view mirror, or dashboard, using a suction cup or adhesive tape. They are powered via the cigarette lighter cable or can be hardwired into the fuse box. Some dashcams also include rechargeable batteries.
| Characteristics | Values |
|---|---|
| Camera Placement | Dashboard, rear-view mirror, or windscreen |
| Camera Type | Front-facing, rear-facing, or dual-camera |
| Mounting Mechanism | Suction cup or adhesive tape |
| Power Source | Cigarette lighter socket, hardwired into electrical system, or internal battery |
| Storage | MicroSD card or internal memory |
| Connectivity | Wi-Fi, Bluetooth, or 4G |
| Resolution | 1080p, 1296p, 1440p, or higher |
| Features | GPS, night vision, parking mode, etc. |
What You'll Learn
![]()
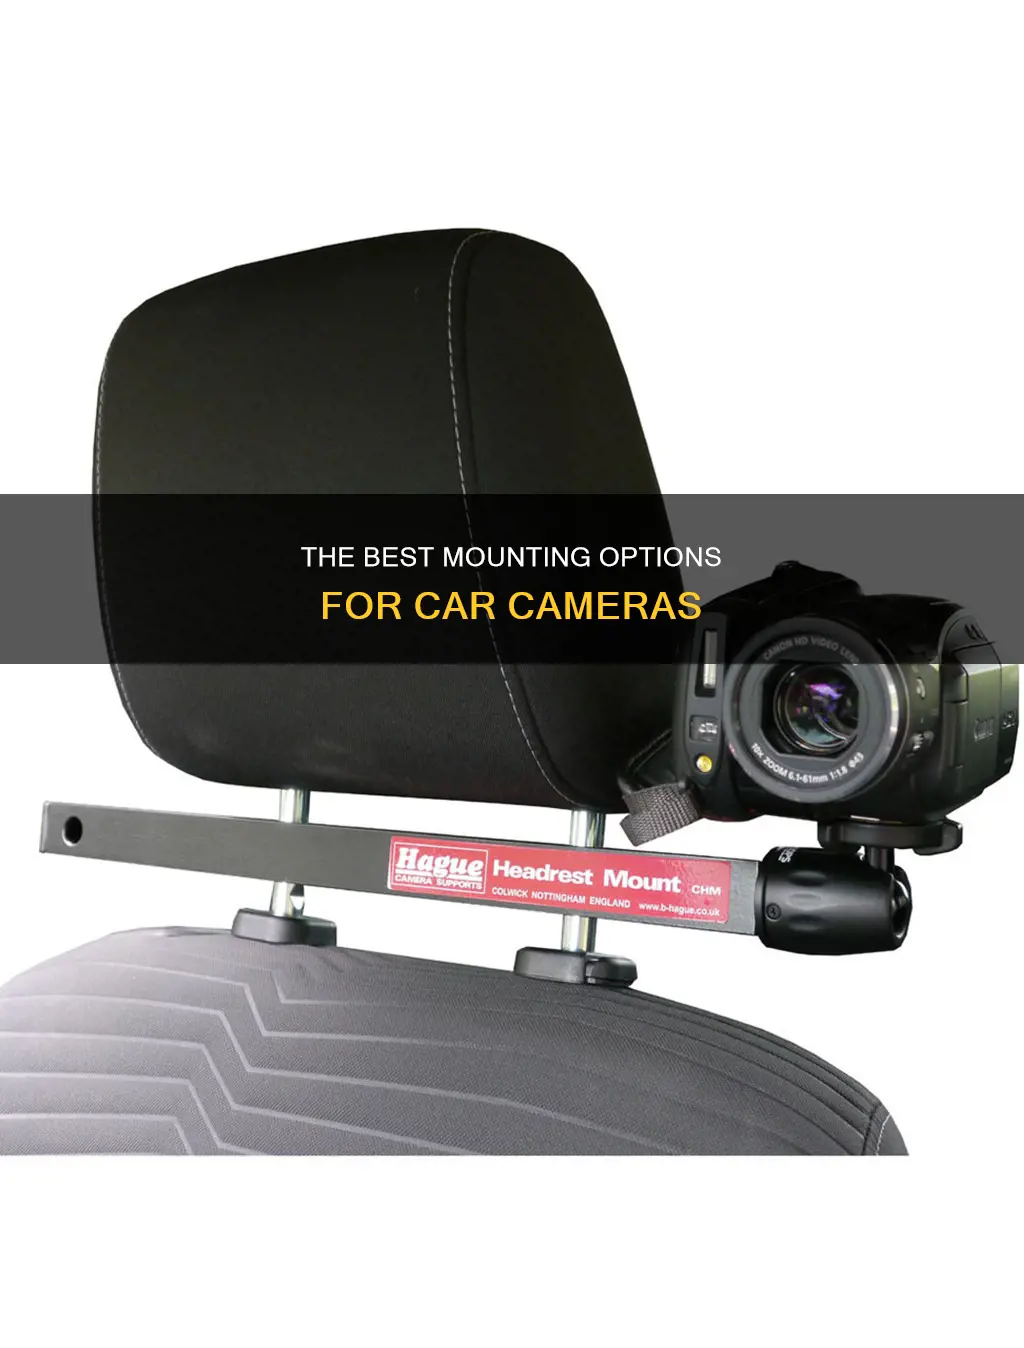
Suction cups
There are different types of suction cups available, each with its own advantages and disadvantages. A-Cups are the most general-purpose and cost-effective option, while still offering good holding power. B-Cups have more holding power in a straight pull and are less flexible than A-Cups, making them easier to remove. C-Cups are the most heavy-duty option, with a vacuum pump mechanism and a visual safety indicator. Using multiple C-Cups provides a more stable and secure mount than a single large suction cup due to the wider footprint.
While suction cups are convenient, they do have some drawbacks. They can fall off the windshield easily, especially after prolonged exposure to high temperatures and sunlight, which can cause the cups to become stiff or deflated. Once they fall off, they can absorb dust and grease, making it difficult to reattach them. Additionally, suction cups are more prone to vehicle vibration, which can result in shaky and blurry footage.
To improve the performance of suction cups, some users recommend using a little grease or saliva to help the cup stick better. Others suggest cleaning the surface and the cup itself before mounting. Despite these tips, suction cups may still need to be restuck every few weeks to ensure they don't fall off.
Overall, while suction cups offer convenience and ease of use, they may not be the best option for those seeking long-term stability and vibration reduction for their car cameras.
BJ's Surveillance Cameras: What You Need to Know
You may want to see also
![]()
Adhesive tape
There are different types of 3M VHB tape available, and some varieties are better suited for car camera mounting than others. For example, the black #5952 tape is commonly used for car camera mounting and is known for its heat resistance. It is important to use the correct type of tape, as some varieties may not be strong enough to hold the weight of the camera.
In addition to 3M VHB tape, there are other types of adhesive tapes that can be used for car camera mounting. These include exterior adhesive trim tape, Alien tape, and silicone-based adhesives. When choosing an adhesive tape, it is important to consider the weight of the camera, the surface to which it will be mounted, and the ease of removal. Some tapes may be more difficult to remove than others, so it is important to keep this in mind if you anticipate needing to remove the camera in the future.
Overall, adhesive tape is a convenient and effective way to mount a car camera. By choosing the appropriate type of tape and following the manufacturer's instructions for application and curing, you can ensure that your car camera is securely mounted and ready for use.
Battery Chargers: Are They Included With Cameras?
You may want to see also
![]()
Hardwiring
Step 1: Gather the Necessary Tools and Information
Before starting the installation process, it is important to gather all the necessary tools and information. This includes a hardwiring kit, which typically includes a fuse tap, a ground wire, and a power wire. Additionally, refer to your vehicle's user manual to understand the fuse box layout and locate the fuse box in your car.
Step 2: Locate the Fuse Box
The fuse box is usually located under the steering wheel or the dashboard. It may be hidden behind panels or covers, so you might need to remove them to access it.
Step 3: Determine the Appropriate Fuse Slot
Not all fuse slots are equal, as some control critical functions like airbags and stability control. Choose a fuse slot that controls non-essential functions like the radio, cigarette lighter, or sunroof. Use a circuit tester to identify a constant fuse and an ignition-switched fuse.
Step 4: Connect the Hardwiring Kit
Once you've identified the appropriate fuse slots, it's time to connect the wires from the hardwiring kit. Typically, the red wire goes to a constant fuse, the yellow wire to the ignition-switched fuse, and the C-shaped wire is the ground wire. However, some kits may have a different colour-coding system, so always refer to the labels attached to each cable.
Step 5: Test Your Dash Cam
After connecting all the wires, plug the kit into your dash cam and start your vehicle to test if the dash cam is working properly. Check the angle of the camera and ensure that the cables are neatly tucked away and secured with zip ties or electrical tape.
Surveillance Cameras in Homes: How Common Are They?
You may want to see also
![]()
SD cards
Storage Capacity
The storage capacity of the SD card determines how much footage your dash cam can store. For daily commuters or frequent drivers, higher capacities like 64GB, 128GB, or even 256GB are recommended. The number of channels, video encoding format, parking mode usage, and frame rate also influence the storage requirements. It is essential to choose an SD card with sufficient capacity to meet your recording needs.
Speed Class
The speed class of the SD card directly impacts its performance in recording and transferring data. Dash cams require SD cards with fast write speeds to ensure smooth and uninterrupted recording, especially when capturing high-definition footage. The recommended speed class for dash cams is UHS Speed Class 1 (U1) or higher, which guarantees a minimum write speed of 10MB/s. This ensures efficient handling of high-definition footage.
Endurance
Dash cams are exposed to constant vibrations and temperature variations, which can impact the lifespan of SD cards. It is crucial to invest in high-endurance SD cards designed for automotive applications. These cards are built to withstand frequent read/write cycles, extreme temperatures, and harsh conditions. High-endurance SD cards guarantee consistent and reliable performance in all driving and environmental conditions.
Proper Maintenance
Proper maintenance of SD cards is essential to ensure optimal performance and longevity. Regular formatting within the dash cam, safe removal of the card, proper storage, error checking, and timely replacement are important practices to maintain the health of the SD card. Formatting prevents file corruption, while safe removal and proper storage protect against data loss and physical damage. Checking for errors and replacing the card when necessary help extend the lifespan of the SD card.
In summary, when choosing an SD card for your dash cam, opt for a high-quality, high-endurance card with sufficient storage capacity and speed class to meet your recording needs. Regular maintenance will ensure reliable performance and high-quality recordings on the road.
Surveillance Camera Wiring: A Guide to Running Cables
You may want to see also
![]()
Power sources
Car cameras, such as backup cameras and dash cams, can be powered by a variety of sources depending on the type of camera and the vehicle's power source. Here is a detailed overview of the different power sources available for car cameras:
Built-in Battery
Some car cameras come with a built-in battery, which eliminates the need for a constant power source. These cameras can operate without being plugged into an electrical outlet or the car's electrical system. However, the battery life of these cameras may be a concern, and regular recharging or replacement of batteries may be necessary.
Cigarette Lighter Socket
One of the most convenient ways to power a car camera is by plugging it into the vehicle's cigarette lighter socket. This method is suitable for those who want a quick and easy solution without dealing with complex wiring. However, it's important to note that the cigarette lighter socket may turn off when the ignition is off, which means the camera won't be powered when the car is parked.
Hardwiring to the Vehicle's Fuse Box
Hardwiring the car camera to the vehicle's fuse box provides a more permanent and discreet power solution. This method ensures that the camera receives a constant power supply, even when the car is parked. However, hardwiring requires a good understanding of the vehicle's electrical system and may require professional installation.
USB Port
Many modern vehicles come equipped with USB ports that can be used to power car cameras. This option eliminates the need for a separate power cable. However, it's important to check the vehicle's manual to ensure that the USB port provides sufficient power for the camera.
Power over Ethernet (PoE)
PoE is commonly used for IP cameras and allows both data and power transmission over a single Ethernet cable. This method simplifies wiring and is often used in larger surveillance systems. PoE cameras can be powered by a PoE switch or a PoE injector, which injects power into the Ethernet cable.
Tail Lights
For backup cameras, one convenient power source is the tail lights. This is because tail lights already receive an electrical signal when the vehicle is put into reverse, which can be used to turn on the camera as well. This eliminates the need for a separate trigger mechanism for the camera.
Solar Power
Solar-powered car cameras are an option for those seeking an environmentally friendly solution or for use in remote locations with abundant sunlight. These cameras have built-in solar panels that charge a battery, which then powers the camera.
Power Adapters and Transformers
Wired car cameras often use power adapters and transformers to convert standard AC power from an outlet to the DC voltage required by the camera. These adapters are rated to match the specific power requirements of the camera.
Uninterruptible Power Supply (UPS)
In critical applications, a UPS can be used to provide backup power to car cameras in case of a power outage. This ensures that the camera continues to operate even during power interruptions, maintaining continuous surveillance.
When choosing a power source for a car camera, it is important to consider factors such as the camera's power consumption, cable management, and the availability of power sources in the vehicle. Additionally, following the manufacturer's recommendations and specifications for power supply options is crucial to ensure proper installation and optimal performance of the camera.
Testing Your Computer Camera's Resolution: A Step-by-Step Guide
You may want to see also
Frequently asked questions
Car cameras are usually attached to the interior windscreen, rear-view mirror, or the top of the dashboard, using a suction cup or adhesive tape.
Yes, rear cameras are usually mounted in the rear window or attached to the registration plate.
Some car cameras can be hardwired directly into the electrical system, freeing up the power outlet for other uses.
Car cameras can be powered via the cigarette lighter cable or hardwired into the fuse box.
Some car cameras have internal power or can be charged using external power sources.