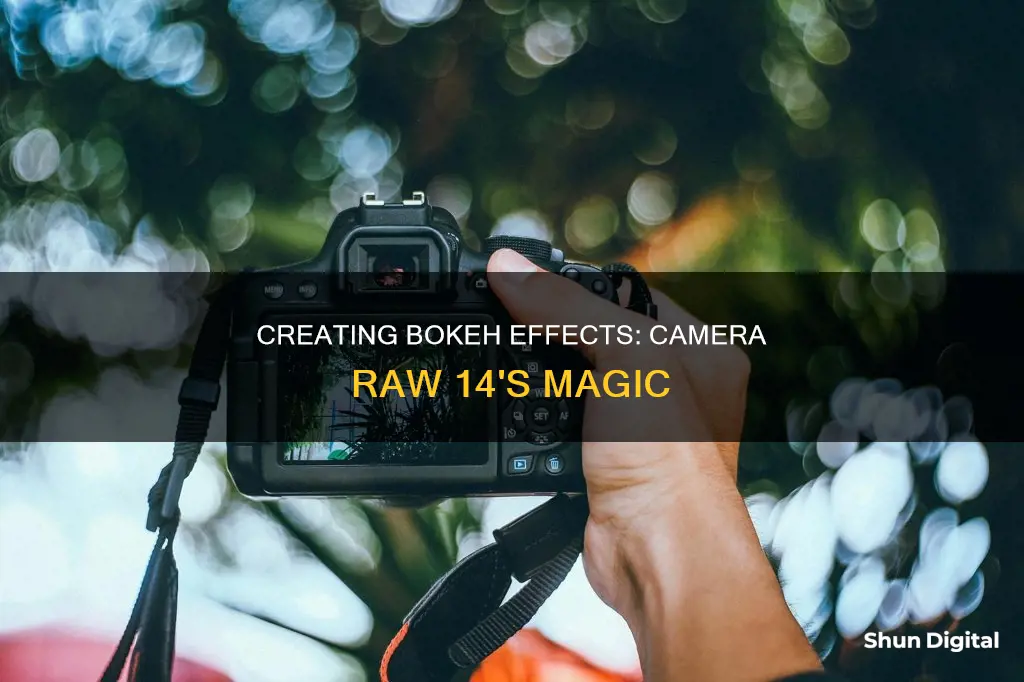
Bokeh is a photographic technique that uses a shallow depth of field to keep the subject in focus while blurring the background or foreground. This effect is achieved by adjusting the aperture settings on your camera, which controls the depth of field. The wider the aperture, the more light enters the camera, resulting in a shallower depth of field and a more pronounced bokeh effect.
Adobe Camera Raw 14 offers an AI-powered Lens Blur tool that can add a bokeh effect to your photos. To use this feature, go to the Edit panel and select Lens Blur > Apply. You can then adjust the blur amount and select from different bokeh shapes such as Circle, Bubble, 5-Blade, Ring, and Cat's Eye. By using these tools, you can create visually appealing images with a stylistic blur that makes your subject pop.
| Characteristics | Values |
|---|---|
| Software | Adobe Camera Raw |
| Tool | Lens Blur |
| Bokeh Options | Circle, Bubble, 5-Blade, Ring, Cat's Eye |
| Bokeh Boost | Adjust the brightness of out-of-focus light sources |
| Focus Range | Adjust the range of depth values that are in focus |
| Subject Focus | Automatically set the focal range using AI-powered subject detection |
| Point or Area Focus | Manually set the focal range by clicking or dragging on the photo |
| Visualize Depth | View the depth map and focal range |
| Refinement | Manually refine the depth map and adjust the focus or blur |
What You'll Learn

Selecting the Bokeh effect
To select the Bokeh effect in Camera Raw 14, you need to follow a few steps.
Firstly, you need to select the Lens Blur option. This can be found in the Edit panel, where you can select Lens Blur > Apply.
Once you have applied the Lens Blur, you can then select the Bokeh effect. You can choose from the following options: Circle, Bubble, 5-Blade, Ring, or Cat Eye.
The Circle option is the modern circular lens, often found on mirrorless cameras. Bubble adds a stroke to the circle, and 5-Blade creates a pentagon shape, simulating a vintage lens. Ring simulates a camera with a mirror, and Cat Eye provides an interesting variation.
You can also adjust the brightness of out-of-focus light sources with the Bokeh Boost slider.
Leasing Infrared Cameras: Understanding Finance Charges
You may want to see also

Adjusting the brightness of out-of-focus light sources
To adjust the brightness of out-of-focus light sources in your image, you can use the Bokeh Boost slider in the Lens Blur panel in Adobe Camera Raw.
- Open your image in Adobe Camera Raw.
- Go to the Edit panel and select Lens Blur > Apply.
- Once the blur is applied, you will see the Bokeh options become available.
- Under Bokeh, you will find Bokeh Boost. Use this slider to adjust the brightness of the out-of-focus light sources in your image.
- Experiment with the different Bokeh options (Circle, Bubble, 5-Blade, Ring, and Cat's Eye) to see which one works best with your adjusted brightness.
- You can also use the Focus Range slider to adjust the depth values that are in focus and further refine your image.
- If you want to manually set the focal range, you can use the Point or Area Focus option by clicking or dragging on the photo.
- For a better visualization, select Visualize Depth to view the depth map and focal range.
- Make any final adjustments to the brightness and other settings until you are happy with the result.
By following these steps, you can effectively adjust the brightness of out-of-focus light sources in your image using Adobe Camera Raw.
Alone Contestants' Camera Battery Charging Strategies
You may want to see also

Choosing the Bokeh shape
Bokeh is a Japanese term meaning blur, and it is used to describe the aesthetic quality of the out-of-focus parts of an image. The bokeh shape is determined by the shape of the aperture blades in your lens, which is usually round. However, you can create different bokeh shapes by using a DIY custom bokeh technique. This involves creating a filter with a creative cutout and placing it over your lens. Here are some factors to consider when choosing your bokeh shape:
Simplicity of the Design
Simple designs are easier to cut out and will create a more pronounced effect. Basic shapes such as five-pointed stars, triangles, hearts, crosses, and even question marks are great options to start with. More complex shapes may be harder to cut out and may require more trial and error to achieve the desired result.
Size of the Cutout
The size of your cutout shape is crucial. If the shape is too small, it will block out too much light, resulting in dark and unmanageable photographs. On the other hand, if the shape is too big, the effect may not be visible in your photos. It is recommended to keep the shape between 5 mm and 20 mm for optimal results. Experiment with different sizes to find the perfect balance.
Type of Lens
The type of lens you are using can also impact the bokeh shape. Lenses with wide maximum apertures are ideal, as they allow for a shallow depth of field and prominent out-of-focus regions. If you don't have an ultra-fast lens, use the widest-aperture lens you have. Additionally, consider using a lens with a low f-stop value, such as f/1.8 or lower, to create a greater bokeh effect.
Camera Settings
Adjust your camera settings to enhance the bokeh effect. Set your camera to Aperture Priority or Manual mode and change the f-stop to its lowest value. As the filter blocks out light, you may need to adjust the shutter speed and ISO accordingly. Using a tripod can help stabilize your camera and produce sharper images. Additionally, manually adjust the focus to ensure the bokeh shape is prominent in the final photograph.
Background Lights
The presence of background lights can significantly impact the visibility and effectiveness of your bokeh shape. Try photographing at night or in areas with street lights, holiday lights, or car headlights. The lights will take on the shape of your cutout, creating a dramatic and eye-catching effect. Experiment with different lighting conditions to see how the bokeh shape changes.
Creative Exploration
Don't be afraid to experiment and explore different shapes and techniques. Bokeh photography is a creative process, and you can achieve unique and quirky results by trying out different ideas. Play around with different shapes, sizes, and lighting conditions to see what works best for the specific effect you are trying to achieve.
By considering these factors and experimenting with different techniques, you can create captivating bokeh shapes that enhance the aesthetic quality of your photographs. Remember to have fun and embrace the creative process of choosing and crafting your bokeh shapes!
New Camera Battery Care: Do's and Don'ts
You may want to see also

Using the Focus Range
The Focus Range feature in Adobe Camera Raw allows you to adjust the range of depth values that are in focus in your image. This can be done automatically or manually.
Subject Focus
The Subject Focus feature automatically sets the focal range using AI-powered subject detection. This is a quick and easy way to set the focus range without having to make any manual adjustments.
Point or Area Focus
If you want more control over the focus range, you can manually set it by using the Point or Area Focus feature. This allows you to click or drag on the photo to specify the area that should be in focus. You can also adjust the depth of field by making the box longer or narrower. A longer box will result in a deeper depth of field, with more of the photo in focus, while a narrower box will create a shallower depth of field, keeping only a small part of the photo in focus.
Visualize Depth
To help you refine the focus range, you can select the Visualize Depth option. This will display a depth map of your image, with different colours representing different focal ranges. Warm or yellow colours indicate a near focal range, cool or blue colours indicate a far focal range, and white indicates the area that is currently in focus. You can then use the Refinement feature to manually adjust the depth map and fine-tune the focus or blur using the Amount, Brush Size, Feather, and Flow sliders.
Tips for Using the Focus Range
- Use the Focus Range in combination with the Lens Blur tool to create a shallow depth of field effect, simulating the use of a wide aperture lens.
- Play around with different focus ranges to see how it affects the overall look and feel of your image. A narrow focus range can create a prime lens effect, while a wider focus range will result in more of the image being in focus.
- Remember that the Focus and Blur options will only work if the original image is not blurry.
Amcrest Cameras: Are They Battery-Powered?
You may want to see also

Applying the Lens Blur tool
The Lens Blur tool in Adobe Camera Raw can be used to add a Bokeh effect to your images. Here is a step-by-step guide on how to apply this tool:
Firstly, select Lens Blur in the Edit panel. You can find this by going to Edit > Lens Blur. Once Lens Blur is selected, you can then choose to Apply the effect. The AI-powered tool will then detect the depth in the image and create a depth map. You can also use an existing depth map if your image already has one.
After applying the Lens Blur, you can adjust the strength of the blur effect with the Blur Amount slider. This slider controls the intensity of the blur, with 50 being the default setting. Play around with this slider to achieve your desired level of blur.
Next, you can select your desired Bokeh effect. Bokeh refers to the shape of the out-of-focus highlights in your image. You have several options to choose from, including Circle, Bubble, 5-Blade, Ring, and Cat's Eye. Each option simulates a different type of lens or aperture shape.
If you wish to adjust the brightness of the out-of-focus light sources, you can use the Bokeh Boost slider. This will allow you to enhance or reduce the brightness of those areas.
To further refine your image, you can use the Focus Range slider. This tool lets you adjust the range of depth values that are in focus. You can either use the automatic Subject Focus option, which uses AI to detect the subject and set the focal range, or you can manually adjust it by clicking or dragging on the photo with the Point or Area Focus option.
Additionally, you can visualise the depth map and focal range by selecting the Visualize Depth option. This will overlay colours on your image, indicating the different focal ranges: warm/yellow for near, cool/blue for far, and white for the area currently in focus.
If you need to make manual adjustments to the depth map, you can select the Refinement option and then use the Amount, Brush Size, Feather, and Flow sliders to fine-tune the focus and blur areas.
Remember, the Lens Blur tool is designed to simulate the use of expensive lenses with wider apertures. By following these steps and experimenting with the various options, you can create beautiful Bokeh effects and achieve convincing results.
Testing Vintage Polaroid: Battery Check for 1-Step Cameras
You may want to see also
Frequently asked questions
Go to the Edit panel and select Lens Blur > Apply.
Use the Blur Amount slider. The slider is set at 50 by default.
You can select from the following Bokeh options: Circle, Bubble, 5-blade, Ring, and Cat's Eye.


