Vintage Polaroid cameras are beloved by many, but their age means they can be prone to technical issues. One common problem is a dead battery, which can be caused by either a faulty film cartridge or a malfunctioning camera. To test the batteries in a vintage Polaroid 1 Step camera, you need to check the battery compartment for corrosion or damage, clean it if necessary, and then insert fresh batteries to ensure proper functioning. You can also test the battery voltage with a multimeter to determine if it's functional. Additionally, some Polaroid cameras have batteries located within the film cartridge, so it's important to check if your camera model falls into this category.
| Characteristics | Values |
|---|---|
| Check for corrosion | Look for greenish or white residue on the metal contacts |
| Clean the battery compartment | Use a cotton swab dipped in vinegar or lemon juice to clean the contacts |
| Check for physical damage | Look for broken or loose parts in the battery compartment |
| Battery tester | Use a battery tester or a multimeter to check the battery voltage |
| Battery placement | Insert fresh batteries, aligning the positive and negative ends correctly |
| Battery type | Consult the manual to determine the appropriate battery type |
| Battery voltage | The voltage should be close to the rated voltage of the batteries (usually 6 volts) |
What You'll Learn
![]()
Check for corrosion in the battery compartment
To test the batteries in a vintage Polaroid 1 Step camera, it is important to check the battery compartment for any signs of corrosion or damage. Corrosion can occur due to old or leaking batteries, which can affect the camera's performance.
To check for corrosion, open the battery compartment and inspect the contacts. Look for any greenish or white residue on the metal contacts. If you notice any corrosion, it is crucial to clean it before inserting new batteries to ensure optimal performance.
The corrosion on the battery contacts is typically caused by a leaky battery. This leakage can be identified by a flaky, white substance encrusting the battery terminals and the contacts in the battery compartment. It is important to address this issue as the chemicals inside batteries can burn your skin and irritate your eyes.
To clean the corrosion, use a cotton swab dipped in vinegar or lemon juice to gently wipe down the affected areas. These acidic substances will neutralize the base present in the corrosion, causing it to fizz and disintegrate. Ensure you are wearing protective gear, such as gloves and safety glasses, during this process.
After cleaning, use a microfiber cloth to wipe down the contacts and absorb any excess liquid. You can also use a pencil eraser or compressed gas to remove any remaining residue or fibres. Allow the battery compartment to dry completely before inserting new batteries.
By regularly inspecting and maintaining the battery compartment of your vintage Polaroid 1 Step camera, you can help ensure proper battery performance and extend the life of your camera.
The Ultimate Guide to Cleaning CGR-S006A Camera Battery Contacts
You may want to see also
![]()
Test the battery voltage with a multimeter
To test the battery voltage of a vintage Polaroid 1 Step camera with a multimeter, follow these steps:
Firstly, set the multimeter to the DC voltage setting. Make sure the range is appropriate for the expected battery voltage. For example, if the batteries are 1.5V, set the multimeter to a range higher than that. Generally, it is recommended to set the multimeter to a higher range than the specified voltage of the battery.
Next, identify the positive and negative terminals of the batteries. The positive terminal is usually marked with a plus sign (+), and the negative terminal with a minus sign (-). The positive terminal is typically red, and the negative terminal is black.
Now, touch the red probe of the multimeter to the positive terminal of the battery, and the black probe to the negative terminal. Ensure a good connection between the probes and the battery terminals.
Finally, read the voltage displayed on the multimeter. If the battery is in good condition, the reading should be close to the rated voltage of the battery. For instance, if the batteries are rated at 1.5V, a reading of around 1.4V to 1.6V would indicate a healthy battery.
It is important to note that vintage Polaroid cameras may use non-standard batteries, such as PX600 or PX680, which may have different voltage ratings than standard alkaline batteries. Therefore, ensure that you are aware of the specific voltage requirements for your camera and compare the readings accordingly.
Loading Batteries into Your DXG 552 Camera: A Step-by-Step Guide
You may want to see also
![]()
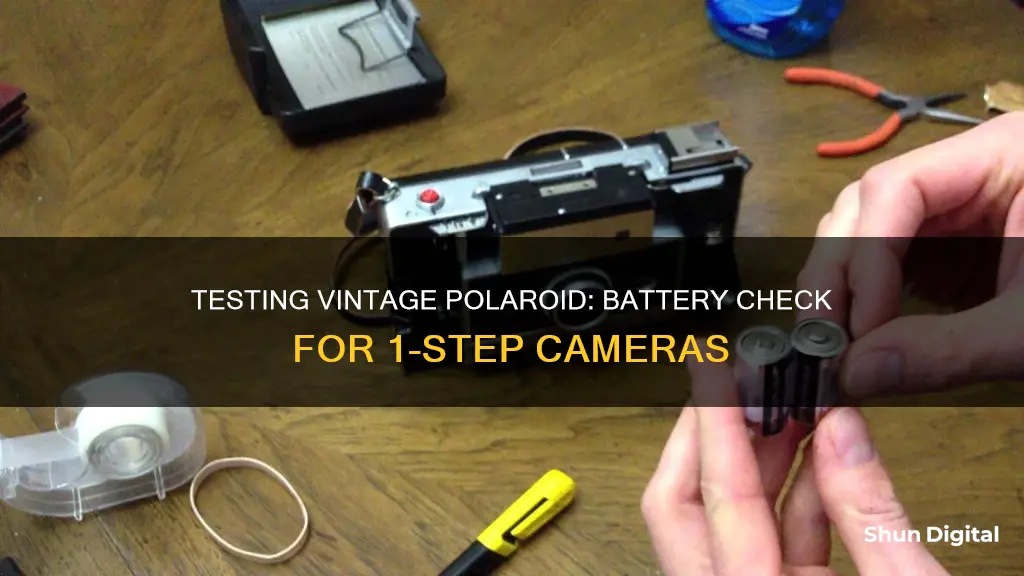
Verify proper battery placement
To verify proper battery placement in a vintage Polaroid 1 Step camera, follow these steps:
Locate the battery compartment: The battery compartment is usually found on the bottom or side of the camera. Use a small screwdriver or coin to open it.
Check for corrosion: Inspect the battery contacts for any signs of corrosion. Corrosion can prevent proper contact between the batteries and the camera, so it's important to clean it if necessary. You can use a cotton swab dipped in vinegar or lemon juice to gently clean the contacts, ensuring they are dry before proceeding.
Verify battery placement and orientation: Refer to the camera's manual or look inside the battery compartment for the correct placement and orientation of the batteries. Most vintage Polaroid cameras use AA batteries, but it's always best to double-check. Ensure you insert the batteries with the correct polarity, aligning the positive (+) and negative (-) ends correctly according to the instructions.
Insert fresh batteries: Replace any old batteries with new ones, ensuring proper alignment. Close the battery compartment securely.
Test the camera: After ensuring the batteries are placed correctly, close the battery compartment and turn on the camera. If the camera powers on and functions properly, it indicates that the batteries are working. You can try taking a test photo to further verify the camera's functionality.
It's important to note that vintage cameras may have been unused for extended periods, and the batteries may have expired or leaked. In such cases, cleaning the battery contacts and replacing them with new batteries is recommended. Additionally, consider using rechargeable batteries to reduce waste and save money in the long run.
Camera Battery Grips: Are They Worth the Hype?
You may want to see also
![]()
Inspect the rollers for dirt or damage
To inspect the rollers for dirt or damage, open the back door of the camera fully. There should be a switch on the bottom right-hand side to release the door. You should then see the rollers right next to the door where the film is pulled out. The rollers can be released for inspection by pulling the red metal tab located on their side.
Check the rollers for dirt, scratches, dents, or corrosion. If the rollers are merely dirty, this can be addressed by cleaning them with a soft, damp cloth or paper towel. Do not use any solvents or cleaning products when doing this. Make sure to allow the rollers to dry completely before using your camera again.
If the rollers are badly scratched or dented, they will need to be replaced. This is because damaged rollers can cause the photo to come out corrupted and/or the film to jam and leak into the camera. To replace the rollers, you will need to access the inside of the camera. You may need tweezers to remove the left and right springs, and then lift out the top roller.
Camera Batteries: Circuitry Control for Power Performance
You may want to see also
![]()
Check for correct film speed settings
Checking that your film speed settings are correct is an important step in ensuring your Polaroid camera is working properly. The film speed, or ISO, is a measure of the film's sensitivity to light. In the case of the i-Type film used by the Polaroid OneStep+, the ISO is 640. This is important to know because it is locked into the film and cannot be adjusted like the sensor's ISO on a digital camera.
To check that your film speed settings are correct, you can refer to the light meter on your camera or smartphone app. The light meter indicates the light level, with the indicator usually pointing to '0' for a correctly exposed image. You can also use a light meter app on your smartphone, which will give you a correct exposure reading for the current scene.
It's also worth noting that the exposure is dependent on light, ISO, aperture, and shutter speed. So, if you're having exposure problems, you can adjust the aperture and shutter speed settings on your camera or app to let in more or less light. Play around with these settings and take multiple shots to see what produces the best results for your film and camera.
Additionally, the type of film you use can impact the exposure. For example, Impossible Project SX-70 film has higher light sensitivity, so images may appear overexposed if the switch remains in the middle of the slider. In this case, move the switch towards the darker side to compensate.
GH5 Camera Battery Life: How Long Does It Last?
You may want to see also
Frequently asked questions
The battery compartment of a vintage Polaroid 1 Step camera is usually located at the bottom or side of the camera. You can use a small screwdriver or a coin to open it.
Look for any greenish or white residue on the metal contacts inside the battery compartment. Corrosion can occur due to old or leaking batteries and can affect the camera's performance. If you notice any corrosion, clean it off with a cotton swab dipped in vinegar or lemon juice before inserting new batteries.
You can use a multimeter or a battery tester to check the battery voltage. Set the device to the appropriate voltage range (usually 6 volts for vintage Polaroid cameras) and touch the positive and negative terminals to the corresponding terminals on the tester. If the voltage is close to the rated voltage, the batteries are likely still good.
If the camera doesn't turn on, there may be other issues with the camera itself. Consult a professional camera technician or refer to the camera's user manual for troubleshooting steps.