Tethering your camera to your computer in Lightroom is a popular way to import images. It allows you to instantly upload your images to Lightroom while shooting, enabling you to check images on a larger screen as you shoot. This feature is available on Lightroom Classic, not Lightroom CC. To set up tethering, you will need a compatible camera, a long USB cable, and Lightroom installed on your computer. Once you have connected your camera to your computer, you can follow the steps in Lightroom to start a tethered capture session and adjust your camera settings.
What You'll Learn
![]()
Check your camera is compatible with Lightroom tethering
Before you start tethering your camera to Lightroom, it's important to check that your camera is compatible with Lightroom's tethering feature. Not all cameras are supported, so it's worth taking the time to verify before you begin. Here's a detailed guide on checking your camera's compatibility:
Firstly, it's essential to understand that Lightroom Classic is the version of Lightroom that supports tethering. The standard Lightroom application does not have a tethered shooting feature. So, if you're using Lightroom Classic, your next step is to check the compatibility of your camera model.
Adobe maintains a list of supported camera models for Lightroom Classic tethering. You can find this list on Adobe's website or by searching for "Tethered camera support | Lightroom Classic". This list is updated regularly, so it's a reliable source of information. Check if your camera model is included in this list.
If you own a Canon or Nikon camera, you're in luck, as these brands are well-supported by Lightroom Classic. Canon models like the EOS 5D Mark III, EOS 550D, and EOS 1100D are commonly listed as supported. Nikon models such as the D3s, D700, and D7000 are also frequently mentioned.
However, if your camera is not on the list, don't lose hope. The list may not always be up-to-date with the latest camera releases. In such cases, it's worth contacting your camera manufacturer directly to inquire about tethering support in Lightroom Classic. They should be able to provide you with the most accurate and current information.
Additionally, some cameras may have specific requirements or notes listed alongside their model number. For example, certain Canon cameras may require a memory card to be inserted for tethering to function properly. Be sure to read through any additional information provided for your camera model.
It's also important to ensure that your camera connections are compatible with the tether cable you plan to use. Even if your camera is listed as supported, physical compatibility with the cable is crucial for a successful connection.
By following these steps, you can confidently determine whether your camera is compatible with Lightroom's tethering functionality. This will help ensure a smooth and efficient photoshoot, whether you're working in a studio or out in the field.
Black Magic Camera's Superpower: Auto Focus
You may want to see also
![]()
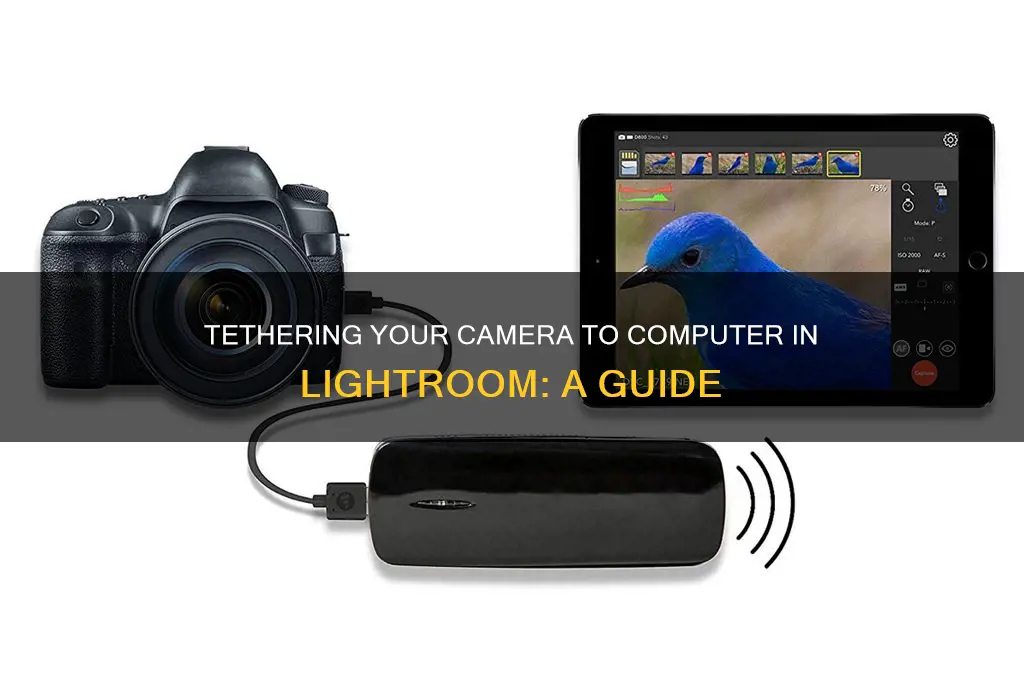
Use a long USB cable
Tethering your camera to your computer using a long USB cable is a great option when working in a studio or with a tripod setup. This setup allows you to move around with your camera without damaging the equipment and gives you the flexibility to adjust your setup as needed.
A long USB cable, around 12 to 15 feet in length, is ideal for tethering your camera to your computer. This length gives you the freedom to move around without feeling restricted by the cable. It is important to ensure that your camera connections are compatible with the tether cable before purchasing or using it.
Once you have your long USB cable, follow these steps to tether your camera to your computer:
- Plug your camera directly into the computer using the USB cable.
- Open Lightroom on your computer.
- Go to the File menu and select "Tethered Capture" or "Start Tethered Capture."
- In the Tethered Capture Settings dialog box, specify the session name, choose a naming option, select a location for your images, and add metadata if desired.
- Turn on your camera. Lightroom should automatically detect it.
- Start shooting, and your images will be imported directly into Lightroom.
Using a long USB cable for tethering provides the flexibility to move around and adjust your setup, making it a convenient choice for studio photography or any situation where you want to control your camera remotely.
Camera Tickets in LA: Do You Have to Pay?
You may want to see also
![]()
Connect camera to computer
To connect your camera to your computer to start a tethered shoot in Lightroom, you will need a digital camera, a computer, and a USB cable.
Firstly, ensure that your camera is compatible with Lightroom tethering. You can check this on the Adobe website.
Next, plug your camera directly into your computer using a long USB cable. This will allow you to move around with your camera without damaging the equipment.
Now, open Adobe Lightroom Classic on your computer. Go to the File menu, select Tethered Capture, and then click Start Tethered Capture.
In the Tethered Capture Settings dialog box, you can specify how you want to import the photos. Name the session, choose a naming option, select a location for the images, and choose the metadata if desired. You can also add keywords to the images at this stage. Once you are happy with your selections, click OK.
Lightroom will now search for a connected device. Once it has detected your camera, you can start shooting. Each photo will be uploaded directly to your library.
The Origin Story of SpyPoint Cameras
You may want to see also
![]()
Open Lightroom Classic
To tether your camera to your computer in Lightroom, you must use Lightroom Classic.
Opening Lightroom Classic
To open Lightroom Classic, you must first install it. You can download Lightroom Classic by going to the Adobe website and signing up for the Creative Cloud Photography Plan. Once you have Lightroom Classic installed, you can open the app.
When you open Lightroom Classic for the first time, it will search your computer for your Catalog. It should find it automatically. If it doesn't, click the "Choose A Different Catalog" button until the name of your Catalog appears, or let Lightroom search for it on your computer. Knowing where your Catalog is saved and what it's called will be helpful if Lightroom Classic can't find it. You can find the location under the General tab in Catalog Settings.
Starting a Tethered Capture Session
To start a tethered capture session, first, connect your camera to your computer using a USB cable. Then, open Lightroom Classic. Ensure your camera is turned on.
Go to File > Tethered Capture > Start Tethered Capture. This will open a Tethered Capture Settings dialog box, where you can specify how you want to import the photos. Here, you can name the session folder, choose a location for the folder, and add metadata and keywords to the imported photos if desired.
Click OK to start the photo capture session. A camera detection window will appear, and the Tether bar will appear after Lightroom Classic detects your camera.
Controlling Your Tethered Photoshoot
Once Lightroom Classic has detected your camera, you can control your camera settings and take photos from the Tethered Capture interface. You can also use the shutter release button on your camera to capture photos.
You can control the shutter speed, aperture, ISO, and white balance of the tethered camera from the floating capture bar in Lightroom Classic.
Ending the Session
To end the tethered capture session, close the floating tethered capture bar or choose File > Tethered Capture > Stop Tethered Capture.
Reviving Camera Batteries: Simple Tricks to Try
You may want to see also
![]()
Start a Tethered Capture session
To start a Tethered Capture session in Lightroom, you will need a supported camera, a computer with Lightroom Classic installed, and a USB cable to connect the two devices.
First, plug your camera into the computer using the USB cable. Ensure your camera is turned on. Then, open Lightroom Classic and go to File > Tethered Capture > Start Tethered Capture.
This will open a Tethered Capture Settings dialog box, where you can specify how you want to import the photos. Name the session, choose a naming option, and select a location for the images. You can also add metadata and keywords to the images if desired.
Once you've made your selections, click OK to start the photo-capture session. Lightroom will search for a connected device, and once it detects your camera, you will get the Tethered Capture interface, and you can begin shooting.
Each photo you take will be uploaded directly to your Lightroom library. You can shoot on the camera or use the controls on the Tethered Capture interface to take photos.
The Evolution of Rolleiflex Cameras: Past, Present, and Future
You may want to see also
Frequently asked questions
Lightroom tethering involves plugging your camera directly into a computer while shooting, allowing for instant image upload and remote camera control.
Tethering allows photographers to view images on a larger screen, make adjustments, and check details like lighting and focus in real-time during a shoot.
You will need a compatible digital camera, a long USB cable, and a computer with Lightroom Classic installed. A tripod and camera stand may also be useful.
First, connect your camera to the computer with a USB cable. Then, open Lightroom Classic and go to "File > Tethered Capture > Start Tethered Capture." Name your session, choose a naming option and location for images, and select metadata if desired. Turn on your camera, and Lightroom should detect it automatically.
Ensure your camera is compatible with Lightroom tethering and that your firmware is up to date. Check your camera settings, and try turning off silent mode or ensuring the mechanical shutter is in use. Add Lightroom Classic to your system's Full Disk Access in the Security and Privacy settings.