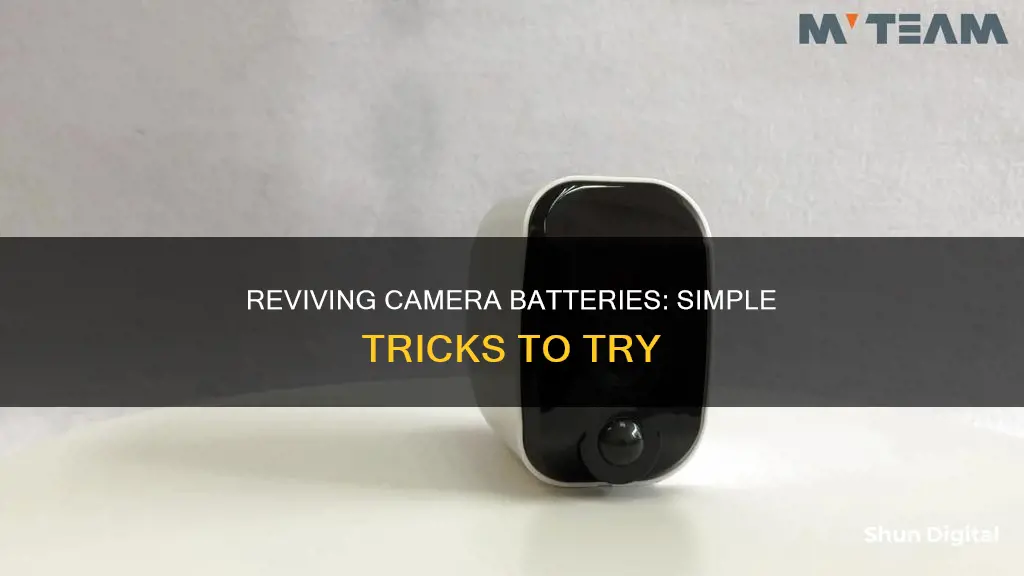
Waking up a camera battery typically involves charging it or ensuring it has enough power to operate. To charge the battery, you'll need to connect it to a compatible charger or power source using the provided charging cable. If the battery is not charging, it may be depleted or damaged and you may need to replace it.
Some battery-powered cameras also have a standby mode to save battery life when not in use. These cameras can be woken up by motion triggers or user access.
| Characteristics | Values |
|---|---|
| Charging methods | Connect to a compatible charger, check the battery level, leave it plugged in, pay attention to LED indicators, unplug and power on |
| Battery conservation techniques | Adjust power settings, invest in high-capacity batteries, be mindful of extreme temperatures, turn off unnecessary features, update camera firmware |
| Camera battery maintenance | Regular use, proper charging, storage, cleaning contacts, firmware updates, battery refresh mode, replace old batteries |
| Efficient power management | Turn off Wi-Fi and Bluetooth, optimize LCD usage, shoot in bursts, use efficient memory cards, monitor ambient temperature, carry spare batteries, use external power sources |
What You'll Learn

Check if the camera is in sleep mode to conserve energy
Sleep mode is a handy feature on your camera that helps conserve battery power. When enabled, the camera will stop certain functions like motion detection, live streaming, and video recording. The camera is still on and connected, but inactive, and can be reactivated at any time. This is known as the sleep delay.
Sleep delay refers to the time it takes for your camera to wake up and start recording after being inactive or in sleep mode. This delay can vary depending on the camera model and settings. Some cameras may take just a fraction of a second to wake up, while others might experience delays of several seconds or even minutes.
To check if your camera is in sleep mode, you can usually open the camera's settings in its corresponding app. For example, with the ROCK and rockspace camera, you can open the rockhome app, tap "Camera Setting", then tap "Sleep Settings". Here, you can toggle sleep mode on or off.
If you want to schedule specific times for your camera to go to sleep and wake up, you can do so by tapping "Schedule Sleep" in the Sleep Settings menu, and then selecting the desired times and days. Your camera will then automatically follow the schedule you've set.
It's important to note that while sleep mode is useful for conserving power, it can also be a drawback if you require immediate and real-time monitoring. In such cases, you may want to consider disabling sleep mode or setting it to a very long duration.
Y Dome Camera: Battery-Powered Security Solution?
You may want to see also

Connect the camera to a charger
To wake up your camera battery, you'll need to ensure it's properly charged. Follow these steps to connect your camera to a charger:
- Power off your camera: Before you begin charging, make sure your camera is switched off. This is an important safety precaution.
- Use the correct charger and cable: It's crucial to use the manufacturer-recommended charger and cable to prevent any damage to your camera's battery. Different camera models may have specific chargers and cables, so always check your camera's manual for compatibility.
- Connect your camera to the charger: Use the provided cable to connect your camera to the compatible charger. Ensure that the cable is securely attached to both the camera and the charger.
- Check the battery level: Most modern cameras have an indicator, such as an LED display or lights, that shows the current charge level of the battery. This will help you determine if your battery is completely drained or partially charged.
- Leave it plugged in: Once your camera is connected to the charger, leave it undisturbed for the recommended charging time. Newer camera models often have fast-charging capabilities, significantly reducing the time needed for a full charge.
- Monitor the charging process: Pay attention to any LED indicators on your camera or charger. These indicators usually change colour or blink to signal when the battery is charging and when it's fully charged.
- Unplug and power on: Once the battery is fully charged, unplug the camera from the charger. Then, power on your camera and check if the battery is functioning correctly. If your camera doesn't turn on, there might be an issue with the battery or the camera itself.
It's important to note that battery technology is constantly evolving. Some modern cameras may support wireless charging or have advanced battery management systems. Always refer to your camera's user manual for specific instructions and guidelines related to charging methods and battery maintenance.
Charging Your Lumix Camera Battery: No Charger Required
You may want to see also

Check the battery level
Checking the battery level of your camera is a straightforward process. Here are some detailed instructions to help you do that:
Firstly, turn on your camera. Most modern cameras are equipped with an indicator that displays the battery's current charge level. This could be in the form of an icon or a message on the LCD monitor or screen. If you don't see the icon immediately, try touching or pressing the "DISP." button a few times to display it.
Understanding the Battery Level Indicators:
The battery level indicators can vary depending on the camera model, but here are some general guidelines:
- Full or Partial Charge: The indicators will show the battery's charge percentage, such as 20%, 40%, 60%, or 80%.
- Low Battery: A blinking red icon or a message like "Low Battery" or "Charge Soon" indicates that the battery needs to be charged soon.
- Battery Exhausted: A message like "Change the battery" or "Recharge battery" means the battery is depleted, and you need to turn off the camera and recharge the battery immediately.
Charging the Battery:
If your battery is low or exhausted, connect the camera to a compatible charger using the provided cable. Ensure the camera is powered off before charging. It's important to use the manufacturer-recommended charger to prevent damage to the battery. Leave the camera undisturbed for the recommended charging time, and pay attention to any LED indicators that signal the charging status.
Additional Tips:
- Always refer to your camera's user manual for specific instructions and insights on charging methods.
- Keep your camera firmware up to date, as updates often include improvements in power efficiency and battery management.
- Properly maintain and store your camera battery when not in use to ensure optimal performance and longevity.
Lithium-ion Camera Batteries: Safe Air Travel Tips
You may want to see also

Leave the camera plugged in
Leaving your camera plugged in is a crucial step in the charging process. Once you've connected your camera to a compatible charger and checked the battery level, it's time to leave it undisturbed to charge. Here are some detailed instructions and considerations for leaving your camera plugged in:
Recommended Charging Time
It is important to leave your camera plugged in for the recommended charging time. Newer camera models often have fast-charging capabilities, allowing you to significantly reduce the time required for a full charge. However, it's essential to refer to your camera's user manual for specific instructions and recommendations.
LED Indicators
Pay close attention to the LED indicators on your camera or charger. These indicators typically change colour or blink to signal the charging status. They will let you know when the battery is charging and when it has reached a full charge.
Uninterrupted Charging
While your camera is plugged in, ensure that it remains undisturbed and uninterrupted. Avoid handling or using the camera during the charging process. This will help ensure an efficient and complete charge.
Charging Environment
Create a suitable environment for charging. Store your camera in a cool, dry place, avoiding extreme temperatures. Both hot and cold environments can negatively impact the charging process and battery life.
Safety Precautions
Always use the manufacturer-recommended charger and cable to prevent any damage to your camera's battery. Using incompatible or unsuitable charging equipment can lead to battery damage or even safety hazards.
Post-Charging Steps
After leaving your camera plugged in and fully charged, it's time to unplug the camera from the charger. Power on the camera and verify that the battery is functioning correctly. If your camera fails to power on, there may be an issue with the battery or the camera itself, and further troubleshooting is required.
Is Your Webbie HD Camera Charging?
You may want to see also

Power on the camera and check if the battery is functioning
To power on your camera and check if the battery is functioning, follow these steps:
Firstly, ensure your camera is powered off and connected to a compatible charger using the provided cable. It's important to use the manufacturer's recommended charger to prevent any damage to the battery. Once connected, leave your camera undisturbed for the recommended charging time. Modern cameras often have fast-charging capabilities, which can significantly reduce the time required for a full charge.
Pay attention to any LED indicators on your camera or charger, as they often change colour or blink to indicate when the battery is charging and when it's fully charged. After the battery has fully charged, unplug the camera from the charger and power it on. Check your camera's LCD monitor for a battery icon, which should indicate the battery charge level. If the icon does not appear, try touching the 'DISP.' button several times to display it.
If your camera doesn't power on, the battery may be faulty or damaged, or there may be an issue with the camera itself. Try removing and reinserting the battery, ensuring a proper connection. If the battery is not charging, it may be depleted or damaged and may need to be replaced.
To maximise the life of your camera battery, ensure you follow the manufacturer's guidelines on charging and storage. Proper maintenance of your camera's battery will ensure it is ready to capture memorable moments without disruptions.
Camera Battery Charging: How Long Does It Take?
You may want to see also
Frequently asked questions
To wake up a camera battery, first ensure it's properly charged. If it's been idle for a while, it may have entered a sleep mode to conserve energy. Insert it into the camera and turn the device on. If the battery still doesn't respond, try removing and reinserting it, ensuring a proper connection.
Firstly, adjust your camera's power settings to optimise energy use. Many modern cameras offer power-saving modes that dim screens or reduce performance when not in active use. Invest in high-capacity, quality batteries to extend shooting time. Keep spare batteries warm and swap them out when needed. Turn off unnecessary features like Wi-Fi or GPS when not in use, as they can drain the battery.
It's essential to use your camera regularly. Even if you're not actively taking photos, turning it on and off periodically can help keep the battery active. Charge your battery with the charger provided by the camera manufacturer. Overcharging can damage the battery, so always unplug it when fully charged. Avoid letting the battery drain completely, as deep discharges can harm it.


