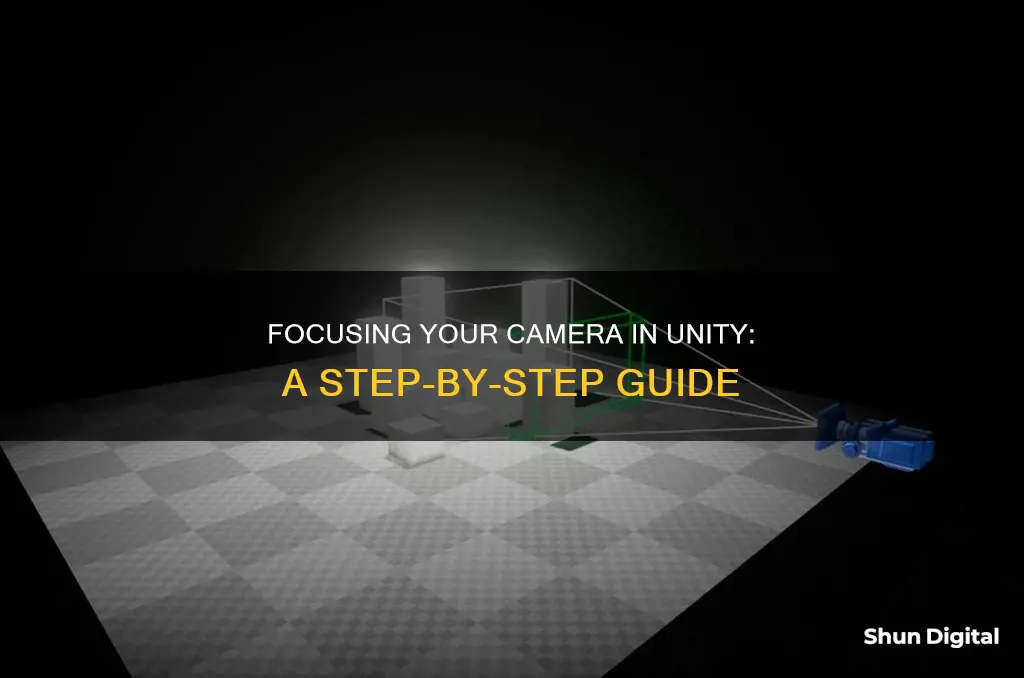
Focusing a camera in Unity depends on the effect you want to achieve. A common approach is to use Depth of Field, which simulates a camera lens by sharply focusing on an object at a specific distance while blurring objects that are nearer or farther. This technique provides a visual cue about an object's distance and introduces bokeh, which refers to visually pleasing artefacts around bright areas as they fall out of focus. Cinemachine is another tool within Unity that allows you to change the camera's focus to a specific target.
| Characteristics | Values |
|---|---|
| Camera focus | Center position of an object |
| Camera movement | Controlled by mouse clicks |
| Camera target | Cinemachine |
| Camera lens | Depth of Field effect |
| Focal distance | Determined by a target object in the scene |
| Camera aperture | Defines the transition between focused and defocused areas |
| Algorithm | DX11 (bokeh splatting) or DiscBlur (scatter as gather) |
| Filter taps | Affects performance |
| Max distance for filter taps | Affects texture cache; values above 4.0 may cause undersampling artifacts |
| Defocus operations | Performed in full resolution for better bokeh shapes but affects performance |
What You'll Learn
![]()
Using Cinemachine to focus on a camera target
Unity's Cinemachine is a powerful tool for camera control in games and animations, for 2D and 3D projects. It provides a range of ready-made cameras with high customisability and ease of use. Cinemachine allows users to create different types of camera systems without needing to code the logic themselves.
To use Cinemachine to focus a camera on a target, you can follow these steps:
- Install Cinemachine: Open the Package Manager in Unity by navigating to Window > Package Manager. Search for Cinemachine in the Unity Registry and install it.
- Create a Virtual Camera: After installation, Cinemachine will allow you to create Virtual Cameras in your scene. These virtual cameras work with your main camera, altering what it sees. Each virtual camera acts as a different shot or viewpoint, allowing easy switching between perspectives.
- Set Follow and Look At Targets: Each virtual camera you create can accept a "Follow Target" and a "Look At Target". These are the objects in the scene that the camera will move towards and focus on, respectively.
- Adjust Body Properties: The "Body Properties" settings for your virtual camera determine how it will move in response to the object it is following. Different "Body Profiles" offer various movement options. For example, the "Transposer" profile moves the camera towards a target with a basic offset, while the "Framing Transposer" is useful for creating a 2D side-scrolling camera that follows the target from a fixed perspective.
- Adjust Damping Settings: To create a smooth-following camera, adjust the damping settings within the Body Properties. The damping settings are sliding scale values between 0 and 20 for the X, Y, and Z axes. These values control the duration of the camera's movement, allowing you to create a natural and gradual camera pan.
- Fine-tune Camera Behaviour: Depending on your specific requirements, you can further customise your virtual camera's behaviour. For example, you can set "Dead Zones" and "Soft Zones" to control when the camera moves in response to the target's position within the frame. You can also adjust the height and width of these zones to differentiate between horizontal and vertical movement.
- Test and Refine: Experiment with different camera settings, profiles, and adjustments to achieve the desired camera behaviour. Cinemachine provides a wide range of options to fine-tune your camera's focus and movement.
By following these steps and utilising the features offered by Cinemachine, you can effectively use Unity's Cinemachine to focus a camera on a target in your game or animation project.
Understanding PIR Mode on Trail Cameras: How Does It Work?
You may want to see also
![]()
Understanding the Depth of Field effect
The depth of field (DOF) is a common post-processing effect in Unity that simulates the focus properties of a camera lens. In real life, a camera can only focus sharply on an object at a specific distance, with objects nearer or farther from the camera appearing out of focus. This visual effect is known as depth-of-field and can be used as an artistic tool to guide the viewer's attention.
The depth of field is determined by several factors, including the focal length, distance to the subject, the acceptable circle of confusion size, and aperture. The circle of confusion refers to the largest circle that is visually indistinguishable from a point, appearing to be in focus. The size of the circle of confusion depends on how the final image will be used and viewed.
The depth of field can be manipulated by adjusting the aperture size. A larger aperture results in a shallower depth of field, while a smaller aperture increases the depth of field. This is because only light travelling at shallower angles passes through a smaller aperture, creating a sharper image.
The ratio of the aperture size to the focal length, known as the f-stop or f-number, also affects the depth of field. A smaller f-number results in a shallower depth of field. Additionally, the distance between the lens and the film or image sensor impacts the depth of field, with larger distances resulting in a shallower depth of field.
By understanding and manipulating these factors, Unity users can create realistic and artistic depth-of-field effects in their scenes, enhancing the visual experience for their audience.
Unlocking Adobe Camera Raw 9: Unveiling the Power
You may want to see also
![]()
Adjusting the camera's aperture
Unity provides a range of options for adjusting the aperture of your in-game cameras, allowing you to customise and manipulate your game's presentation to make it truly unique.
To begin adjusting the aperture, first, select the camera you wish to edit. You can then adjust the camera's properties, including the aperture, through the Camera Inspector. To use the aperture property, ensure that UsePhysicalProperties is enabled. The aperture value is given in f-stops, with smaller values resulting in a wider depth of field and larger values leading to a more narrow depth of field.
In addition to the aperture, you can also adjust other properties such as the focal length and sensor size. The focal length determines the distance between the sensor and the camera lens, affecting the field of view. Smaller focal lengths result in a wider field of view, while larger focal lengths narrow the field of view. The sensor size refers to the width and height of the sensor that captures the image, determining the camera's aspect ratio. You can choose from preset sensor sizes or set a custom size to match your desired specifications.
By adjusting the aperture, focal length, and sensor size, you can create unique visual effects and tailor the camera's behaviour to suit your specific game requirements.
Understanding Camera Raw 911: Unlocking Creative Control
You may want to see also
![]()
Determining focal distance with a target object
To determine the focal distance with a target object, you must first understand the relationship between the object distance, image distance, and focal length. This relationship is described by the lens formula, which is given by:
1/f = 1/d0 + 1/di
Where:
- F is the focal length
- D0 is the object distance
- Di is the image distance
The object distance (d0) refers to the distance from the lens's front principal plane to the object itself. The image distance (di) is the distance from the lens to the generated virtual image.
To calculate the focal length, follow these steps:
- Measure the distance (d0) between the lens and the object.
- Measure the distance (di) between the lens and the generated virtual image.
- Calculate the multiplicative inverse of the focal length using the formula:
1/f = 1/d0 + 1/di
Rearrange the formula to solve for the focal length (f):
F = d0 * di / (di + d0)
By determining the object distance and image distance, you can use the lens formula to calculate the focal length and ensure that your camera is focused correctly on the target object.
Finding the Camera Raw Plugin: Location Guide
You may want to see also
![]()
Using the onmousedown function to centre an object on the screen
To centre an object on the screen using the OnMouseDown function in Unity, you can follow these steps:
Firstly, understand the OnMouseDown function. This function is called when the user presses the mouse button while the cursor is hovering over a collider. It is sent to all scripts of the GameObject with the collider, but not to the parent or child objects. It is important to note that this function is not called on objects belonging to the Ignore Raycast layer.
Csharp
Using UnityEngine;
Public class CentreObjectScript : MonoBehaviour
{
Private GameObject targetObject;
Void OnMouseDown()
{
// Get the current mouse position in pixel coordinates
Vector3 mousePos = Input.mousePosition;
// Calculate the centre of the screen
Vector3 screenCentre = new Vector3(Screen.width / 2, Screen.height / 2, 0);
// Calculate the offset between the mouse position and the screen centre
Vector3 offset = screenCentre - mousePos;
// Get the target object to be centred
TargetObject = GameObject.Find("YourObjectName");
// Centre the target object on the screen
TargetObject.transform.position = new Vector3(screenCentre.x, screenCentre.y, targetObject.transform.position.z);
}
}
In this code, we first obtain the current mouse position using Input.mousePosition, which provides the coordinates in pixels. We then calculate the centre of the screen by dividing the screen width and height by 2. The offset between the mouse position and the screen centre is calculated by subtracting the mouse position from the screen centre.
Next, we find the target object that we want to centre on the screen using GameObject.Find(). Replace "YourObjectName" with the name of your target object in the scene. Finally, we update the position of the target object by setting its x and y coordinates to the screen centre coordinates, while keeping its z-position unchanged.
By attaching this script to a GameObject in your scene, you can now centre the specified target object on the screen when the mouse button is pressed.
Note: Ensure that the target object has a collider and it is enabled. Also, check if the collider's size and position are correct, and that there are no other objects with colliders between the camera and the target object, as these factors can affect the functionality of the OnMouseDown event.
Recovering RAW Camera Files on V20: A Step-by-Step Guide
You may want to see also
Frequently asked questions
You can use the Depth of Field feature, which simulates the properties of a camera lens. This feature allows you to focus sharply on an object at a specific distance, with objects nearer or farther appearing out of focus.
It is a post-processing effect that blurs objects based on their distance from the camera, creating a visual cue about their position.
It adds a sense of depth and realism to your scene, and it can also introduce Bokeh, which are visually pleasing artefacts that appear as objects fall out of focus.
Bokeh refers to the shapes that appear around bright areas of an image as objects move out of focus. Common Bokeh shapes include discs, hexagons, and other higher-level dihedral groups.
You can use Cinemachine, which has functionality to change the camera's focus to a target. Cinemachine is installed via the package manager in Unity.