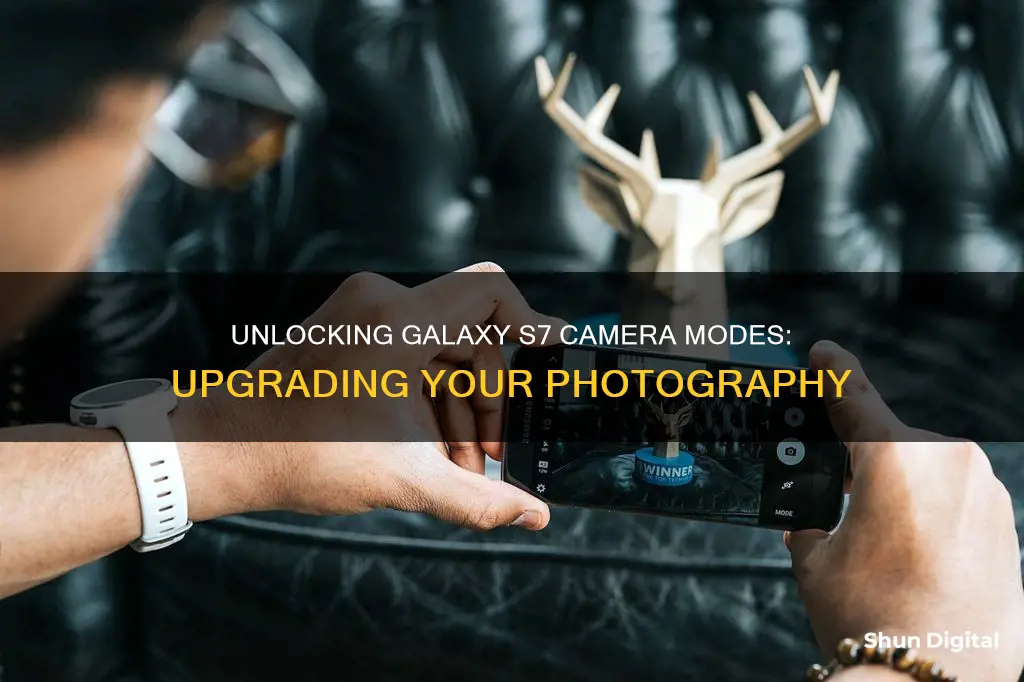
The Samsung Galaxy S7 comes with a range of pre-installed camera modes, including Auto, Selective Focus, Selfie, Panorama, and Wide Selfie. If you want more control over your photos, you can try Pro mode, which allows you to adjust the ISO, exposure, and white balance. There are also additional camera modes available for download, such as Beauty Face, Dual Camera, and Animated GIF. To access these modes, open the Camera app, tap Mode, and then Download. You can also manage your camera modes by rearranging their icons or uninstalling any downloaded modes that you no longer use.
What You'll Learn
- How to use Pro mode to control ISO, exposure and white balance?
- How to use Selective Focus mode to modify pictures after taking them?
- How to use Panorama mode to take wide-angle photos?
- How to access and use special camera modes like hyperlapse and virtual shot?
- How to download and install additional camera modes?

How to use Pro mode to control ISO, exposure and white balance
The Pro mode on the Samsung Galaxy S7 and S7 Edge gives you complete control over your photographs and videos. It allows you to manually adjust settings like ISO, shutter speed, exposure, and white balance, and express your style with filters.
ISO
ISO controls the camera's light sensitivity. A lower ISO value is ideal for well-lit environments and stationary or brightly lit objects. Higher ISO values are better for low-light situations and fast-moving objects. However, higher ISO settings can introduce more noise or grain into your photos, so it's important to strike a balance.
Shutter Speed
Shutter speed refers to the length of time the camera's sensor is exposed to light. A fast shutter speed is ideal for capturing fast-moving objects without motion blur, while a slower shutter speed can create stunning long-exposure effects, motion blur, or light streaks.
Exposure
Exposure determines how much light the camera's sensor receives. In low-light situations, you can increase the exposure to brighten the image. You can also manually adjust the overall exposure by using exposure compensation. Positive values will make the image brighter, while negative values will make it darker.
White Balance
White balance adjusts the colors so that white objects appear truly white, regardless of the lighting conditions. It compensates for the different color temperatures of light sources, ensuring accurate colors in your photos. You can choose from presets like Auto, Daylight, Cloudy, Incandescent, and Fluorescent, or manually adjust the color temperature slider for more precise control.
Steps to Access Pro Mode and Adjust Settings:
- Open the camera app on your Galaxy S7 or S7 Edge.
- Switch to the Pro mode by tapping the "Mode" button and selecting "Pro."
- Adjust the desired settings (ISO, shutter speed, exposure compensation, or white balance) by tapping on the corresponding button and using the slider or plus/minus buttons.
- Experiment with different settings to achieve the desired effect, keeping in mind the potential trade-offs between settings.
- Capture your photo or video, and view it in your gallery.
By mastering the Pro mode, you can elevate your mobile photography, capture stunning images, and express your creativity with precise control over various aspects of your shots.
Lightroom and Camera Raw: What's the Deal?
You may want to see also

How to use Selective Focus mode to modify pictures after taking them
The Selective Focus mode on the Samsung Galaxy S7 allows you to modify the focus of your pictures after taking them. This feature is perfect for ensuring that specific objects or areas stand out in your photos. Here is a step-by-step guide on how to use the Selective Focus mode:
- From the front screen, open your Apps.
- Open the Camera app.
- Tap 'Mode' to view all available shooting modes.
- Select 'Selective Focus' to enable this mode.
- Point the camera towards the object or area you want to capture.
- Tap on the desired location on the screen to set the focus. Ensure that the object is within 10-50 cm of the camera, and maintain a sufficient distance between the object and the background.
- Tap the camera icon or shutter button to take the picture. The camera will capture multiple photos with different focuses.
- Once the image is captured, tap 'Preview' to view the photo.
- Tap on the picture to modify the focus according to your preference. You will have three options:
- Near Focus: This option focuses on objects in the foreground, blurring the background.
- Far Focus: This option focuses on objects in the background, blurring the foreground.
- Pan Focus: This option brings both the foreground and background into focus, removing the blur effect.
Once you are satisfied with the modified image, tap 'Save' or 'Save As' to keep your changes.
By following these steps, you can effectively use the Selective Focus mode on your Samsung Galaxy S7 to modify the focus of your pictures after capturing them.
Camera Battery Drain: Quick Fix Tips
You may want to see also

How to use Panorama mode to take wide-angle photos
Panorama mode on the Galaxy S7 allows you to capture more of a scene by combining multiple images to create a panoramic photo. Here is a step-by-step guide on how to use Panorama mode to take wide-angle photos:
- From the home screen, access your apps by selecting "Apps" or swiping up.
- Depending on your device, choose "Mode" or swipe across the screen to select "Panorama mode."
- Press the capture button to start taking your panoramic photo.
- Slowly move the device in one direction. The screen will display an alignment box to help you keep the scene aligned correctly.
- Once you have reached the maximum range or touch the stop button, your device will automatically stitch the images together to form a complete panoramic photo.
- To view your captured Panorama, select the preview thumbnail.
Additionally, the Galaxy S7 offers a Motion Panorama feature. This feature allows you to capture wide scenes as moving photos. Here is how you can use it:
- On the preview screen, tap "Mode."
- Tap the "Motion" option at the top of the screen.
- Tap "On" to activate the Motion Panorama feature.
- Tap the camera icon to start capturing.
- Slowly move the device in one direction. Tap the "Stop" icon when you are finished capturing.
- To view your captured Motion Panorama, tap the preview thumbnail on the preview screen.
- Tilt your device or swipe on the screen to rotate the captured Motion Panorama.
- To save the Motion Panorama as a video file, tap "Save Video."
Troubleshooting Guide: Camera Won't Charge?
You may want to see also

How to access and use special camera modes like hyperlapse and virtual shot
To access and use special camera modes on your Samsung Galaxy S7, you will need to manually change to these modes or create a shortcut on your home screen. Here is how you can use two of these special modes: Hyperlapse and Virtual Shot.
Hyperlapse
- From your home screen, choose Apps or swipe up to access your apps.
- Depending on your device, choose MODE or swipe across the screen to select Hyperlapse mode.
- Tap the record button.
- When finished, choose Stop.
You can also adjust the speed of the Hyperlapse:
- From the home screen, choose Apps or swipe up to access your apps.
- Depending on your device, choose MODE or swipe across the screen to select Hyperlapse mode.
- Tap the Hyperlapse speed icon. Some devices may need to tap the arrow icon before choosing the Hyperlapse speed icon.
- Choose the desired speed.
- Tap the record button.
- To view the captured Hyperlapse, choose the preview thumbnail.
Virtual Shot
- From the front screen, choose Apps.
- Choose the option for Camera.
- Select Mode.
- Choose Virtual Shot to enable the functionality.
- Focus the camera on a subject that you can easily spin around.
- Select Capture to begin the shot.
- Walk around the object while keeping it centred on the screen until either the camera automatically finishes, or you decide to choose Stop.
- When viewing the picture, tilt the Galaxy handset or swipe the screen to move around the subject.
Shipping Cameras: Safe Lithium Battery Handling
You may want to see also

How to download and install additional camera modes
To download and install additional camera modes on your Galaxy S7, follow these steps:
- Launch the Camera app on your Galaxy S7.
- Enter the Camera mode section by tapping "Mode" in the camera preview screen.
- Tap "Download" in the camera mode page.
- You will be directed to a hidden page in Galaxy Apps, where you can find the list of available additional camera modes. These modes are offered by Samsung and are free to download.
- Tap on the mode you want to install, for example, "Sports shot".
- In the details page, you can find the screenshots and a short description of the camera mode. Tap "Install" and accept the permissions.
- A progress bar will flash before the installation is finished.
You can now find the newly installed camera mode in the Galaxy S7 camera modes page. It will be marked with a downward arrow.
Charging VHS Camera Batteries: A Step-by-Step Guide
You may want to see also
Frequently asked questions
To change your Galaxy S7 camera modes, tap the Mode button on the camera preview screen and select your desired mode.
Launch the Camera app, enter the Galaxy S7 camera mode page, and download and install the desired mode.
You can rearrange the order of the modes by going to the Galaxy S7 camera mode page, tapping "More," and then tapping "Edit."
Yes, you can uninstall downloaded Galaxy S7 camera modes by tapping the "-" icon next to the mode in the edit mode of the Galaxy S7 camera mode page or by going to Application Manager and uninstalling it like a normal app.


