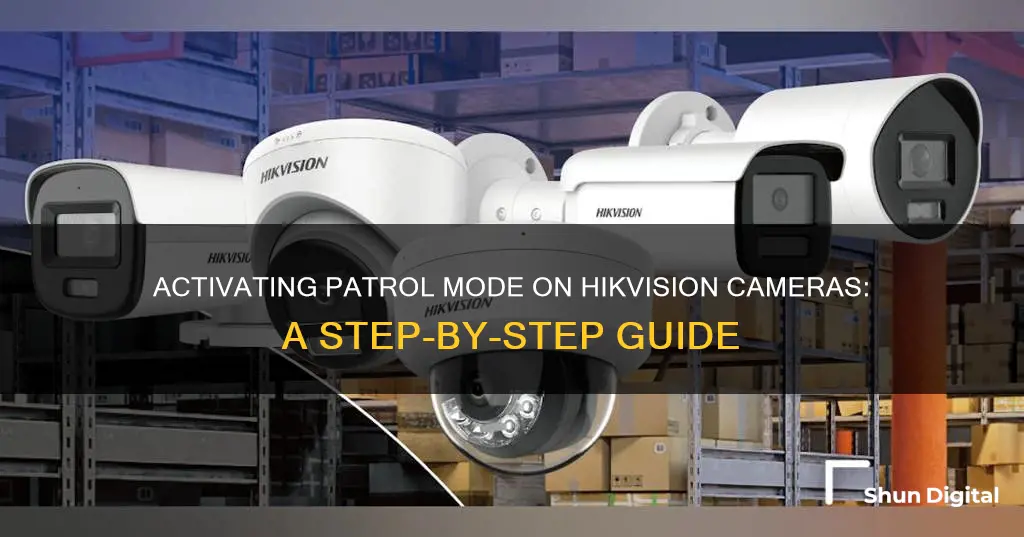
If you want to set up patrol mode on your Hikvision camera, you'll first need to check that your camera supports this function. You can do this by checking the data sheet for your camera at https://us.hikvision.com. If your camera does support patrol mode, you'll need to set up presets, which are saved positions that the camera can move between. You can do this by accessing the PTZ control panel on the camera's Live View and using the directional buttons to wheel the camera to the desired location. Once you've set up your presets, you can set up patrols by selecting a patrol number, adding key points, and configuring the speed and duration that the camera will move between these points.
| Characteristics | Values |
|---|---|
| Preset | A saved position that a PTZ camera is currently at |
| Patrol | Requires a series of presets to be added with a speed and delay setting |
| Pattern | A recorded path of motion from start to end |
| Key points | Correspond to the presets |
| Speed | Defines the speed the PTZ will move from one key point to the next |
| Duration | Refers to the duration to stay at the corresponding key point |
| Park Action | Enables the camera to go to a specific location or begin a pattern/patrol after an allotted amount of time |
| Park Time | Indicates how long the camera will wait before it performs the action (in seconds) |
| Action Type | The type of action that will be performed, e.g. "Preset" or "Patrol" |
| Action Type ID | The specific action that will be used based on the quantity of "Action Types" |
What You'll Learn
![]()
How to set PTZ Presets, Patrols, and Patterns
To set PTZ presets, patrols, and patterns on a Hikvision camera, follow these steps:
PTZ Presets:
- Click the joystick icon on the quick settings toolbar of the PTZ camera's Live View.
- The PTZ control panel will appear on the right of the interface.
- Use the directional buttons on the PTZ control panel to move the camera to the location where you want to set a preset. You can also record zoom and focus operations in the preset.
- Click the flag icon in the lower right corner of Live View to set the preset.
- Select the preset number (1 to 255) from the drop-down list.
- Enter a preset name in the text field.
- Click "Apply" to save the preset.
- Repeat steps 2-6 to save more presets.
PTZ Patrols:
- Click the joystick icon on the quick settings toolbar of the PTZ camera's Live View.
- The PTZ control panel will appear on the right of the interface.
- Click "Patrol" to configure a patrol.
- Select the patrol number in the text field.
- Click "Set" to enter the Patrol Settings interface.
- Click the green cross icon to add a key point to the patrol.
- Configure the key point parameters:
- Preset: Determines the order the PTZ will follow while cycling through the patrol.
- Speed: Defines the speed the PTZ will move from one key point to the next.
- Duration: Refers to the duration to stay at the corresponding key point.
- Click "Apply" to save the key points to the patrol.
- (Optional) Click the edit icon to edit the added key point.
- (Optional) Select a key point and click the red cross icon to delete it.
- (Optional) Click the green up or down arrow to adjust the key point order.
- Click "Apply" to save the patrol settings.
- Repeat steps 3-9 to set more patrols.
PTZ Patterns:
- Click the joystick icon on the quick settings toolbar of the PTZ camera's Live View.
- The PTZ control panel will appear on the right of the interface.
- Click "Pattern" to configure a pattern.
- Select the pattern number in the text field.
- Set the pattern:
- Click "Record" to start recording.
- Click the corresponding buttons on the control panel to move the PTZ camera.
- Click "Stop" to stop recording. The PTZ movement is recorded as the pattern.
Repeat steps 3-4 to set more patterns.
Please note that not all Hikvision PTZ cameras support the "Patrol" and "Pattern" functions. Check the data sheet for your PTZ camera to see if it supports these functions.
Unlocking Your Phone: Exiting Camera Mode with Ease
You may want to see also
![]()
How to set Calling Presets
To set calling presets on your Hikvision camera, follow these steps:
- Log in to the PTZ camera by entering its IP address into a web browser and signing in with your username and password. Use Internet Explorer and install the required plugin when prompted.
- Navigate to the Live View > PTZ interface.
- Select the preset you want to set and left-click on "Set".
- Click "Call" to instruct the PTZ camera to move to the position corresponding to the preset you selected.
- You can also swipe the number up or down to set the preset number, which should be between 1 and 256, then tap "Set" and "Call" to finalise the preset.
- To delete a preset, click "Delete" in the PTZ interface or tap "Delete" in the PTZ Control panel on your phone.
- You can also set a virtual preset after enabling digital zoom.
Note: Not all Hikvision PTZ cameras support the "Patrol" and "Pattern" functions. Check the data sheet for your specific camera model to see if it supports these functions.
Latest Adobe Camera Raw: Unlocking Raw Power
You may want to see also
![]()
How to set Calling a Patrol
To set Calling a Patrol on a Hikvision camera, follow these steps:
Step 1: Click the joystick icon on the quick settings toolbar of the PTZ camera's Live View.
Step 2: The PTZ control panel will display on the right of the interface.
Step 3: Click Patrol on the PTZ control panel.
Patrol Configuration:
Step 4: Select a patrol in the text field.
Step 5: Click Call to start the patrol.
Step 6: (Optional) Click Stop to stop the patrol.
By following these steps, you can set the Hikvision camera to move according to the predefined patrol path.
Flying with Fully Charged Camera Batteries: Safe or Not?
You may want to see also
![]()
How to set a Pattern
To set a pattern for your Hikvision camera, you must first understand the difference between a "preset", a "patrol", and a "pattern". A "preset" is a saved position that a PTZ camera is currently at. A "patrol" requires a series of presets to be added with a speed and delay setting, acting as waypoints for the camera to move through. A "pattern", on the other hand, is a recorded path of motion from start to end, created with the PTZ control arrows. It is one fluid motion with no stop points until the pattern is completed.
To set a pattern, follow these steps:
- Access the PTZ control arrows for your camera.
- Use the PTZ control arrows to record the desired path of motion for your camera, from start to end.
- Save this path as a pattern.
Note that not all Hikvision PTZ cameras support the "Pattern" function. Please check the data sheet for your specific camera model to confirm if this function is supported.
Reducing Noise in Underexposed Camera Raw Files
You may want to see also
![]()
How to set Linear Scan Limits
To set Linear Scan Limits for a Hikvision camera, you must first ensure that the connected IP camera supports the PTZ function and is properly connected. Linear Scan triggers a scan in the horizontal direction within a predefined range. This function is supported by certain models only.
Step 1:
Click on the joystick icon on the quick settings toolbar of the PTZ camera's Live View. The PTZ control panel will appear on the right side of the interface.
Step 2:
Use the directional buttons on the PTZ control panel to move the camera to the desired location for setting the limit. Click on "Left Limit" or "Right Limit" to link the location to the corresponding limit.
Note: The speed dome linear scan moves from the left limit to the right limit, so ensure that the left limit is set to the left side of the right limit. Additionally, the angle between the left and right limits must not exceed 180°.
Step 3:
Before operating this function, ensure that the connected camera supports linear scan and is using the HIKVISION protocol.
Step 4:
To call the linear scan within the predefined scan range, click on the joystick icon on the quick settings toolbar of the PTZ camera's Live View. The PTZ control panel will appear on the right.
Step 5:
Click on "Linear Scan" to start the linear scan and click again to stop it.
Step 6:
Optionally, you can click on "Restore" to clear the defined left and right limit data.
Step 7:
Reboot the camera for the settings to take effect.
Charging Your Fujifilm Camera Battery: Alternative Methods
You may want to see also