Do-it-yourself (DIY) surveillance camera systems are a great option for those who want to avoid the cost of professional installation and have the flexibility to customise their own security system. With so many options available, it's important to consider your specific needs when selecting a DIY surveillance camera system.
DIY surveillance camera systems can be used for both home and office security and typically involve setting up a network of cameras that can be monitored remotely. These systems can be powered by solar energy or traditional power sources, and often include features such as motion detection, night vision, and remote access via mobile apps.
When choosing a DIY surveillance camera system, it's important to consider the type of cameras, power source, connectivity, design, and video quality. Wireless cameras are typically easier to install, but it's also crucial to ensure that your system is tamper-resistant and has sufficient storage capacity.
In addition to cameras, a basic DIY surveillance system may include a control panel, motion sensors, door and window sensors, and lighting with motion sensors. More advanced systems may integrate with smart home devices and offer features such as facial recognition and cloud storage.
Overall, DIY surveillance camera systems offer a cost-effective and flexible alternative to traditional security systems, allowing individuals to take control of their personal and home protection.
| Characteristics | Values |
|---|---|
| Installation | Easy to install, peel-and-stick, wireless, pre-programmed |
| Equipment | Control panel, motion sensors, door and window sensors, signage, window break detectors, smoke and water detectors, security camera, smart home devices |
| Monitoring | Self-monitoring, professional monitoring, mobile app, instant notifications, push notifications, texts |
| Costs | Monthly fees, upfront costs, installation fee, subscription-based model, equipment costs |
| Compatibility | Amazon Alexa, Google Assistant, Apple HomeKit, Google Home, Z-Wave |
What You'll Learn
![]()
Camera options: IP, USB, or analogue
When choosing a DIY surveillance camera system, there are three main types of cameras to choose from: IP cameras, USB cameras, and analogue cameras. Each type has its own advantages and disadvantages, and the right choice for you will depend on your specific needs and budget.
IP Cameras
IP cameras are digital cameras that can send signals over a cable to be stored on a network. They offer higher video quality than analogue cameras, with more site ranges and better zoom capabilities. IP cameras transmit truly digital signals, which means they offer far greater video detail, making them ideal for facial recognition or license plate detection. IP cameras also have higher resolutions, ranging from 1.3 to 5 megapixels, compared to analogue cameras, which are limited to 0.4 megapixels.
Another advantage of IP cameras is their power source. They can be powered over a twisted-pair Ethernet cable, eliminating the need for separate electrical wiring. IP cameras are also easier to install than analogue cameras, as they require fewer cables. They can accept power, video, audio, and control signals over a single cable.
However, one of the main drawbacks of IP cameras is their cost. The cameras themselves are typically more expensive than analogue cameras, and the overall cost of the system may be higher due to the need for additional equipment such as switches and adapters.
USB Cameras
USB cameras are a common choice for DIY surveillance systems as they are easy to set up and use. They are typically connected directly to a computer or recording device via a USB cable, which also provides power to the camera. This makes them a cost-effective option, as separate power cables and equipment are not required. USB cameras are often used for indoor surveillance, such as baby monitors or pet cameras.
However, one limitation of USB cameras is their range. They are typically designed for shorter distances and may not be suitable for outdoor or long-distance surveillance. Additionally, USB cameras may not offer the same level of video quality and resolution as IP or analogue cameras.
Analogue Cameras
Analogue cameras are traditional cameras used in CCTV systems. They record images and transfer them via wired connections, such as coaxial cables, to a recording device. Analogue cameras have lower video quality and resolution compared to IP cameras, but they perform better in low-light conditions. They also have more limited site ranges and do not offer the same zoom capabilities as IP cameras.
One advantage of analogue cameras is their cost. They are typically more affordable than IP cameras, making them a budget-friendly option for those on a tight budget. Analogue cameras are also reliable, with a long history of use in security systems.
However, analogue cameras require more cabling than IP cameras, as separate cables are needed for power, audio, and control functions. This can make installation more complex and costly. Additionally, analogue cameras are more vulnerable to security breaches, as the feeds can be physically intercepted and recording devices can be stolen.
Updating Adobe Camera Raw CS3: A Step-by-Step Guide
You may want to see also
![]()
Remote access
Choosing the Right Camera System:
- Wireless vs. Hard-Wired: While wireless camera systems offer more flexibility in placement, hard-wired systems are generally more reliable and secure.
- Power Source: Consider whether you want battery-powered cameras or cameras that need to be plugged into an outlet. Battery-powered cameras are more convenient but may not be as reliable.
- Video Quality: Look for cameras with at least 1080p resolution for clear and detailed footage. Some newer cameras even offer 4K resolution.
- Field of View: Choose cameras with a wide field of view to cover more area and reduce blind spots.
- Night Vision: If you need to monitor areas with low light, look for cameras with infrared or color night vision.
- Audio: Two-way audio cameras allow you to communicate with people at the monitored location.
- Motion Detection: Cameras with motion detection can alert you when activity is detected, making it easier to find relevant footage.
- Smartphone App: Many camera systems offer smartphone apps for remote access and control. Make sure the app is user-friendly and compatible with your phone.
Setting Up Remote Access:
- Internet Connection: Ensure your cameras are connected to the internet via WiFi or Ethernet cables.
- Port Forwarding: You may need to set up port forwarding on your router to allow remote access to your cameras. This involves forwarding specific ports to your camera's IP address.
- DDNS: If your internet service provider assigns you a dynamic IP address, consider using a Dynamic DNS (DDNS) service. This will give your camera a host name, so you don't need to remember the IP address.
- Firewall Settings: Ensure your firewall settings allow incoming connections to your cameras. You may need to open specific ports or add port forwarding rules.
- User Accounts and Permissions: Set up user accounts and permissions to control who can access your cameras remotely.
- Mobile Apps: Download and install any necessary mobile apps for remote viewing and control. Test the apps to ensure they are compatible with your phone and provide all the features you need.
Tips for Using Remote Access:
- Regularly update your camera firmware and software to the latest versions to ensure optimal performance and security.
- Change the default passwords on your cameras and accounts to enhance security and prevent unauthorized access.
- Test your remote access periodically to ensure it is working correctly.
- Consider setting up motion detection alerts to notify you when activity is detected, so you don't have to constantly monitor the footage.
- If you have multiple cameras, create custom layouts to view multiple camera feeds simultaneously.
- Take advantage of cloud storage options to backup your footage and access it remotely.
- If you have family members who also need remote access, make sure your system allows multiple users.
Traffic Camera Tickets: Are They Legally Binding?
You may want to see also
![]()
Self-monitoring vs professional monitoring
When it comes to surveillance camera systems, you have the option to self-monitor or to pay for professional monitoring services. Both options have their pros and cons, and the right choice for you will depend on your specific needs and circumstances. Here is a detailed comparison to help you decide which option is best for you:
Self-Monitoring:
Self-monitoring a surveillance camera system means that you are responsible for installing, maintaining, and responding to any alerts or notifications from the system. This typically involves using a central hub and an app on your smartphone, where you can receive alerts, review footage, and take appropriate action. Self-monitoring offers several advantages, including:
- Cost savings: Self-monitoring systems often have low or no monthly fees, which can save you money compared to professional monitoring services.
- Flexibility: Self-monitoring systems are usually wireless and can be installed and set up quickly without professional assistance. They are also more portable, making them ideal for apartments or if you move frequently.
- Fewer false alarms: You can review each alert yourself before contacting the authorities, reducing the likelihood of false alarms.
However, there are also some disadvantages to self-monitoring:
- Time and attention: Self-monitoring requires your active attention, which can be inconvenient or impractical in certain situations. For example, if you do not have access to your device or are unavailable to respond to alerts, there is no backup option.
- Limited features: Accessing certain features, such as video storage, may require an additional recurring fee.
- No professional support: Self-monitoring means you are solely responsible for the system's installation, maintenance, and response to any incidents. There is no professional support or guidance.
Professional Monitoring:
Professional monitoring services provide 24/7 monitoring of your surveillance camera system by trained operators. These services typically send alerts to a central monitoring station when any sensors, alarms, or cameras are triggered. Advantages of professional monitoring include:
- Around-the-clock monitoring: Professional monitoring ensures that your system is constantly monitored, even when you are unavailable, asleep, or away from home.
- Faster emergency response: Professional monitoring services have established relationships with emergency services and can often get a faster response in the event of an incident.
- Trained professionals: The operators are trained to assess situations, determine appropriate responses, and follow agreed-upon procedures, such as contacting neighbours, family, or friends.
- Redundancy: Professional monitoring companies often have multiple monitoring stations, ensuring that your system is still monitored even if one station goes down.
- Discounts on insurance: Some home insurance providers offer discounts on premiums for homes with professionally monitored systems.
However, there are also some drawbacks to professional monitoring:
- Monthly fees: Professional monitoring services typically charge a monthly or annual fee, which can be a significant ongoing expense.
- Contracts: Many professional monitoring services require lengthy contracts, which can be difficult to transfer or cancel.
- False alarms: False alarms may occur, and you may be responsible for any penalties or fines associated with them.
- Limited customisation: Professional monitoring services may not allow you to customise or adjust the system as per your specific needs.
Both self-monitoring and professional monitoring have their advantages and disadvantages. Self-monitoring can be a cost-effective and flexible option, giving you full control over your surveillance camera system. On the other hand, professional monitoring provides the peace of mind of having trained professionals monitoring your system 24/7 and ensuring a timely response in case of an emergency. Ultimately, the decision between self-monitoring and professional monitoring depends on your budget, your specific needs, and how much time and effort you are willing to invest in monitoring your surveillance camera system.
Unlocking Photography: Understanding Camera's S Mode
You may want to see also
![]()
Smart home integration
Some systems are also compatible with Apple HomeKit. For example, the Abode Smart Security Kit works with Apple's Home app and Siri, as well as Alexa and Google Assistant.
If you're looking for a system that works well with Google Home speakers, the Nest Cam is a good option. It can be added to a Nest Aware subscription, which enables cloud recording and up to 10 days of continuous recording at the highest tier.
For those with a smart home system based on Z-Wave technology, the Nest Cam also offers Z-Wave compatibility.
If you're looking for a system that integrates with multiple smart ecosystems, the Arlo Pro 4 works with Amazon Alexa and Google Assistant, and also has its own app for arming and disarming the system remotely.
For a more comprehensive smart home integration, the Abode Wireless Smart Security Kit supports numerous third-party devices, including products from Sonos, Bose, Yale, Schlage, Philips Hue, and Ecobee.
For a truly tech-crazy, ultra-reliable, and highly customizable DIY surveillance camera system, you could follow the example of the author of a blog post on VueVille. They use a combination of Reolink cameras, Ubiquiti's Unifi range of networking gear, and a QNAP NAS device as a Network Video Recorder (NVR). This setup allows them to view multiple cameras simultaneously on a single screen and integrates fully with their Home Assistant-based home automation system.
Camera Tickets: Valid in Florida?
You may want to see also
![]()
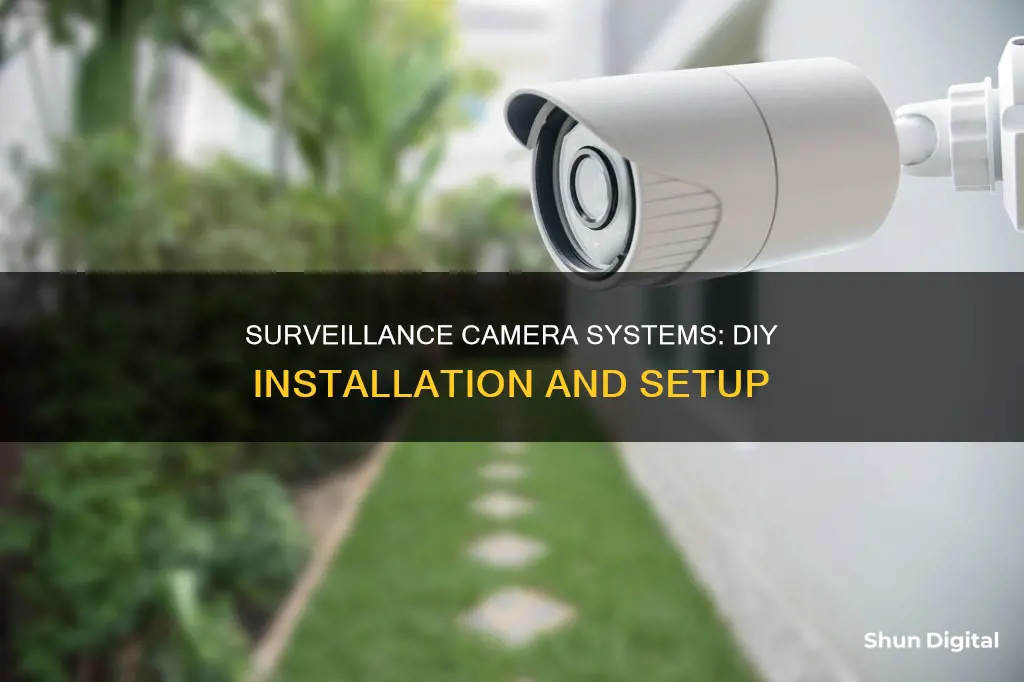
Installation
The first step to installing a DIY surveillance camera system is to decide on the type of camera you want. There are three classes of camera: analog, USB, and network or IP. IP cameras are the most expensive but offer multiple accesses to the same camera, inherent security, and high image quality, among other benefits.
Next, you will need a dedicated PC to run the surveillance software. This can be a desktop or netbook, but it must be always on.
For the cameras to work, you will need a network hub with Power over Ethernet (PoE). This allows for easy wiring of multiple cameras back to the host PC. It is recommended to use hardwired cameras instead of WiFi for security and reliability.
When it comes to surveillance software, there are many options available, both free and paid. Some popular choices include Ispy (open-source freeware) and Frigate NVR (which runs on an Intel NUC mini-PC).
Finally, if you want remote access to your surveillance system, you can use a service like TeamViewer, which is free for personal use and has an app for mobile devices.
- Use shielded or standard Cat5e cables to connect your cameras to the network hub.
- Consider using a UPS (uninterruptible power supply) to plug in your security components, ensuring the system stays up during a power outage.
- If you opt for self-monitoring, choose a system with excellent remote use features, such as the ability to turn the system on and off and customize settings remotely.
- Make sure your system offers text, push, and phone call notifications in case of a breach.
- Integrate your surveillance system with other smart devices in your home to create a web of protection. For example, you can set up rules to turn on lights or the air conditioner when the temperature climbs.
- Consider purchasing a kit that includes multiple cameras and a recording device, as this can be a cost-effective way to get started with DIY home surveillance.
Conditioning Camera Batteries: Prolonging Battery Life
You may want to see also
Frequently asked questions
Some good DIY home security systems include SimpliSafe, Blue by ADT, Abode, Alder, Cove Security, Ooma, Ring Alarm, and tolviviov.
DIY home security systems are generally cheaper than traditional security systems since they don't require professional installation. They are also easily removable without causing damage to the property. However, they typically require expensive monthly subscriptions and there is a higher chance of incorrect installation.
Some factors to consider are price, installation, equipment, monitoring type, and smart home integration.
A basic DIY home security kit typically includes a control panel, motion sensors, door and window sensors, and signage.
A DIY home security system usually includes a control panel that connects to sensors and your mobile device. You can choose to self-monitor or pay for professional monitoring. If you choose self-monitoring, you will receive alerts when detectors go off and will be responsible for notifying the authorities. With professional monitoring, someone will notify you and the authorities if a detector or sensor goes off.