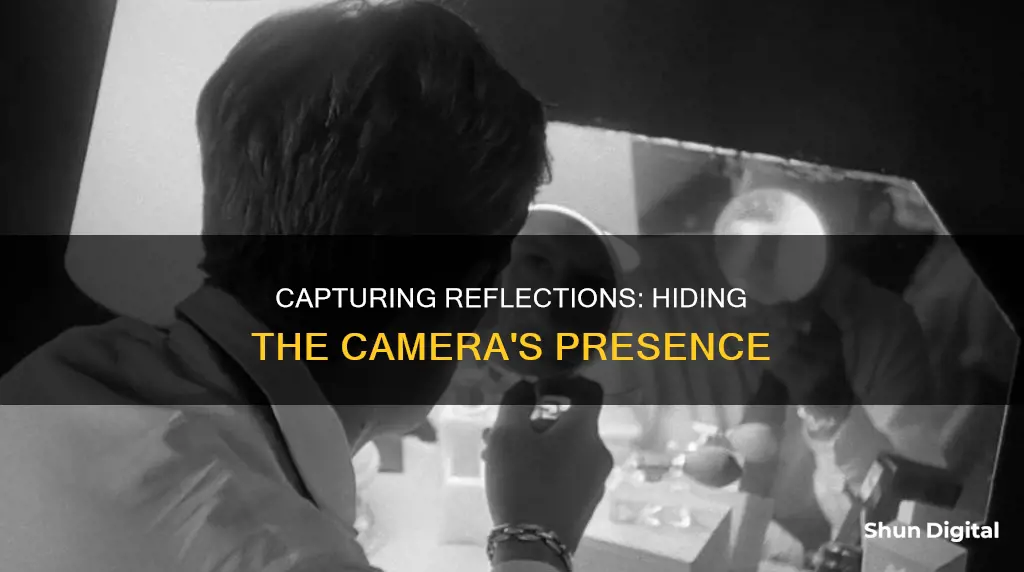
Capturing a reflection in a mirror without the camera appearing in the shot can be a challenge for photographers and filmmakers alike. Whether you're shooting a film or taking a photo, the goal is to create the illusion that the camera is invisible. This can be achieved through clever camera placement, camera movement, and editing techniques.
For photographers, one method is to use a tilt-shift lens, which allows you to shoot straight on while avoiding the reflection of the camera. You can also shoot from an angle, capturing the reflection of a scene to the side of the camera rather than including the camera itself. Post-processing software like Photoshop can also be used to blend multiple photos and remove the camera from the final image.
Filmmakers, on the other hand, have employed techniques such as using blue screens, duplicating sets and actors, and digitally removing the camera in post-production. By combining camera placement, clever editing, and special effects, filmmakers can create seamless mirror shots that captivate audiences.
| Characteristics | Values |
|---|---|
| Camera angle | Shoot at a slight angle to avoid capturing the camera |
| Camera placement | Place the camera off-centre so that it's not visible in the mirror |
| Lighting | Light the object the mirror is reflecting, not the mirror itself |
| Camera settings | Set the aperture between f9 and f15 and adjust the white balance |
| Camera type | Use a tilt-shift lens to capture straight-on shots without the camera being visible |
| Camera colour | Use a black camera, as it reflects less light |
| Editing | Use Photoshop to blend multiple photos and remove the camera from the frame |
What You'll Learn
- Use a tilt-shift lens to capture the mirror image without the camera
- Shoot from an angle to the side of the camera, capturing the reflection of a scene
- Use a blue screen and stitching to superimpose a shot of the mirror
- Duplicate the set and cast to create the illusion of a mirror
- Digitally remove the camera in post-production

Use a tilt-shift lens to capture the mirror image without the camera
Capturing a mirror image without the camera being visible in the shot is a challenging task. One way to achieve this is by using a tilt-shift lens. This type of lens offers a unique advantage by allowing you to shift the lens position, effectively moving the camera viewpoint without physically moving the camera itself.
The tilt-shift lens enables you to capture a straight-on image of a mirror without having the camera reflected in the frame. By utilising the shift mechanism, you gain the flexibility to compose your shot without resorting to awkward angles. This is especially beneficial when trying to achieve a stronger composition or a one-point perspective, which is often desirable in architectural photography.
The shift function of the tilt-shift lens essentially repositions the camera to a higher or lower vantage point without physically moving it. This is similar to the effect of using a tall tripod or crane but with much greater convenience and precision. By shifting the lens, you can capture the desired reflection in the mirror while remaining out of the frame yourself.
To illustrate this technique, consider the example of taking a portrait of a person in a mirror. By shifting the lens sideways, you can position yourself to the side of the reflection while still capturing the image as if you were looking directly into the mirror. This way, you can remain invisible in the final photograph.
It's worth noting that newer tilt-shift lenses offer an increased range of tilt and shift, providing even more capability to exclude yourself from the reflection. Additionally, combining both shift and tilt movements can lead to creative and unique shots that would otherwise be impossible.
While tilt-shift lenses are commonly used in architectural photography, they can also be employed in other genres such as landscape photography to capture an entire scene in sharp focus. They are a valuable tool for any photographer looking to expand their creative options and capture mirror images without the camera being visible.
Apple TV Box: Camera Equipped or Not?
You may want to see also

Shoot from an angle to the side of the camera, capturing the reflection of a scene
Shooting from an angle to the side of the camera is a great way to capture a mirror's reflection of a scene without the camera being visible in the final image. This technique requires careful planning and consideration of various factors, such as camera placement, lighting, and editing. Here are some detailed instructions to achieve this effect successfully:
Camera Placement and Angle
Position your camera at a slight angle to the side of the mirror. Avoid shooting straight on, as it will likely capture the camera and photographer in the reflection. Even small angles can make a significant difference in ensuring the camera remains unseen. If you must shoot straight on, consider using a tilt-shift lens, which can help eliminate the camera from the reflection.
Lighting
When capturing a reflection in a mirror, remember that you are not lighting the mirror itself but the scene reflected in it. Ensure the area in front of the mirror is well-lit and that the lighting creates the desired effect in the reflection. You can use various lighting tools, such as softboxes, to achieve the desired lighting setup.
Composition and Framing
Consider what you want to include in the reflection and frame your shot accordingly. Decide on the portion of the mirror you want to capture and stand at an ample distance from it. If you want to include yourself in the reflection, ensure you are within the frame.
Camera Settings
Adjust your camera settings to suit the scene you are shooting. Set the aperture to a narrow range, somewhere between f9 and f15, to ensure a sharp reflection. Use a timer to avoid camera shake and adjust the white balance according to the scene you are shooting.
Post-Processing and Editing
If you want to create a seamless image without the camera being visible, you may need to capture multiple photos and blend them using photo editing software like Photoshop. Take at least three photos: one with your right hand holding the camera, one with your left hand, and one with the camera in front of your chest, capturing your face in the mirror.
In Photoshop, layer these images on top of each other. Use the layer mask feature to mask the portions of the images that contain the camera. Select the brush tool, set the foreground colour to black, and brush over the areas you want to remove. Finally, add the photo with your clear and visible face, ensuring it sits seamlessly in the image.
Alternative Methods
If you don't want to go through extensive editing, there are alternative methods to achieve a similar effect. One option is to shoot at an angle where the camera is not visible, such as placing the camera at a 45-degree angle to the mirror. Another option is to use a tilt-shift lens, which allows you to capture the mirror image without capturing the camera itself, although this type of lens can be expensive.
Accessing HCVR Camera Footage on Your PC
You may want to see also

Use a blue screen and stitching to superimpose a shot of the mirror
Using a blue screen and stitching to superimpose a shot of the mirror is a clever way to make the camera "disappear" in a mirror shot. This technique was used in the film "Contact" to create the illusion of a seamless transition.
The shot involves two different shots being stitched together. In the first shot, the camera tracks the character as she runs towards the bathroom. In the second shot, the same character is seen opening the cabinet door in the bathroom. The magic happens by superimposing the first shot onto a blue screen placed where the mirror should be.
To achieve this effect, the character in the first shot pretends to reach for the mirror, while in the second shot, the camera is flipped and tracked backward to mimic the movement of the first shot. The character then reaches out and opens the cabinet door for real. Combining these shots and matching the timing creates a seamless transition that confuses the audience.
Additionally, the camera operator from the first shot may pan away to mimic the movement of the hinged cabinet door, further enhancing the illusion. This technique showcases the creativity and meticulous planning required to achieve iconic mirror shots in films.
Viewing Camera Metadata in Premiere: A Step-by-Step Guide
You may want to see also

Duplicate the set and cast to create the illusion of a mirror
The classic case of duplication is a common movie magic trick that has been used in films for decades. This technique was used in Zack Snyder's Sucker Punch, where the camera starts on one side of the mirror and then transitions to the other side. This effect is achieved by using a duplicated set and cast, creating the illusion of a mirror.
The duplicated set allows the camera to transition seamlessly from one side to the other, giving the appearance of a reflection. To sell the effect, small details are added to the set design, such as pictures tucked into the mirror and makeup scattered across the vanities. The cast must also work together to mirror each other's movements as closely as possible, creating the illusion of a reflection.
To achieve this effect, filmmakers must pay close attention to set design, casting, and camera movement. The duplicated set and cast must be carefully choreographed to ensure that the movements and positioning are mirrored accurately. This technique requires precise planning and execution to create a seamless transition between the two sides of the mirror.
The hidden cut is then used to stitch the fake mirror shot to the real mirror shot. In the real mirror shot, a mirror is placed in front of the actresses, allowing for true reflections of the characters. This combination of set design, choreography, and camera work creates the illusion of a seamless transition between the two sides of the mirror, with the camera seemingly passing through the reflective surface.
Detecting Wireless Cameras: What You Need to Know
You may want to see also

Digitally remove the camera in post-production
Digitally removing the camera in post-production is another option for achieving the perfect mirror shot. This technique was used in Ruben Östlund's film *Force Majeure* to great effect. The camera, lens, and crew were hidden behind a fake wall, with only the lens poking through. The lens was then simply edited out in post-production, a relatively simple task due to the static nature of the shot.
Another example of digital removal can be seen in the film *Criminal: UK*, where a remote-controlled camera was placed on a dolly with a stabilizer head and operated remotely. The equipment was covered with black fabric to minimize rotoscoping, a technique used to trace and remove the camera frame by frame.
While digital removal can be an effective solution, it is important to note that it may require additional time and resources, especially for more complex shots. In some cases, it may be more feasible to avoid including the camera in the shot or to use alternative methods such as green screens or body doubles.
Smart TV Camera Locations: Philips 65-Inch Model
You may want to see also
Frequently asked questions
Shoot the image in a direction where the camera is not visible. For example, you could place the camera on a 45-degree angle. Alternatively, use a tilt/shift lens to capture the mirror image without capturing the camera itself.
A tilt/shift lens allows you to shift the lens a bit, providing you with a range of areas to capture. To use it, place the camera off the mirror then adjust the shift to see the mirror's reflection.
You can use a blue screen or a duplicated set, as seen in the films *Contact* and *Sucker Punch*, respectively.


