Shooting in a mode on your camera is a great way to take control of your photography and experiment with different settings. The mode you choose will depend on the type of image you want to capture and how much control you want over the camera settings.
The main modes you'll find on most cameras include Program mode (P), Shutter Priority mode (S or Tv), Aperture Priority mode (A or Av), and Manual mode (M). Each of these modes gives you varying levels of control over the camera's settings, including shutter speed, aperture, and ISO.
Program mode is a step up from fully automatic shooting, as it automatically adjusts shutter speed and aperture, but allows you to change other settings like ISO, white balance, and exposure compensation. Shutter Priority mode lets you set the shutter speed while the camera chooses the aperture, which is useful for controlling motion blur. Aperture Priority mode is similar but lets you control the aperture while the camera chooses the shutter speed, giving you control over the depth of field. Finally, Manual mode gives you complete control, allowing you to independently adjust shutter speed, aperture, and ISO.
Each mode has its advantages and disadvantages, and the best mode to use will depend on the situation and your personal preferences. Understanding these modes and how they affect your images is a crucial step in improving your photography skills and taking creative control of your camera.
| Characteristics | Values |
|---|---|
| Camera mode | Auto mode |
| Camera mode | Program mode |
| Camera mode | Shutter priority mode |
| Camera mode | Aperture priority mode |
| Camera mode | Manual mode |
| Camera mode | Full auto mode |
| Camera mode | Flash off/auto flash off mode |
| Camera mode | Portrait mode |
| Camera mode | Sports mode |
| Camera mode | Close-up mode |
| Camera mode | Night portrait mode |
| Camera mode | Custom mode |
![]()
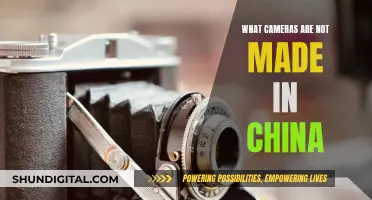
Aperture Priority mode
To use Aperture Priority mode, follow these steps:
- Set your camera to Aperture Priority mode by turning the main mode dial to "A" ("Av" for Canon cameras).
- Adjust your aperture using the dial under your right thumb. Choose a wide aperture (e.g. f/1.8) for a shallow depth of field or a narrow aperture (e.g. f/16) for a deeper depth of field.
- Set your ISO to the lowest setting (usually ISO 100) to minimise noise in your images. Increase the ISO if you need a faster shutter speed or are shooting in low light conditions.
- Check your shutter speed. Ensure it is fast enough for your subject. If you need a faster shutter speed, boost your ISO or widen your aperture.
- Take a test shot and observe the results. Adjust your settings as needed.
Charging Your Camera in Europe: What You Need to Know
You may want to see also
![]()
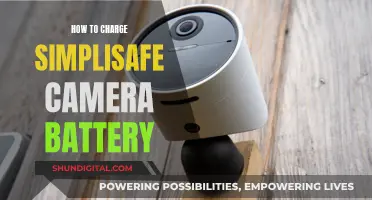
Shutter Priority mode
In Shutter Priority mode, you set the shutter speed of your camera. You can choose a specific shutter speed while the camera adjusts the aperture to ensure the image is correctly exposed. This is different from Manual mode, where you must decide on both values. Shutter Priority mode is usually denoted as 'S' on the mode dial, or 'Tv' (for 'time value') on some cameras.
Shutter speed is how fast the shutter opens and closes. This determines how much light comes into your camera. A fast shutter speed means not much light will reach your sensor, whereas a slower shutter speed lets in more light, and the image is more exposed.
When using Shutter Priority mode, you can also set an ISO value. You can choose auto-ISO, where the camera will select the best combination of aperture and ISO values to balance the exposure. Alternatively, you can set an ISO range to ensure your images do not get too noisy.
Zumimall Camera Charging Time: How Long Should You Wait?
You may want to see also
![]()
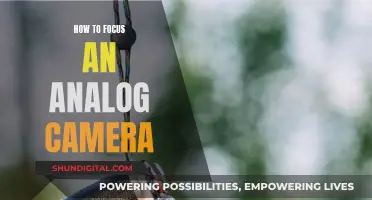
Manual mode
The three key exposure variables are ISO, aperture, and shutter speed. Together, these three settings determine the overall brightness of the photos (i.e., the exposure). They also affect the photos in other key ways: by adjusting the sharpness, depth of field, and overall quality of the files.
ISO controls the camera’s sensitivity to light. By adjusting the ISO, the photographer can increase the camera’s light sensitivity, which will, in turn, give a brighter image. A lower ISO will result in a darker image.
Aperture is an opening in the lens. The wider the aperture, the more light it lets in, and the brighter the resulting exposure. The aperture is also responsible for controlling the depth of field – the window of focus within the photograph. The larger the aperture, the smaller the depth of field, and the narrower the window of focus.
Shutter speed is the exposure time of an image; that is, it refers to how long the shutter stays open to allow light to hit the sensor. Therefore, the faster the shutter speed, the less light that hits the camera sensor, and the darker the final image. The shutter speed also determines image sharpness. A fast shutter speed will generally freeze the action, while a slow shutter speed will often produce motion blur.
In addition to these three key exposure settings, white balance is one final Manual mode setting worth learning. It lets the photographer remove colour casts from their scene – and by adjusting the white balance, they can achieve neutral white tones.
Camera Battery Lifespan: How Long Does It Last?
You may want to see also
![]()
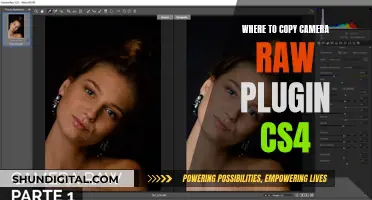
Program mode
To use Program mode, first, set your ISO. Then, use the averaging metering modes: Evaluative on Canon, Matrix on Nikon. Your camera will now select both aperture and shutter speed settings. You can then nail the focus and take the shot, or adjust the aperture and shutter speed using Program Shift.
Aslain's Free Camera Mod: Unleashing Dynamic Perspectives
You may want to see also
![]()
Auto mode
Benefits of Auto Mode:
- It's beginner-friendly and lets you focus on the scene and moment instead of technical settings.
- Auto mode usually works well and produces well-exposed pictures.
- It can help you understand your camera by examining the EXIF data of your photos, which includes details like aperture, shutter speed, and ISO.
- Auto mode ensures you don't miss critical shots due to fiddling with manual settings.
When to Use Auto Mode:
- When you want to capture a moment or snapshot and don't have time to adjust settings.
- In situations with a lot of things going on, and you don't want to be overwhelmed with manual settings.
- When you're just starting with photography and want to focus on learning the basics without being intimidated.
- For fast-moving scenes or events where timing is critical, such as sports events or parties.
- When you want to create a silhouette effect in your photos.
While Auto mode has its benefits, it's important to note that it may not give you precise control over the artistic results you want to achieve. Learning to shoot in manual mode or semi-automatic modes like Aperture Priority or Shutter Priority can give you more creative control over your images. However, Auto mode can be a useful tool in certain situations and should not be avoided altogether.
Unlocking Adobe Camera Raw CC's Power
You may want to see also
Frequently asked questions
The four basic shooting modes are Programmed Auto/Program Mode (P), Aperture Priority Mode (A/Av), Shutter Priority Mode (S/Tv), and Manual Mode (M).
Aperture Priority Mode allows the photographer to set a specific aperture while the camera calculates the proper exposure and assigns an appropriate shutter speed. This allows the photographer to change the aperture and, therefore, the depth of field of the image, while the camera does the necessary calculations to automatically set the shutter speed.
Shutter Priority Mode is the opposite of Aperture Priority Mode. In this mode, you control the shutter speed and the camera controls the aperture. The camera looks for a balanced exposure by assigning an aperture to your chosen shutter speed. This allows the photographer to reduce the duration that the shutter is open to freeze fast-moving action or leave the shutter open longer to allow blur and movement to appear in the frame.
Manual Mode gives the photographer complete control over the camera settings. The photographer can adjust each and every setting the camera offers, including ISO, aperture, and shutter speed.